We may earn money or products from the companies mentioned in this post. Please see policies for more information.
I am so excited to be joining in with some awesome bloggers to share a STEAM based project! Be sure to check out the other awesome projects linked up at the bottom!
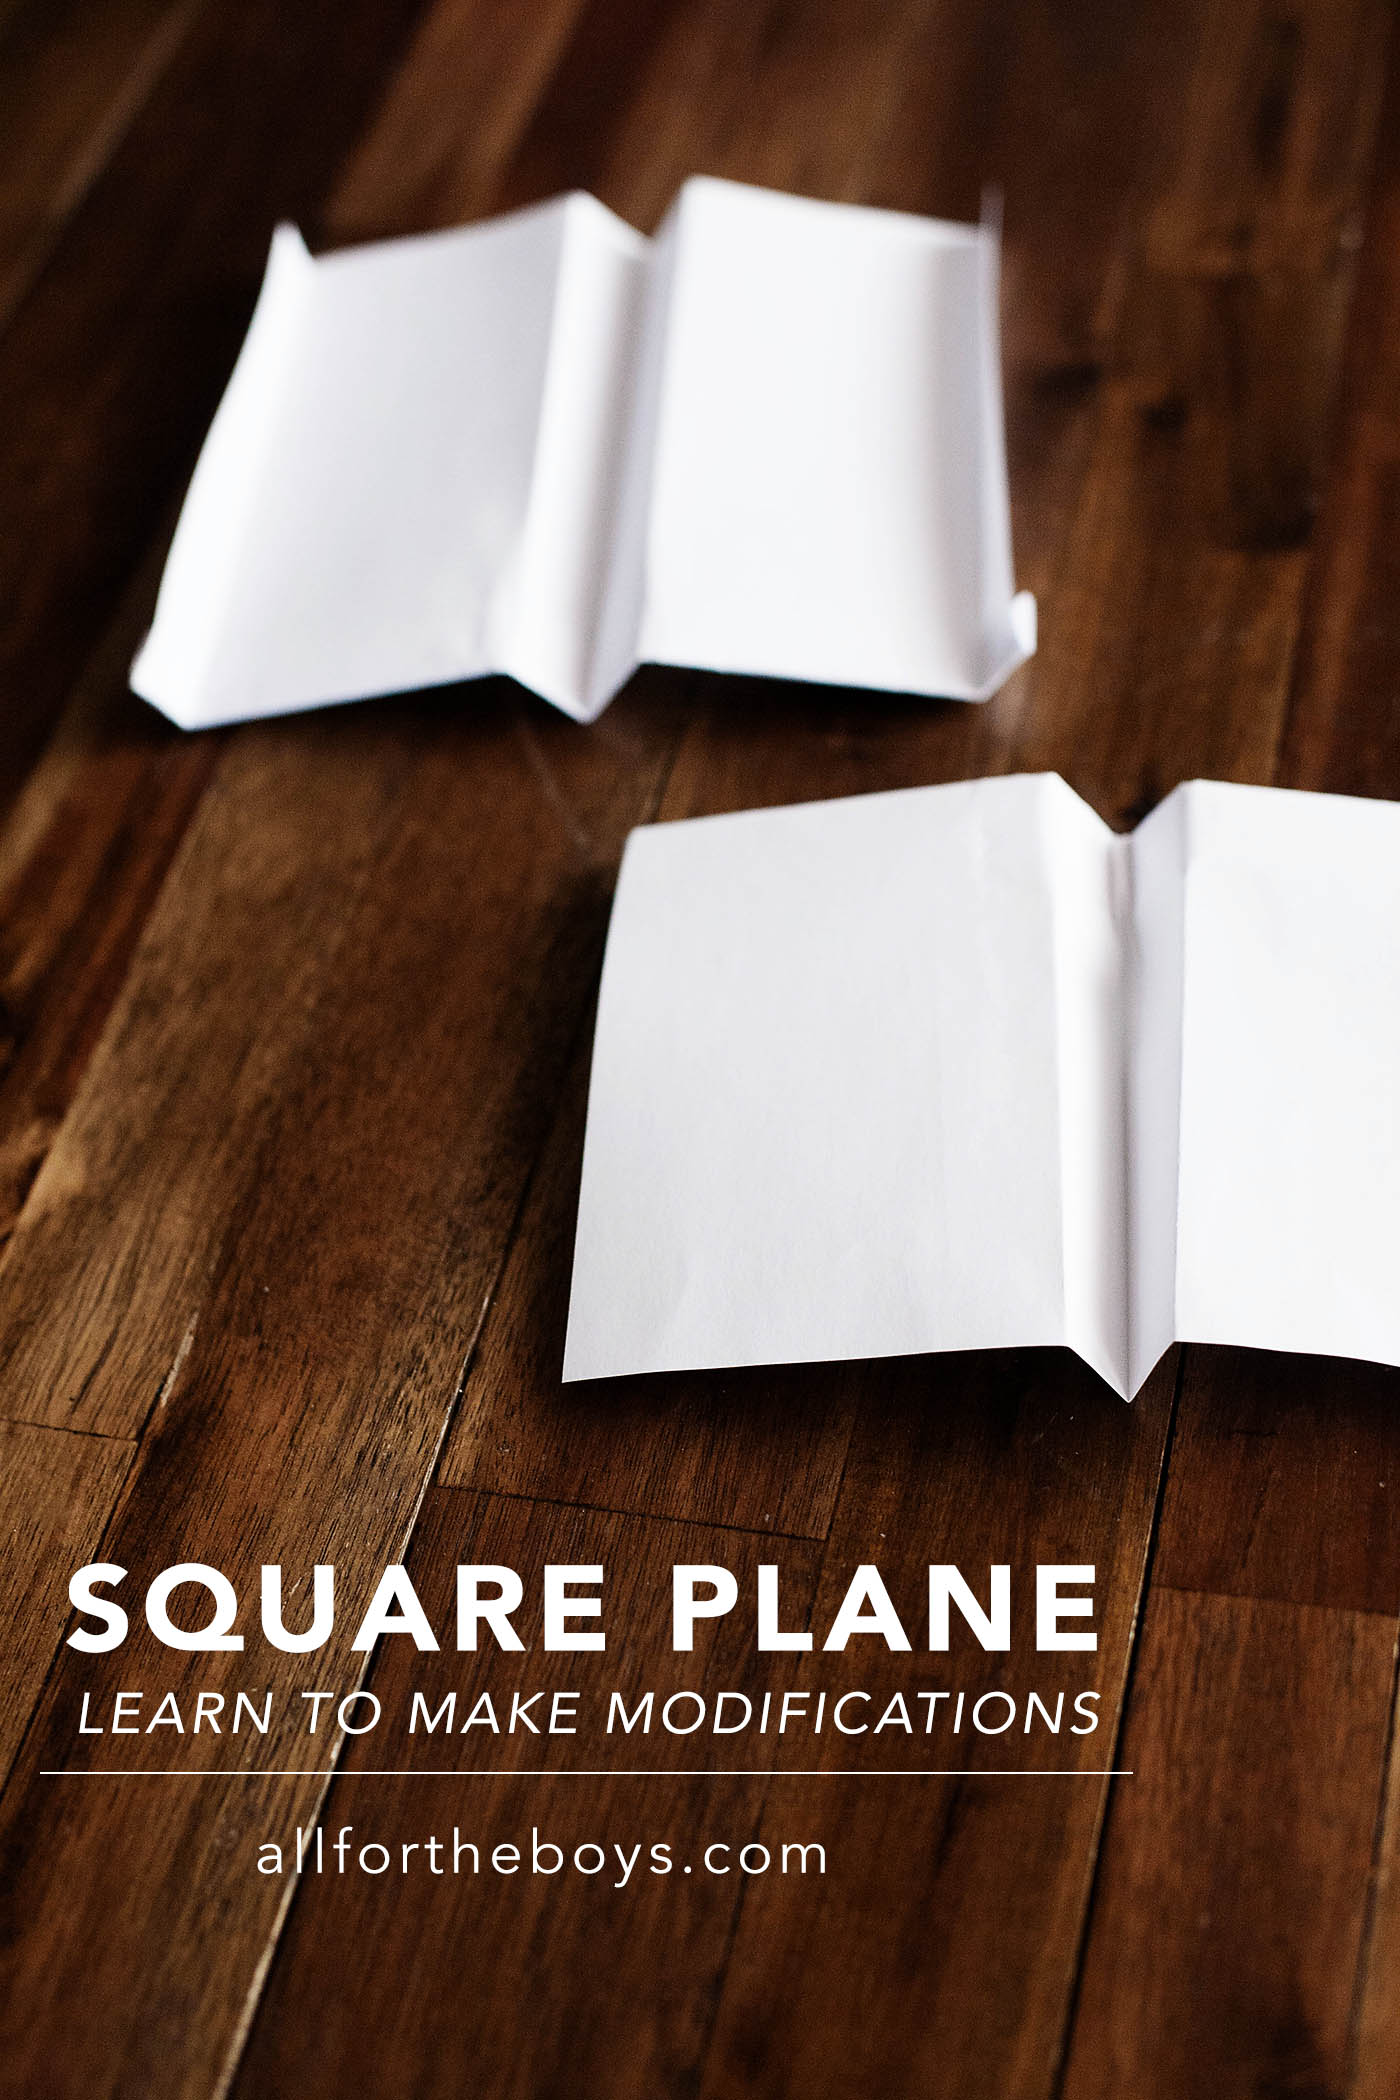
This week our theme is fly so we are sharing a basic paper airplane design that’s perfect for personalizing and learning to make modifications to the original design.
Start with a regular 8.5″x11″ sheet of paper. Fold the bottom up about 1/2″ -1″ or so.
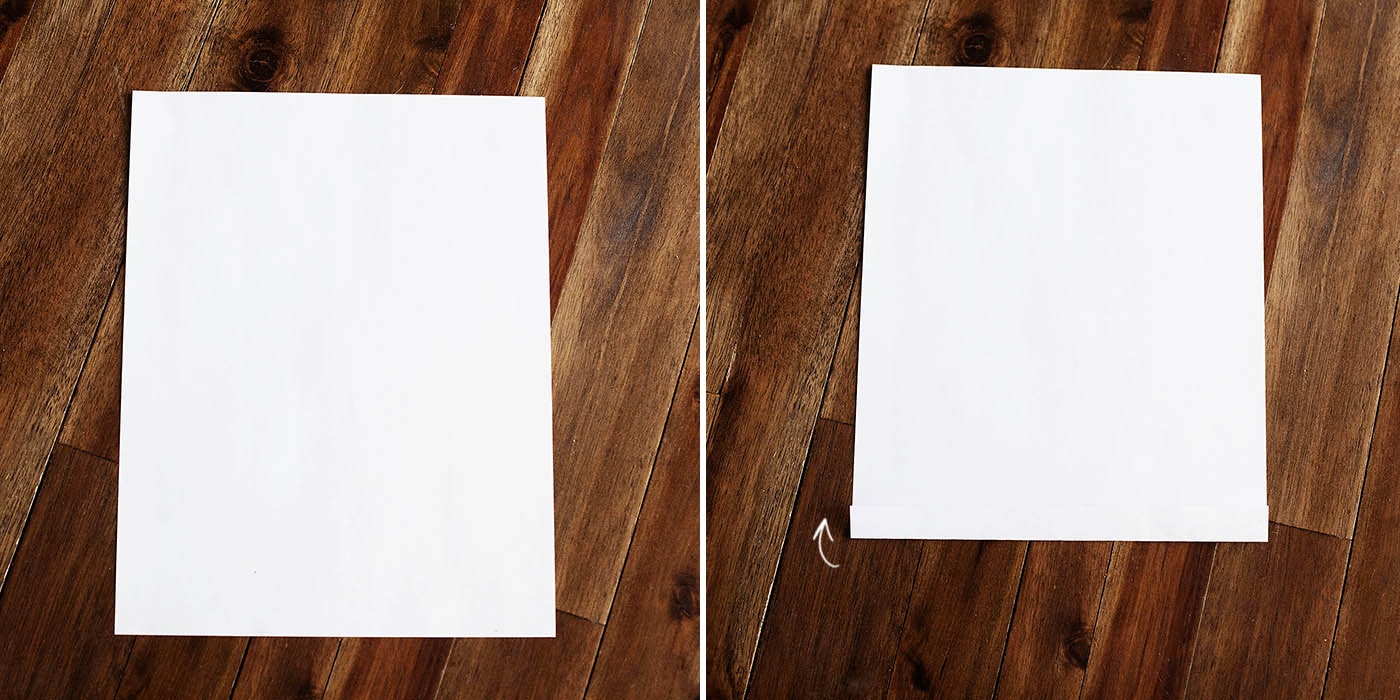 Continue folding up until you’ve reached about 1/2 way or a little more.
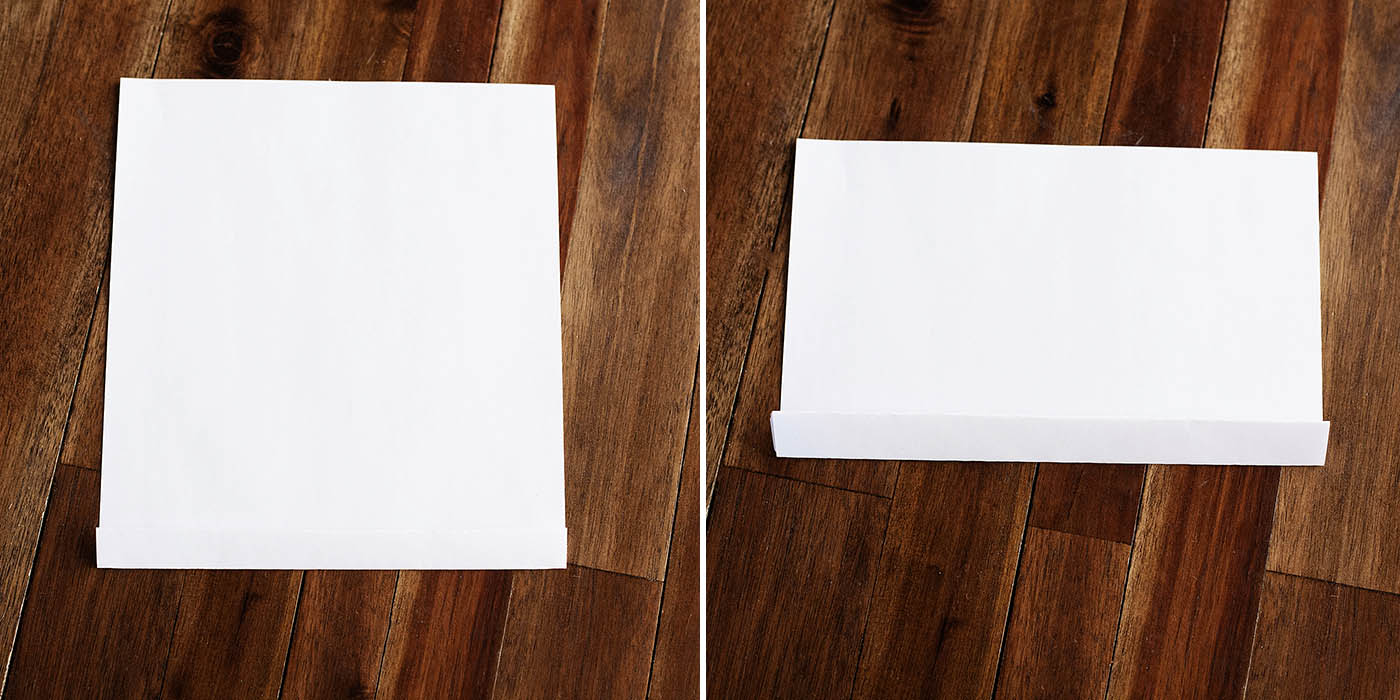 Turn the paper over and fold in half so the folded portion is on the outside.
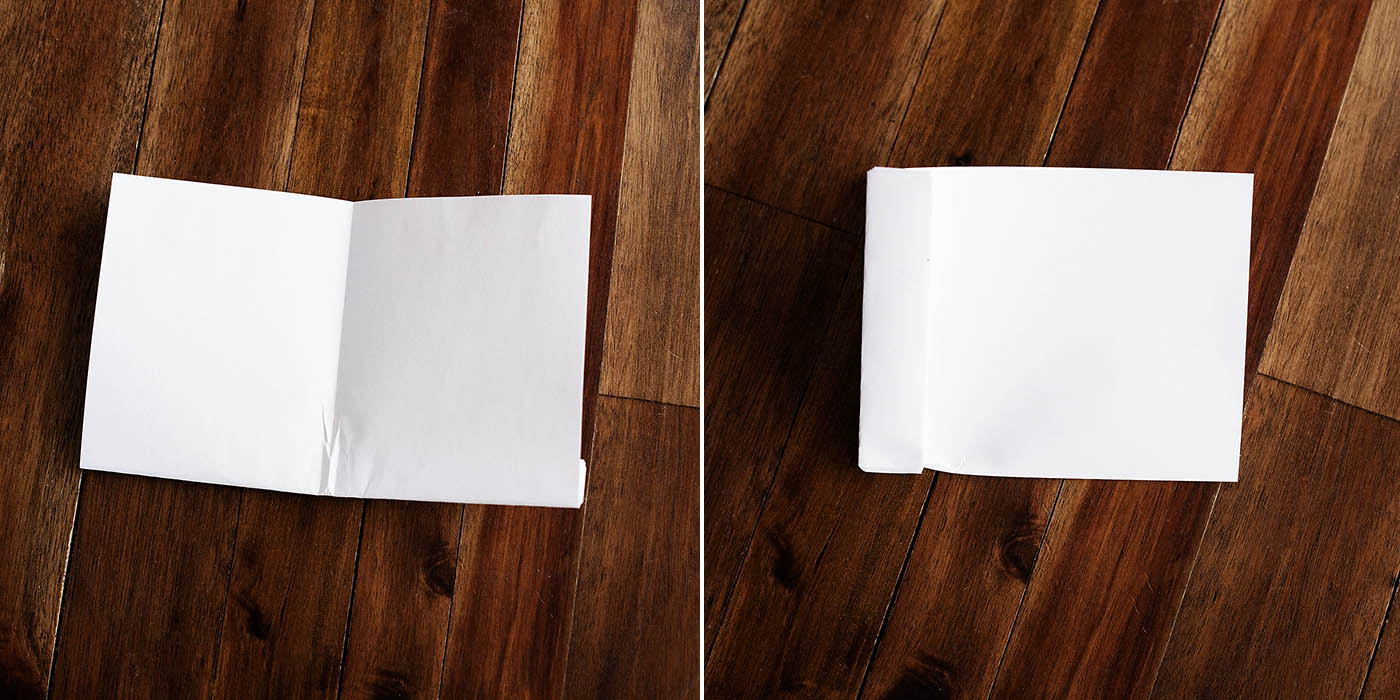 Now you’re making the hand hold so fold one of the wings down leaving an inch or so at the bottom. Do the same to the other side.
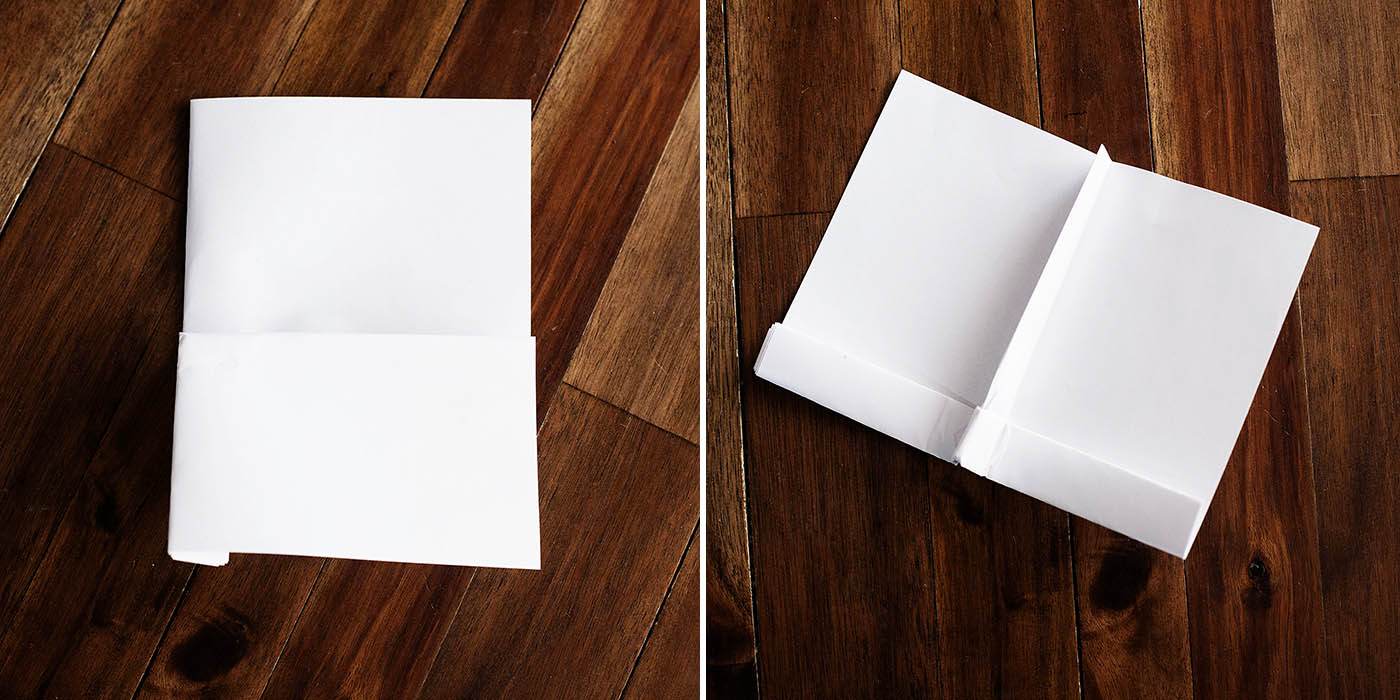 That’s it for the basic plane design! For this one you want to make sure the wings are slightly up when flying.
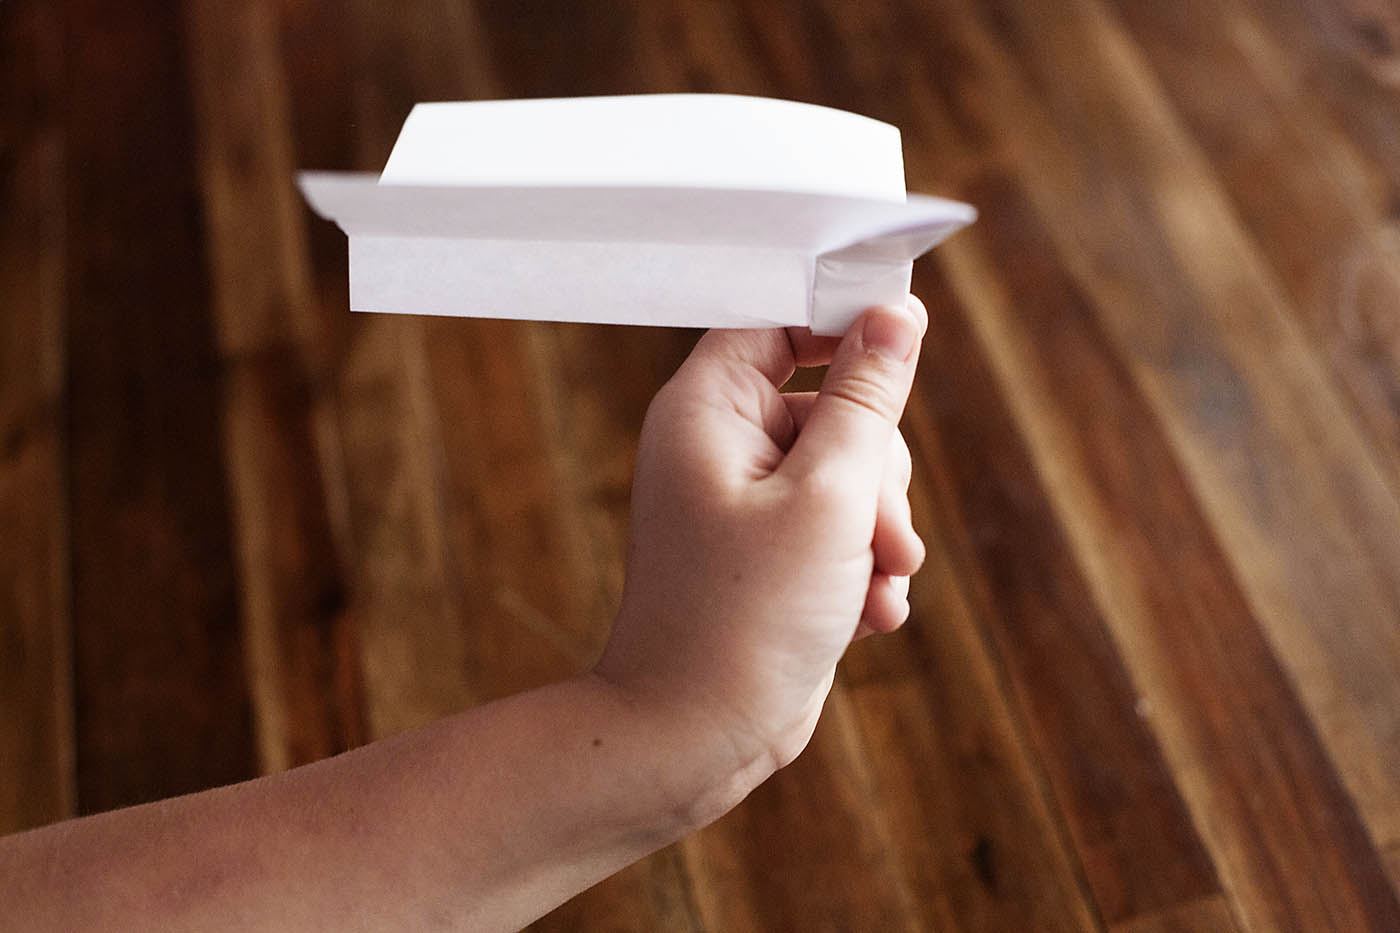 From here, make adjustments and see how modifications change the way the plane flies. Even small adjustments like how big the original folds are or where the wings are. You can fold up the ends of the wings, or cut a slit in the back to make a tail.
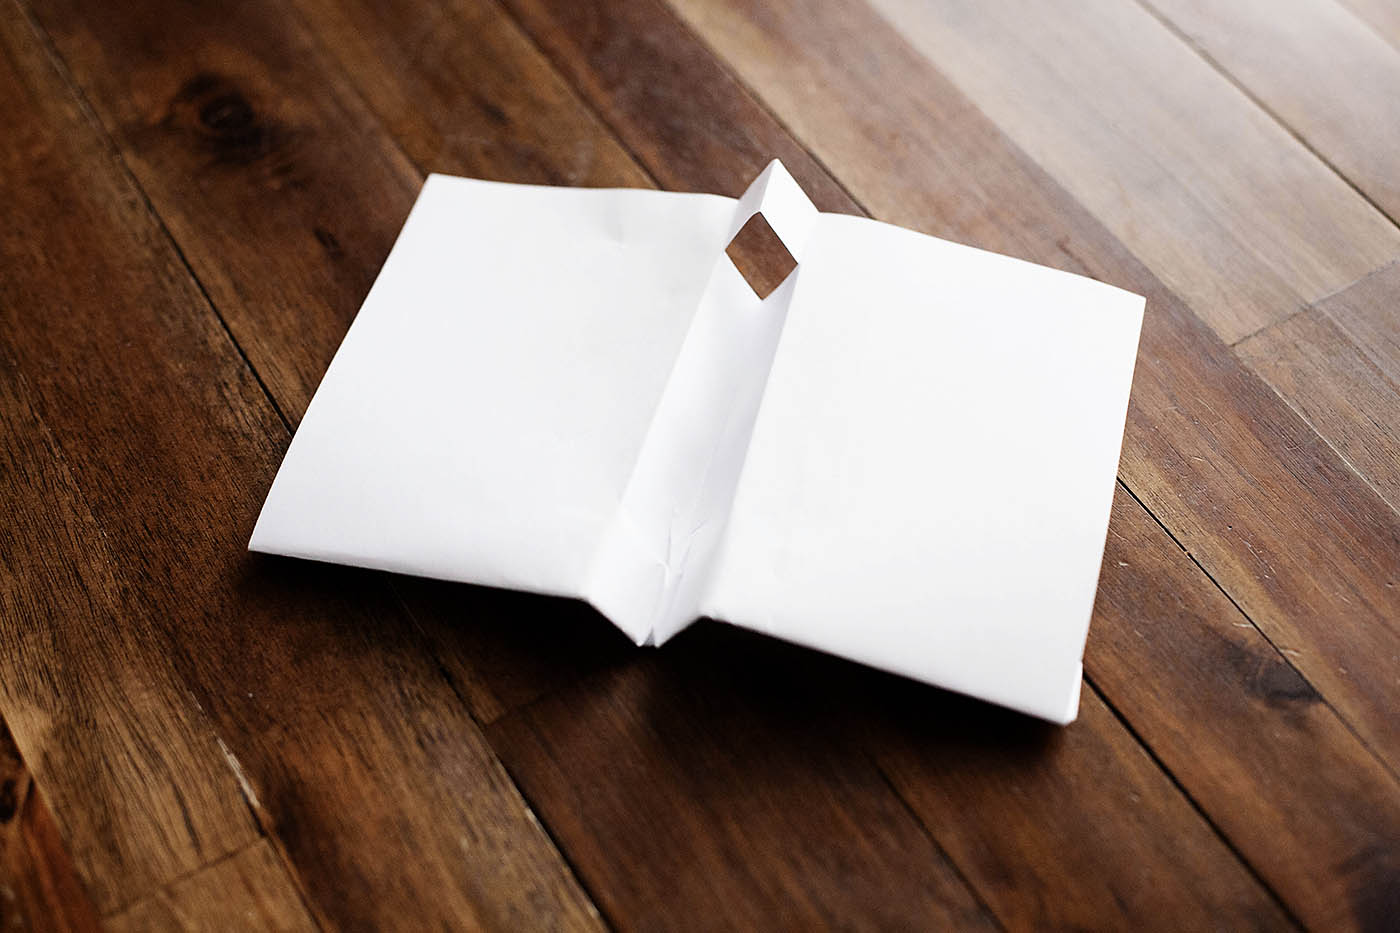 Keep folding and making new modifications!
 A great projects for some trial and error!
 Here are some more fun flying projects:
DANCING BALLOONS / WHIRLY TWIRLY FLYING BIRDS / INDOOR BOOMERANG / ROCKETS / M&M TUBE ROCKETS / ZIP LINE / HOT AIR BALLOON







3 Comments
I had no idea you could make a square airplane! And I love that you guys worked through modifications to improve flight success.
There is a better way to make this design I know because I stumbled on the design in grade school nearly 30 years ago while making something known to us a popper and it far more stable and the folds are more precise if interested I can show you.
I’d love to see!