

We may earn money or products from the companies mentioned in this post. Please see policies for more information.
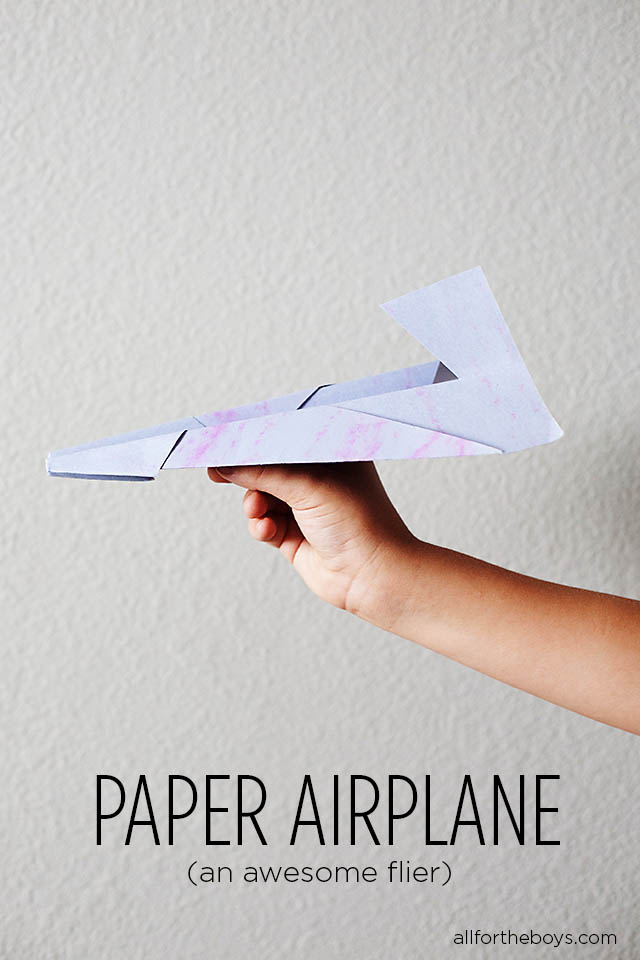
We decided to name this one awesome flier because once we tweaked it a bit we got it to fly far and fast!
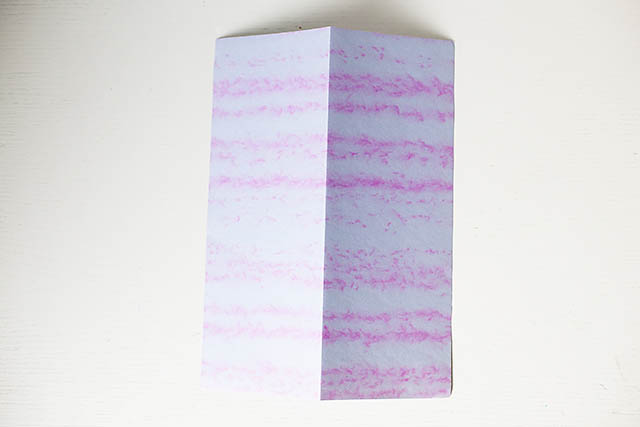
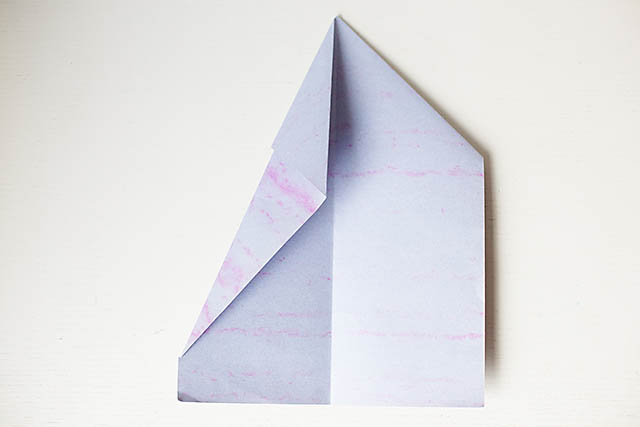
You’ll need an 8.5″ x 11″ sheet of paper for this one. Fold in half lengthwise and turn so the fold is facing down like a tent.
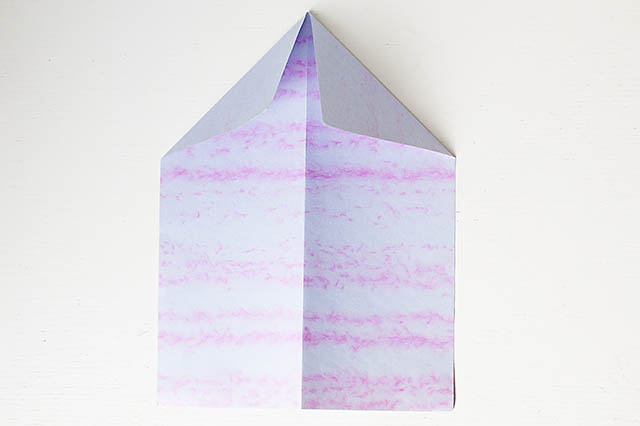
 Take the top edges and fold them in to meet the fold
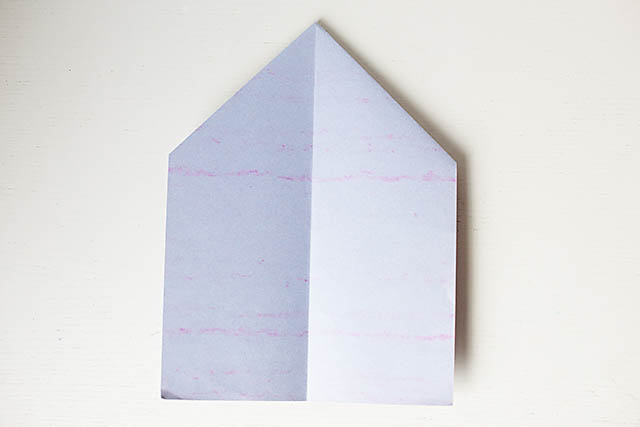
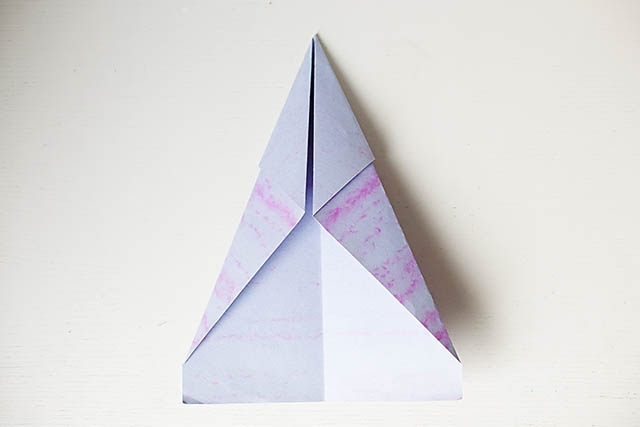
 Turn the paper over
 Do the same step on this side. Take the corner and fold it in to meet the fold
 Turn over
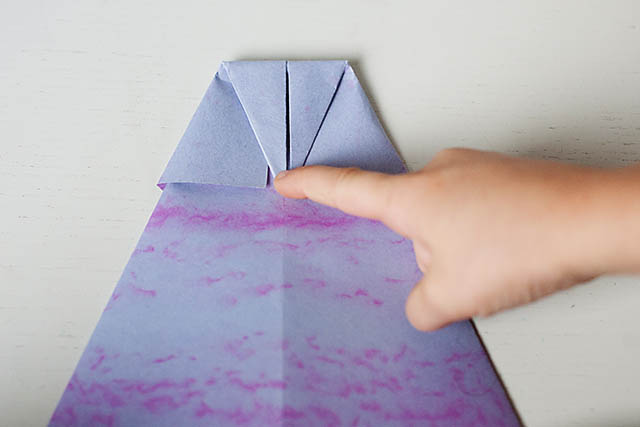
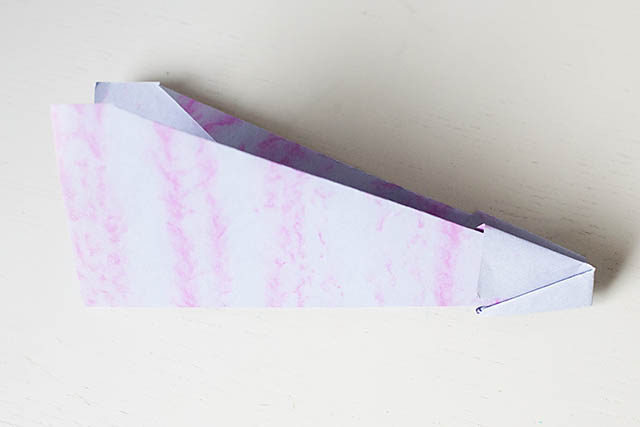
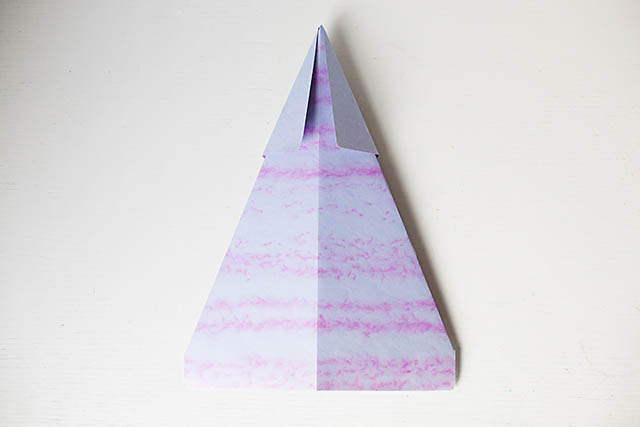 Fold the tip half way down
 Fold in half (along your original fold)
 Fold the wings halfway down to meet the bottom of the plane.
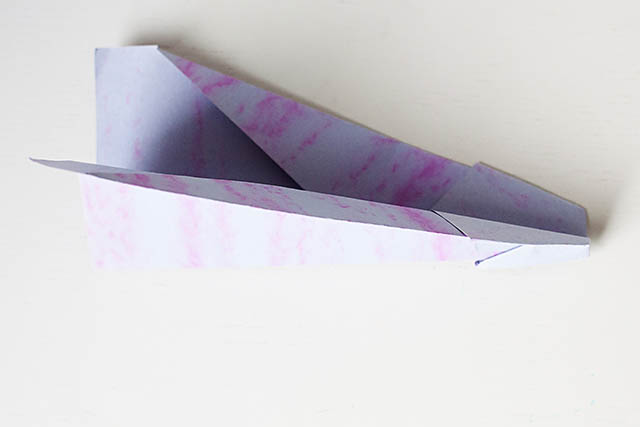 Do the same for the other side
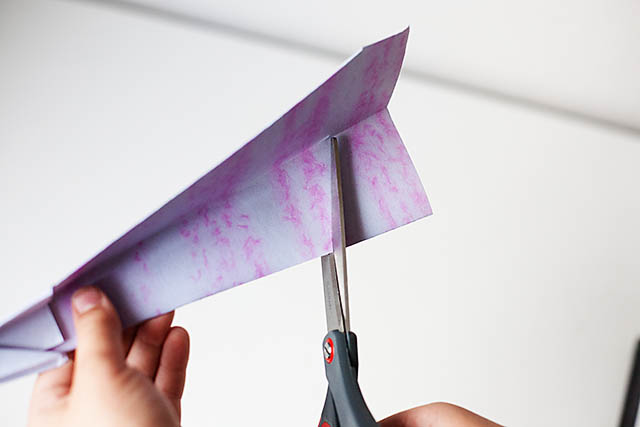
 Holding your plane at the fold with the wings up cut a slit on the diagonal towards the back of your plane like this
 Pull up the back and fold the opposite way
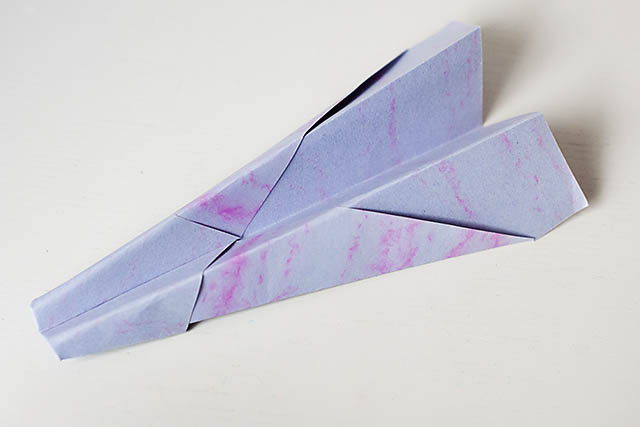
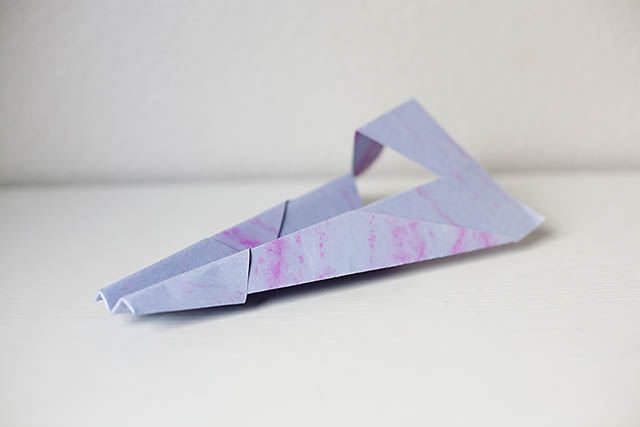 and you’re done!
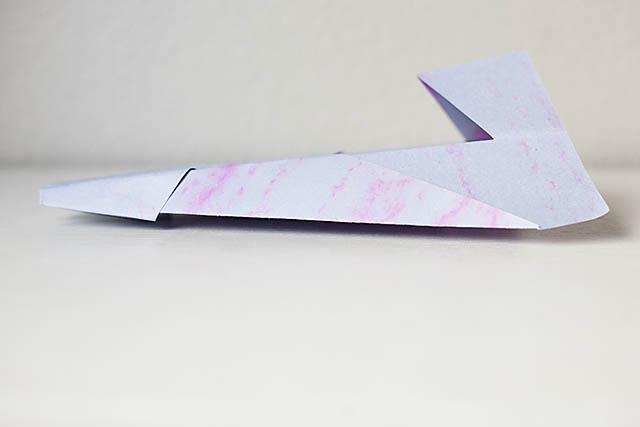 Try flying your plane just like this
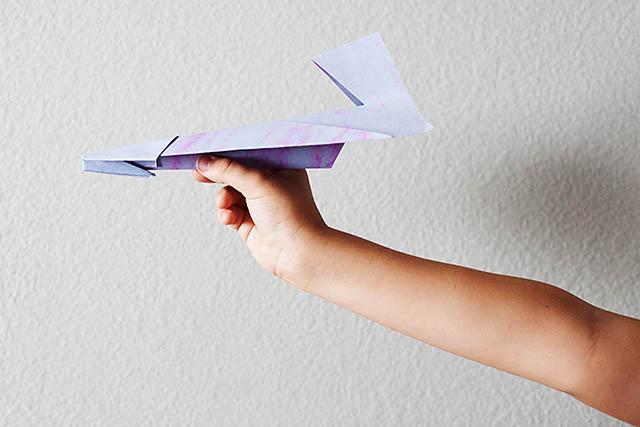 If you used a thicker paper (like construction paper) the plane may open up too much during flight and become a boomerang. If this is happening to you just place a staple on the part that you hold towards the back of the plane to keep the plane together when flying. If you used regular copy paper and had tight enough folds you may not need the staple.
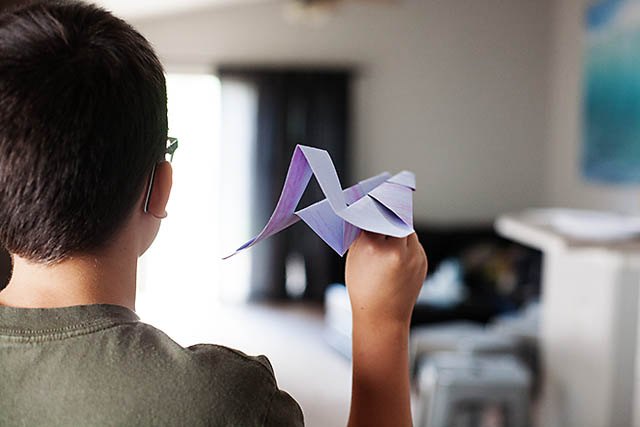 Let us know how it worked for you!


8 Comments
Wow! That is a really neat design! I haven't made a paper plane in ages but this makes me want to give it a try! Thanks for sharing! : )
Wow! it works really well I am going to make one for my brother and sister.
Totally awesome. Flies better than anything in the Klutz paper airplane kit. Without a doubt the best flier I ever made, and I've made dozens of unique designs.
Really cool!!! It is something I will show my son how to do.
It got a little confusing at the end for me otherwise a great paper airplane i didn't do the last few steps and it still flew great!!
this is amazing
Made one today and it was great! I'm going to have my classroom make them as a project and have plane races! Thanks for the idea!
love it. it work so good.