We may earn money or products from the companies mentioned in this post. Please see policies for more information.
We saw Disney’s Frozen last night (we’ll review it for you tomorrow!) so the boys requested a snow themed project today. Since we are a couple of hours away from real snow we pulled out our trusty indoor “snow” and created this Paper Snowball Launcher.
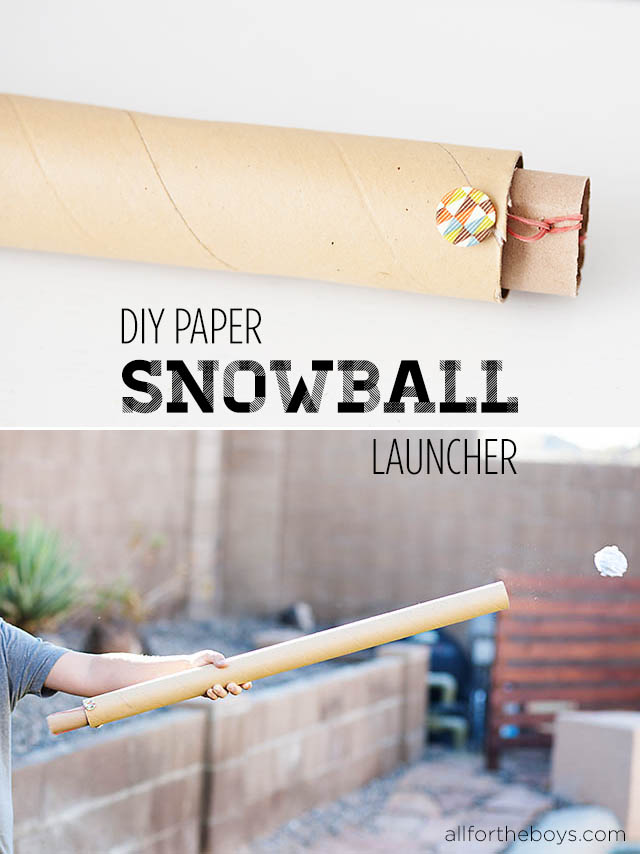
You’ll need 2 cardboard tubes (one that fits easily inside the other) think leftover shipping tubes or wrapping paper tubes, 2 rubber bands, scissors or something to poke a hole into the cardboard and pom poms or paper snowballs. A brad is optional.
Put the smaller tube inside the larger tube.
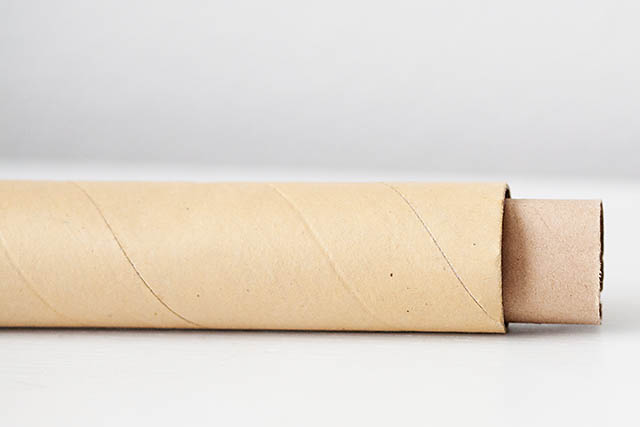
Poke 2 holes on either side of the smaller tube and insert/secure the rubberband. There should be one on each side.
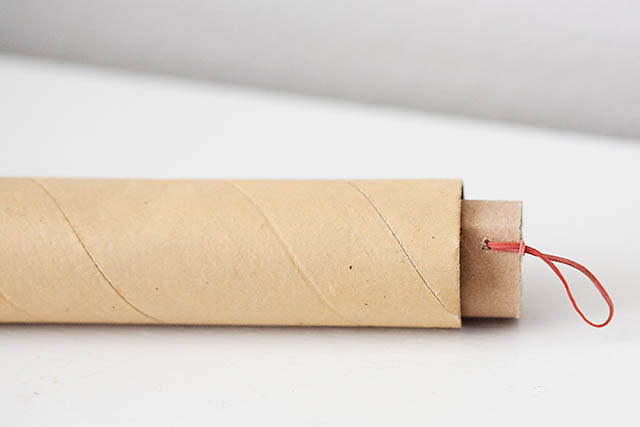
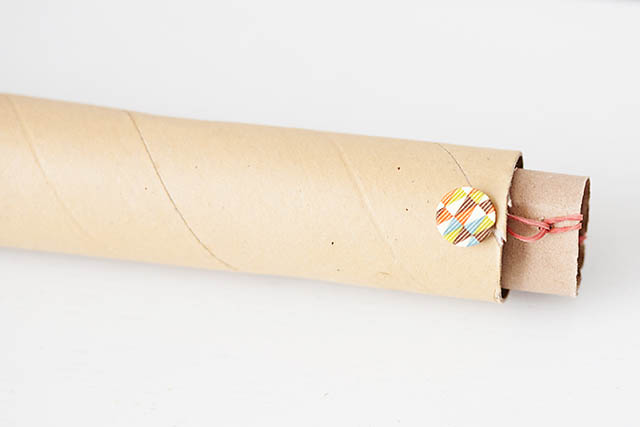
Do the same to the larger tube and attach the same rubberband so they are now connected. We used a brad to keep the rubberband from coming through but you can attach however you like. Especially for the older kids I try to get them to figure out the best way to contruct things like this using materials they have on hand. (Like how to reinforce the cardboard to make sure you get plenty of use).
We cut the smaller tube since it was really long (you’ll likely want to be at least 1/2 the length of the bigger one but play with it and see what you like best) so we used the extra to help stuff the snowballs into the launcher.
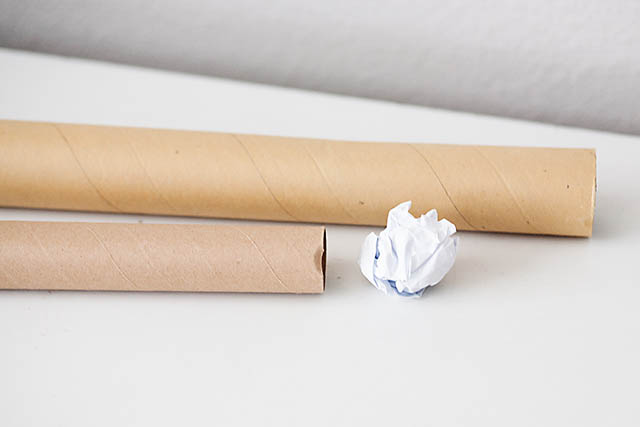
Now you’re ready to launch.
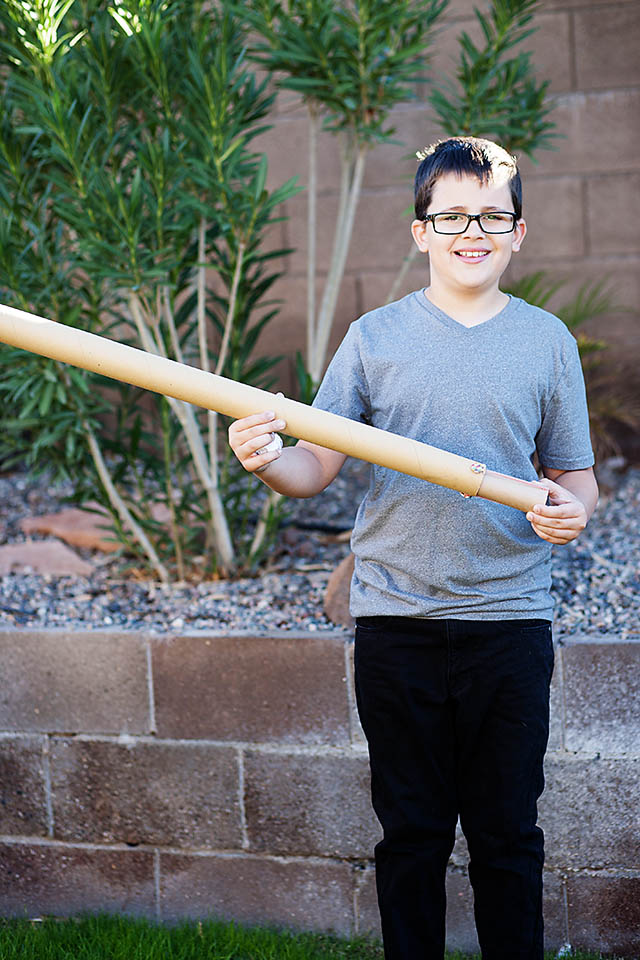
Stuff the snowball into the open end of the launcher.
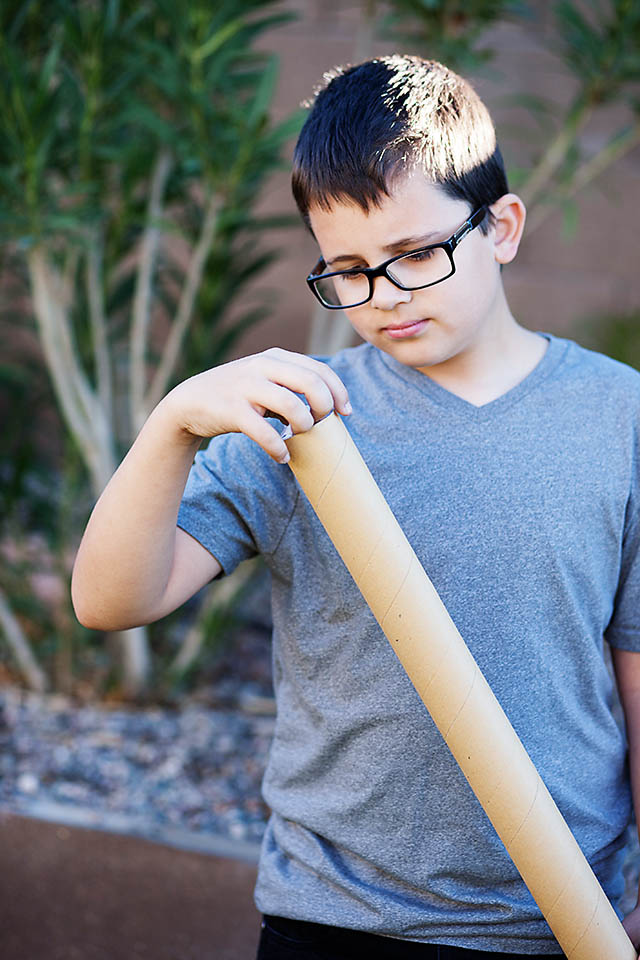
Using the extra piece to get it farther down if needed.
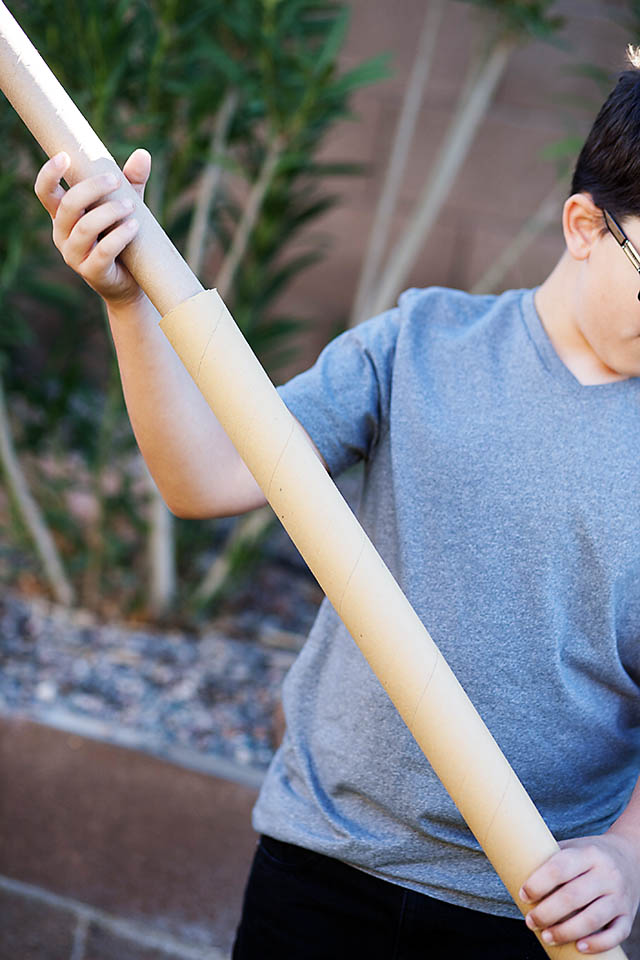
Pull back the smaller tube
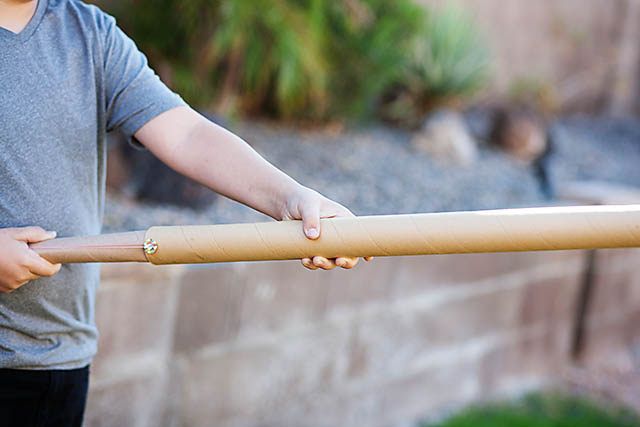
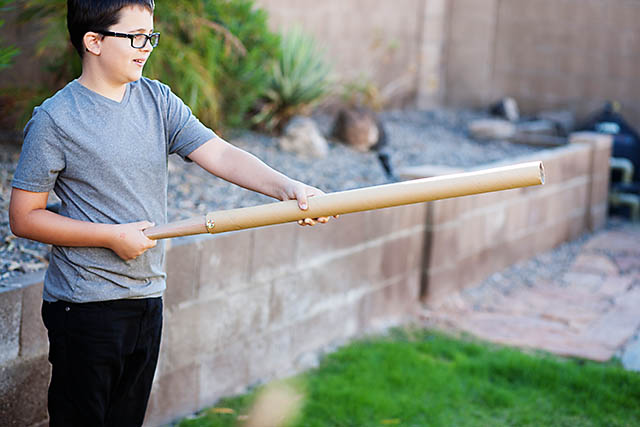
Let go completely to send the snowball flying
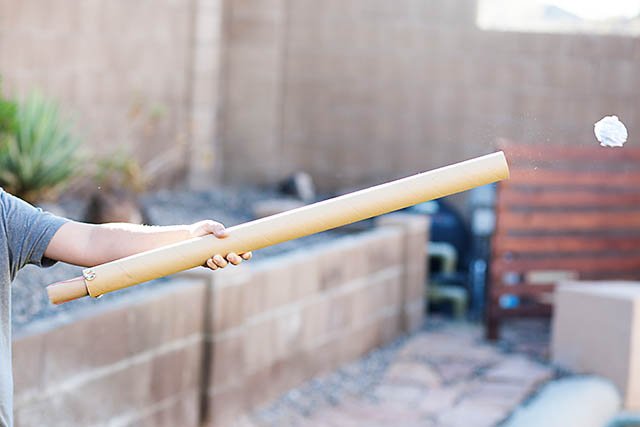
How far the snowball goes will depend on a lot of factors like your rubberbands, how far you pull the tube back, the snowball itself etc. so have fun perfecting it!





1 Comment
What a cool idea, and one my 10 yr old would love too. We made a smaller version using cups but my 10 yr old son didn't like it that much. This looks way cooler. I'll have to give it a try. Thanks for sharing.