We may earn money or products from the companies mentioned in this post. Please see policies for more information.
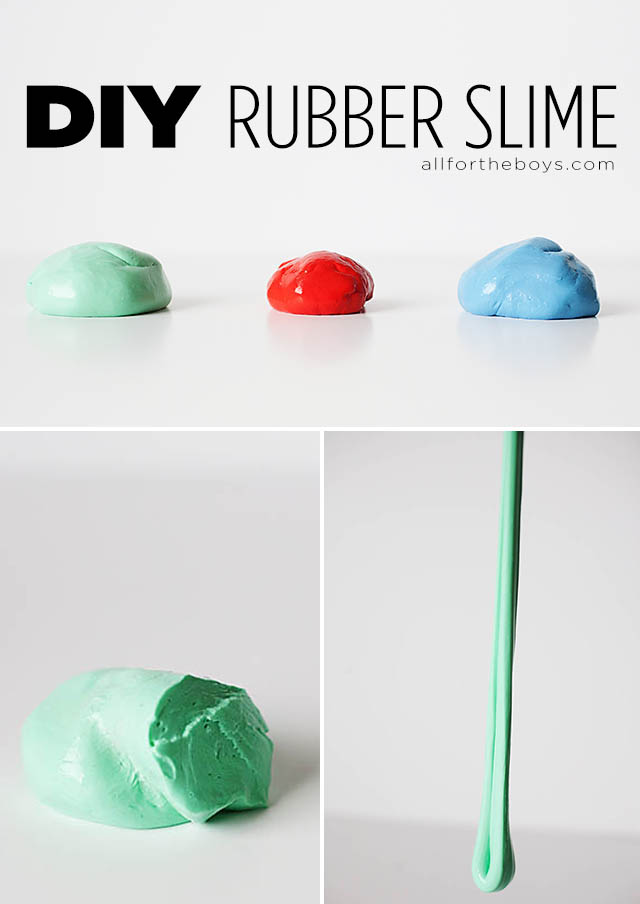
Stretchy, a bit bouncy (not too slimy) and tons of fun to make and play with – this DIY rubber slime is sure to be a hit in your house.
This “recipe” is similar to what some are using for a homemade silly putty. I wouldn’t quite call this silly putty although it’s pretty similar. Silly Putty is more dense than this. I decided to name it Rubber Slime since that’s what it reminded us of.
You’ll need liquid starch, glue (a bit stronger formula than the classroom glue) and food coloring (optional).

Pour some glue into a bowl (this glass bowl I used was very easy to clean up) and add food coloring if you’re using it.
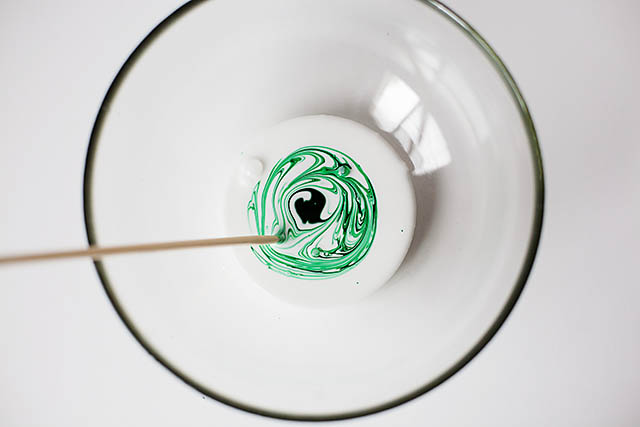
Mix it up well
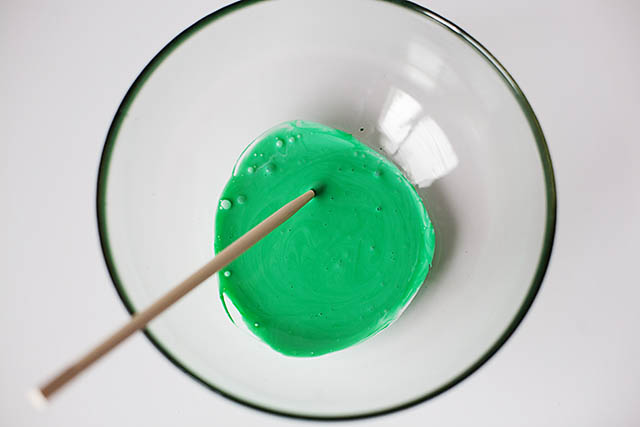
and then add some liquid starch. Don’t use too much at first until you get a hang of the mixture. Here we have about 1 part glue to 1/2 – 3/4 parts starch
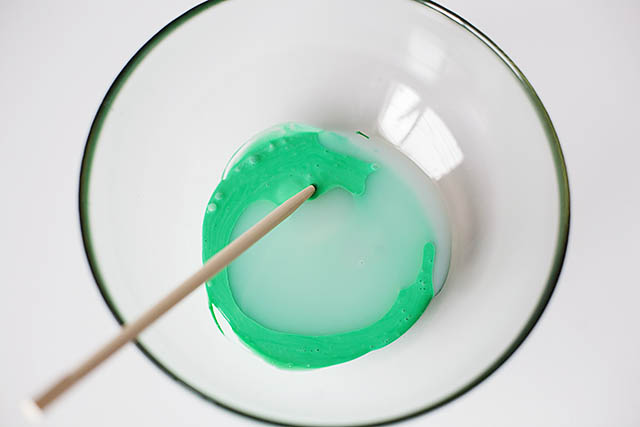
Start mixing.
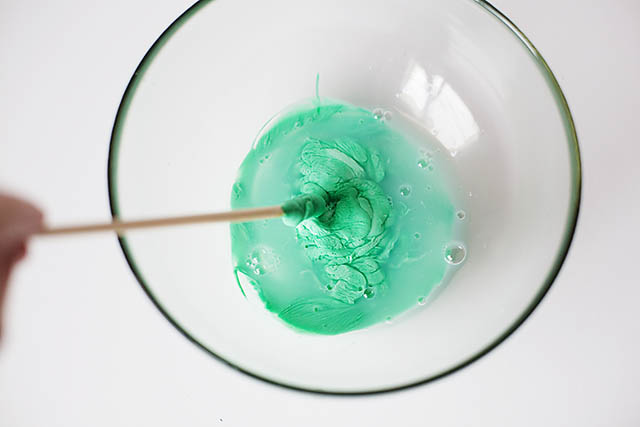
It will get hard to use a spoon or a stick so you’ll have to start using your hands
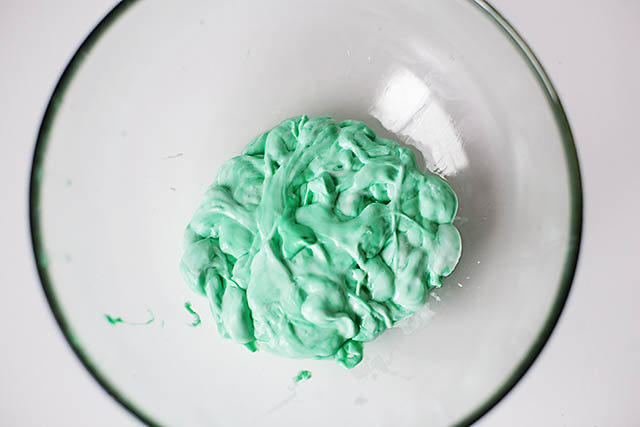
The mixture will start changing as the starch and glue mix together. Keep playing with it!
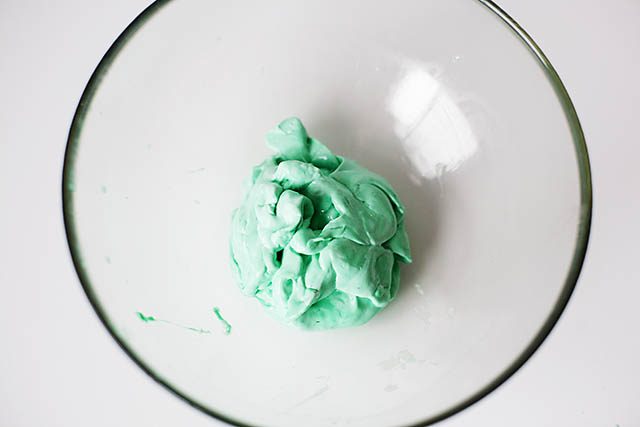
If your mixture starts to look like this but it still a bit sticky you can let it sit for a bit. It will change as you allow it to sit. Mix until it’s no longer sticky (doesn’t make a mess on your hands) and is the consistency you want. If it’s not quite right add a bit more glue or starch. When you’re adding either make sure you work it a bit and let it sit to mix in.
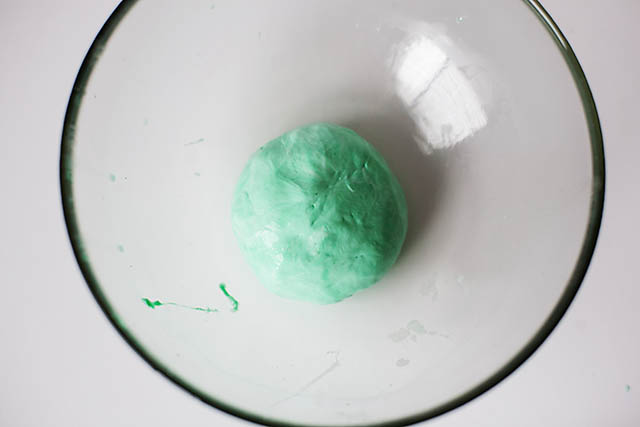
It’s very forgiving and there wasn’t a perfect mixture just add more glue/starch as needed to get the consistency you like best.
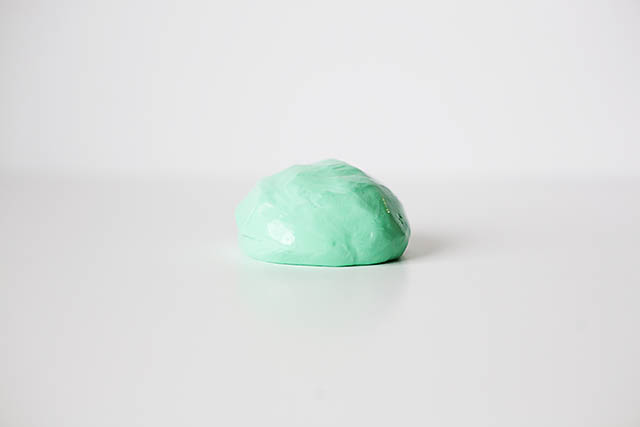
It can be stretched out
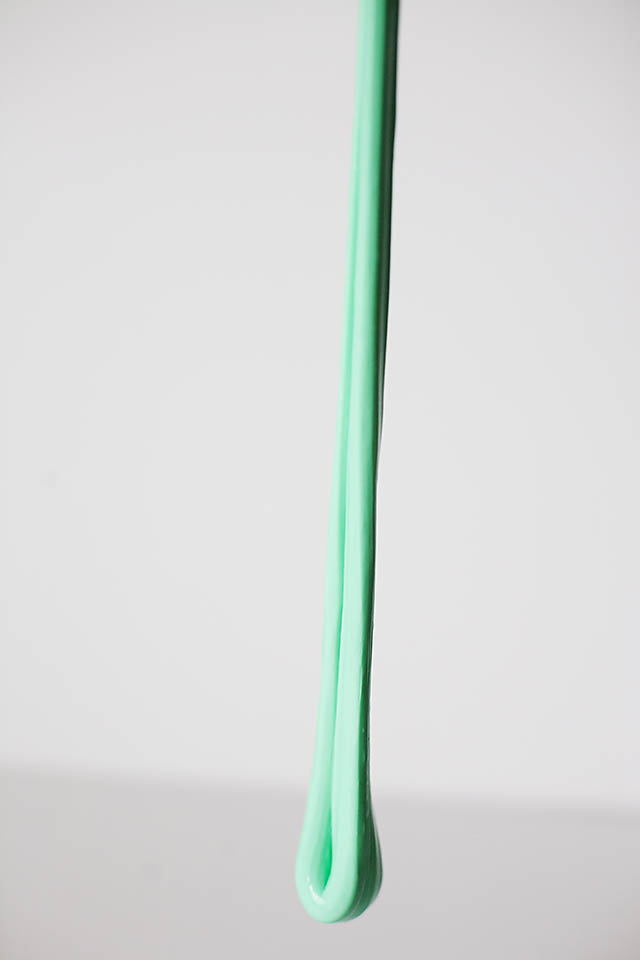
or torn
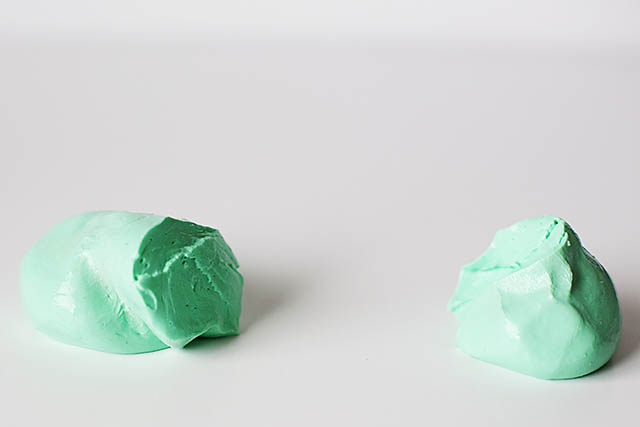
and if you have just the right amount of starch and it’s sat a bit you can even get it to bounce a bit when put into a ball shape.
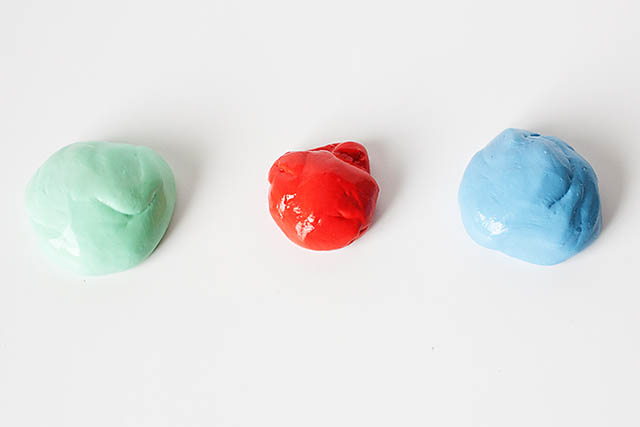
We tried some different colors (mixing the glue and food coloring was fun)
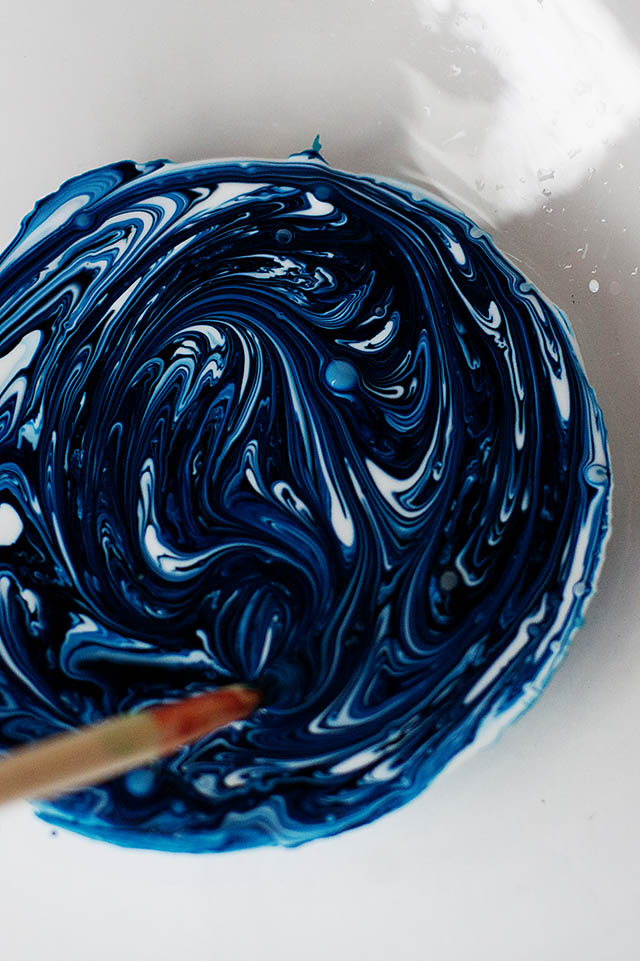
If you get to this consitency let it sit for a few minute and it may be good for you. It’s not necessarily perfect right when you mix it.
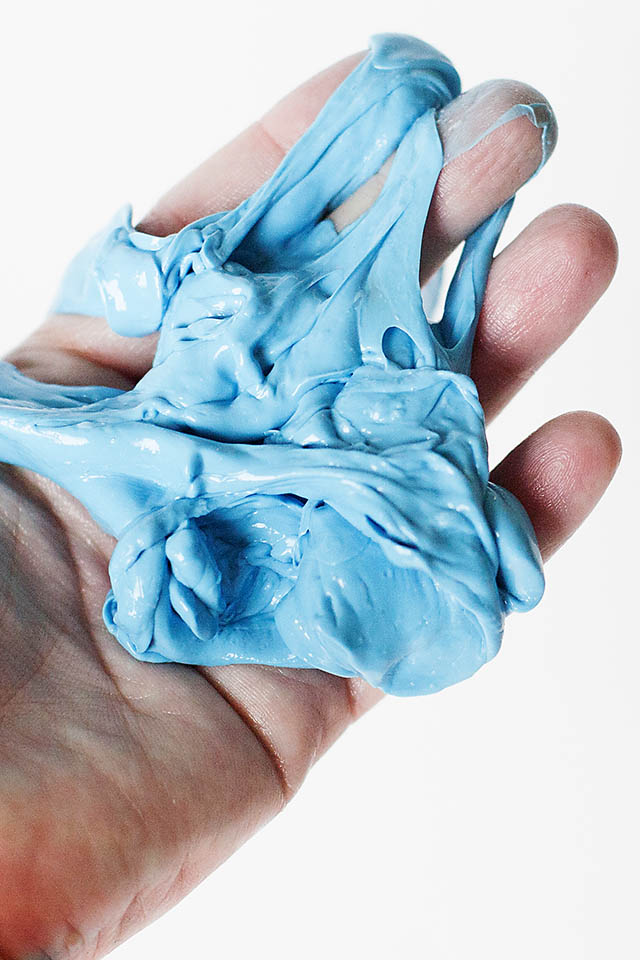
See how it’s sticking just a bit? After it sat for a few minutes it was perfect. I assume that your climate might play a roll as well so do your own experimenting. It’s fun!

It may stick to and stay on some surfaces (like paper towels or fabric or carpet) so be careful. Since it doesn’t feel too sticky kids may be tempted to put it on things that it could stick to lol! Also the color may bleed onto some surfaces. For these it was ok on my white painted wood but left a stain on a poster board. (just giving you a heads up warning since it doesn’t seem as messy as some slime recipes)
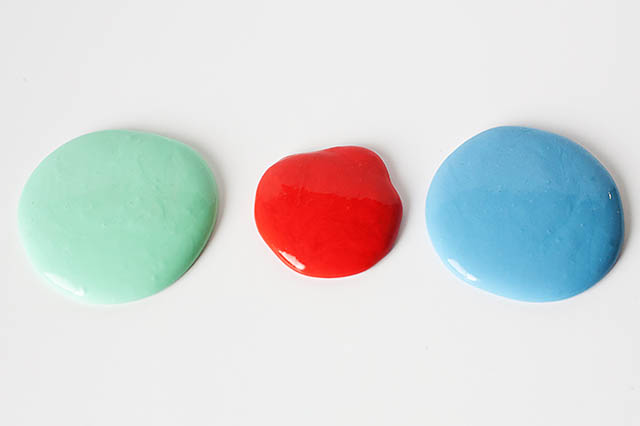
A few minutes after the above picture was taken – gravity takes over a bit
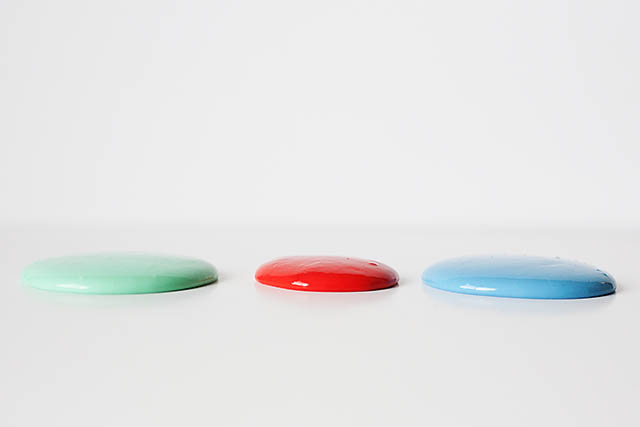
So it’s sort of rubbery and slimy – hence our name Rubber Slime. Have fun and if you do it yourself let me know how you like it!





22 Comments
I really need to give this a go. The little man would LOVE it…
Great photos by the way. 😀
This is great! Thanks for posting!
Great post! I love your photos. It's weird to say but you made the slime look pretty! : )
Thank you! Winter is coming where I am, so indoor fun stuff like this is going to be key soon! Thanks I'm adding it to my Kiddie Kraft pinterest board!
Seriously man. It could be an alternative for silly patty..
This is amazing. I need it in my life!
Ugh ! It didn't work !!!! What did i do wrong ????
OOooh looks like I hit the jackpot ! 😀 Wait Lucy till I smash you with my new creation. muhahaaa
I love this idea – but, why is it all for the boys????
I just did this with a group of 4th and 5th grade boys and it was a hit! Super easy and super fun! For us grown ups too 🙂
I did this same project in 8th grade science. I couldn’t remember how we did it. So thank you very much for posting it. My daughter loves stuff like this. Is there something else you can use instead of the liquid starch. I do remember using the white glue and food coloring but I don’t remember using starch.
We tried another version with borax but it didn’t turn out no matter how hard we tried! The simple cornstarch and water is fun to do too!
What is liquid starch .plz explain with option
Here is a link to it on Amazon http://www.amazon.com/School-Specialty-Sta-Flo-Liquid-Starch/dp/B0042SWOHI/ref=sr_sp-atf_title_1_1?ie=UTF8&qid=1407252275&sr=8-1&keywords=liquid+starch
I’m not really even sure what it is but I have seen people make their own with cornstarch, water and essential oils. I have no idea if that will work for this recipe though. Here is a link to make your own http://pinkyhasabrain.com/homemade-liquid-starch-recipe/
Would mod-pod work instead of glue?
I’m not sure but I don’t think so. It’s not quite the same consistency. It doesn’t hurt to try though if you wanted to!
Do you have any suggestions for storage? My daughter has to make a homemade product as a class project and “sell”it to classmates. (they have fake money to purchase items) so we were thinking of making this, but I wasnt sure how to divide it up and store it properly… the only thing that I can think of is a small ziplock type baggie. Do you have any other ideas ? Thank you for your post! Love this!
You can try keeping it in Easter eggs! Do the stores sell the Liquid Starch?
It looks awesome
P.s subscribe to my today
My YouTube name is krazykasey85
Can you use powder starch?
I’m not sure, I’ve never tried!
Well, thanks for writing back anyway.