

We may earn money or products from the companies mentioned in this post. Please see policies for more information.
A fun (easy) craft for late fort nights, camping or for any kid who likes a little light when they go to sleep
 A DIY Starry Nightlight
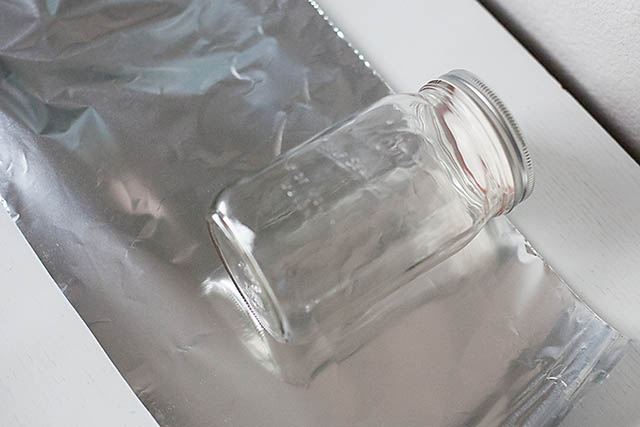
For this craft you’ll need a glass jar, heavy duty aluminum foil and a light. We used a batter operated tealight (these are great to keep on hand this time of year for lots of different crafts!)
Cut a strip of aluminum foil a bit smaller around than your jar and a little longer (to leave room to cover up the bottom) You can lay your jar on the foil to get a good idea on size.
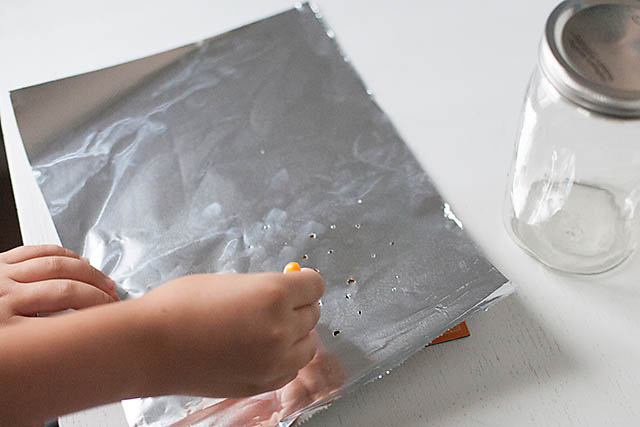
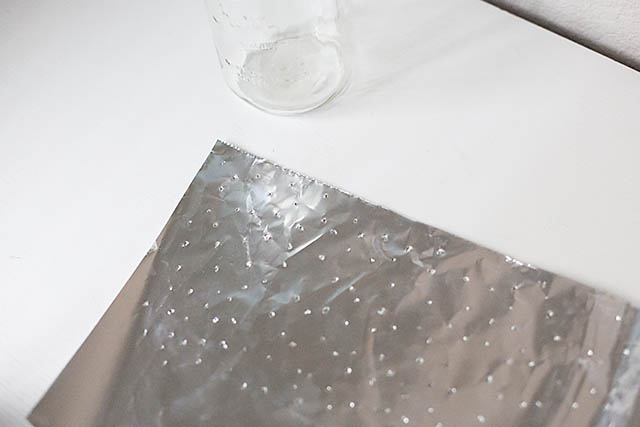
 Poke holes all throuhout the foil. We used a paper piercer with a mat (like a mousepad) but anything that will poke through the foil will work – a pencil, toothpick, hole punch etc. your holes, or stars, can be big or small.
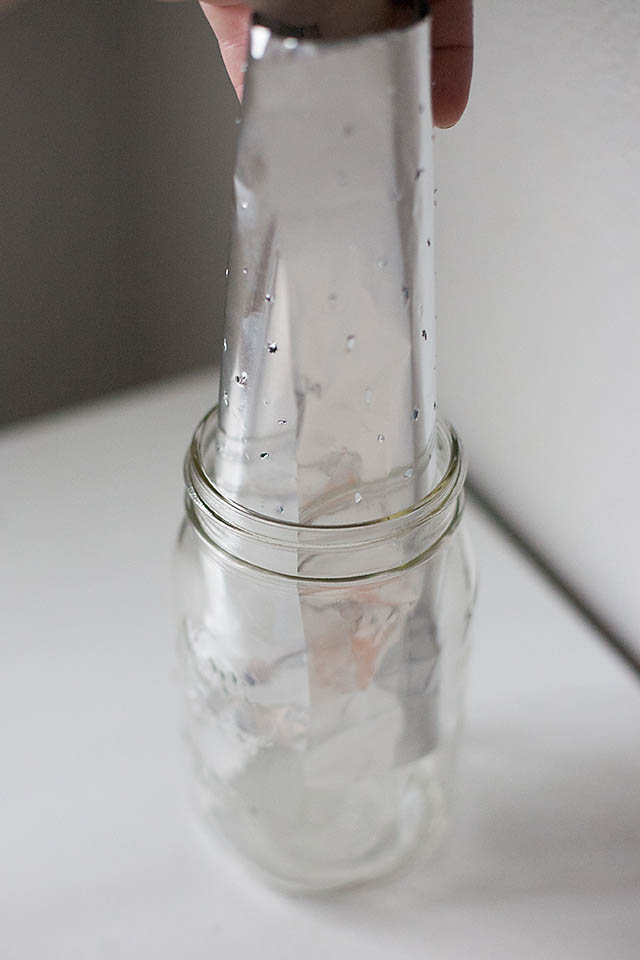
 Then carefully insert the foil into the jar folding the bottom. You can crumple the foil at this point just be careful because it can rip. if it does just piece it back together.
 Then insert your light
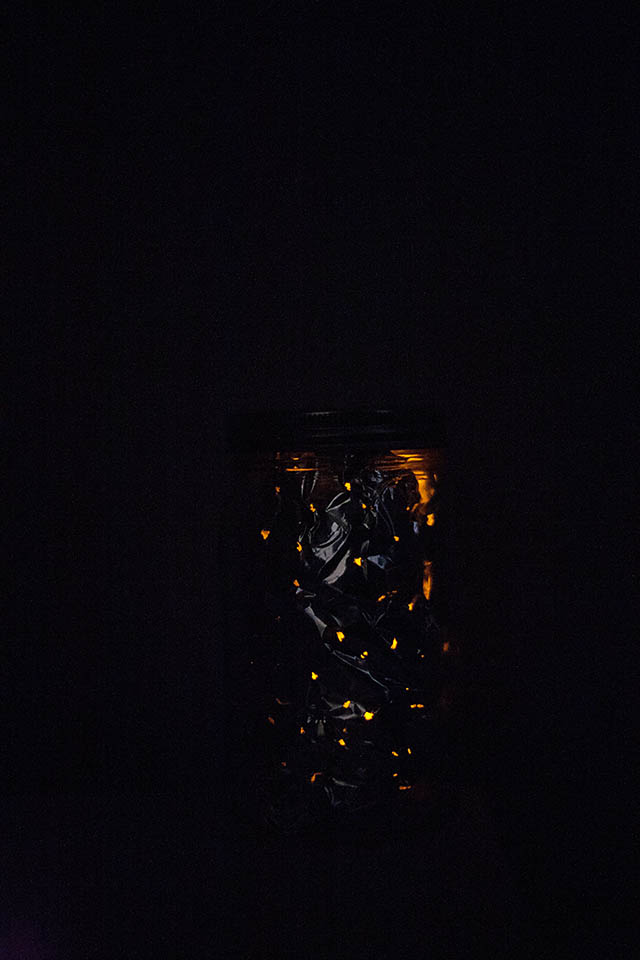
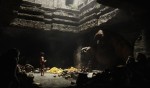
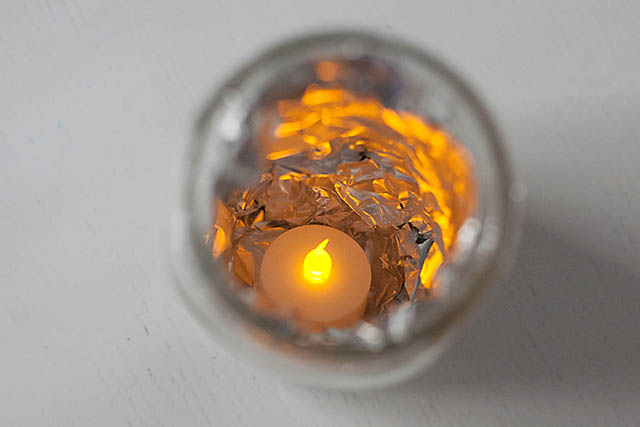 Put on your lid (or not if you want more light) and you’re ready to go! Just a bit of light shines through the holes.


2 Comments
What a cute idea! Wonder if it would keep my youngest in his own bed – he's just been liberated from the crib and only wants to sleep in ours!
Good read. Poking larger holes than this might make it look better. Thanks for the post.