We may earn money or products from the companies mentioned in this post. Please see policies for more information.
This is a sponsored post written in partnership with BIC. As always, all opinions are of my own.
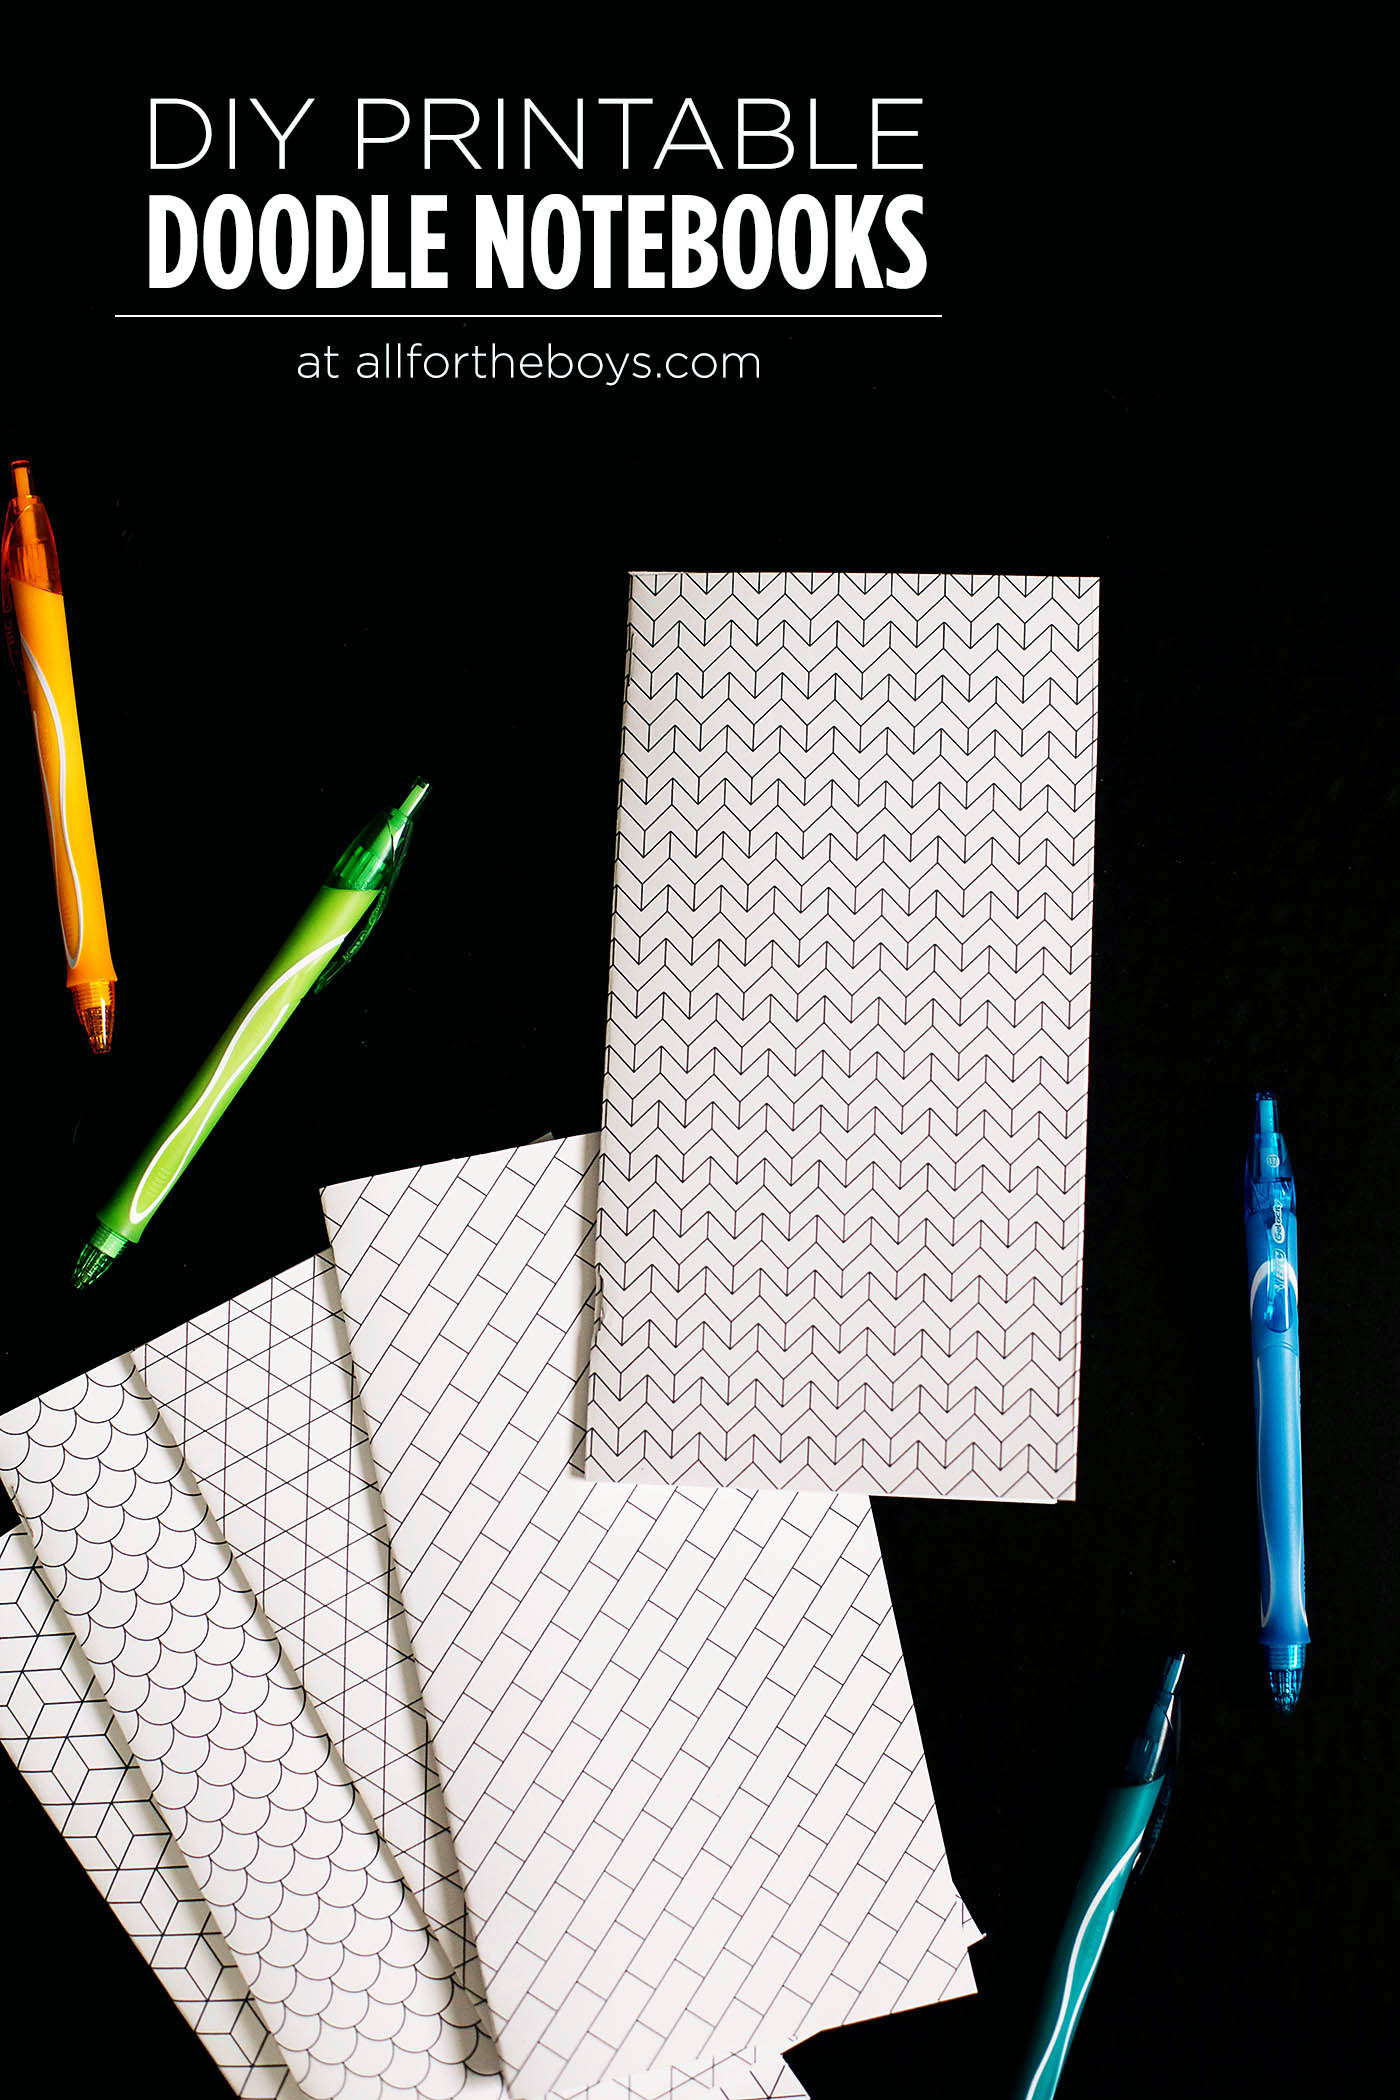
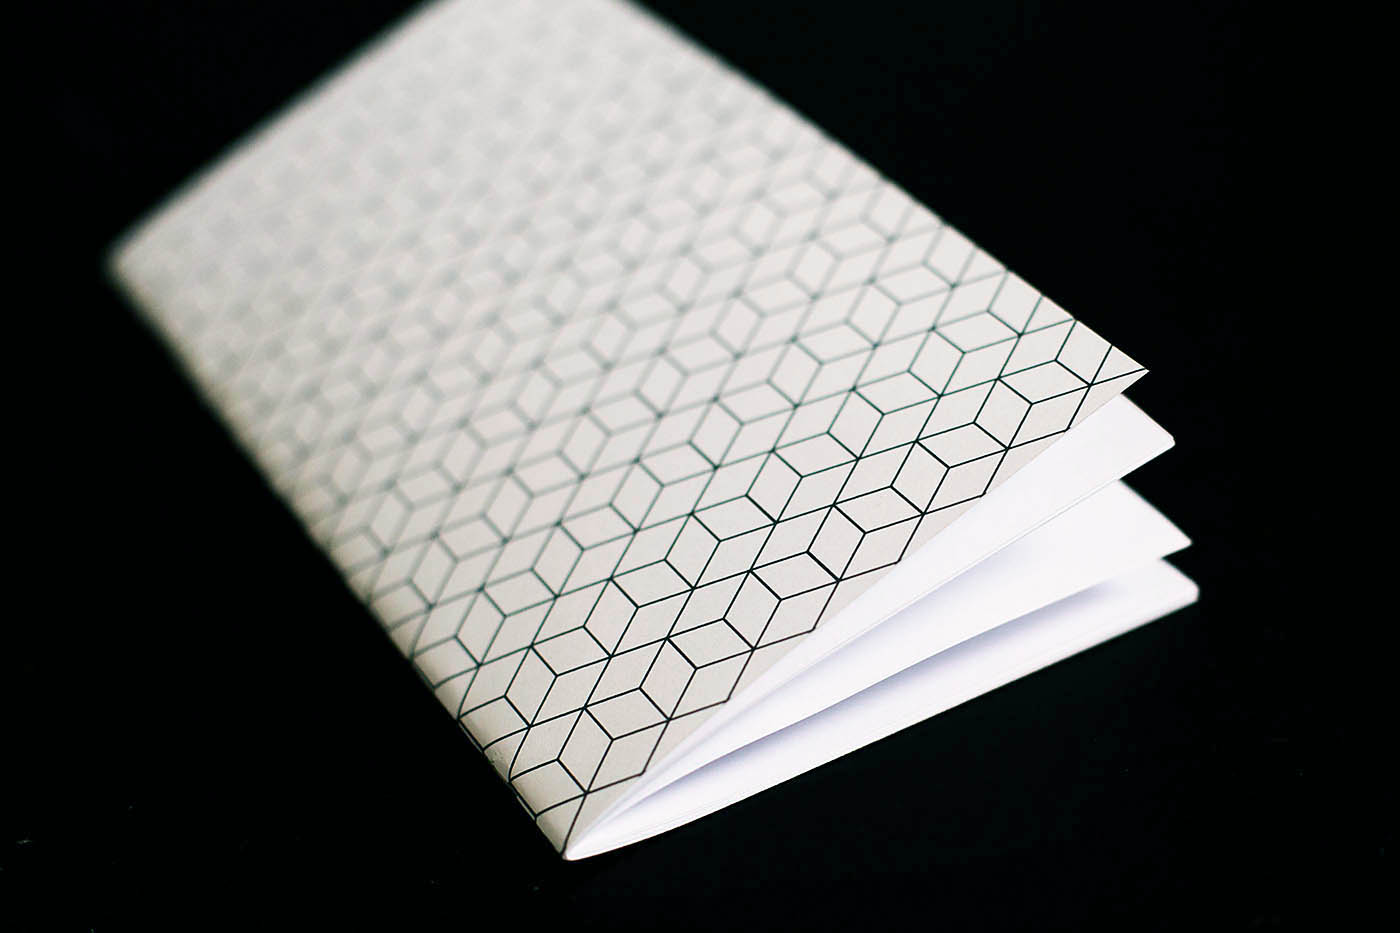
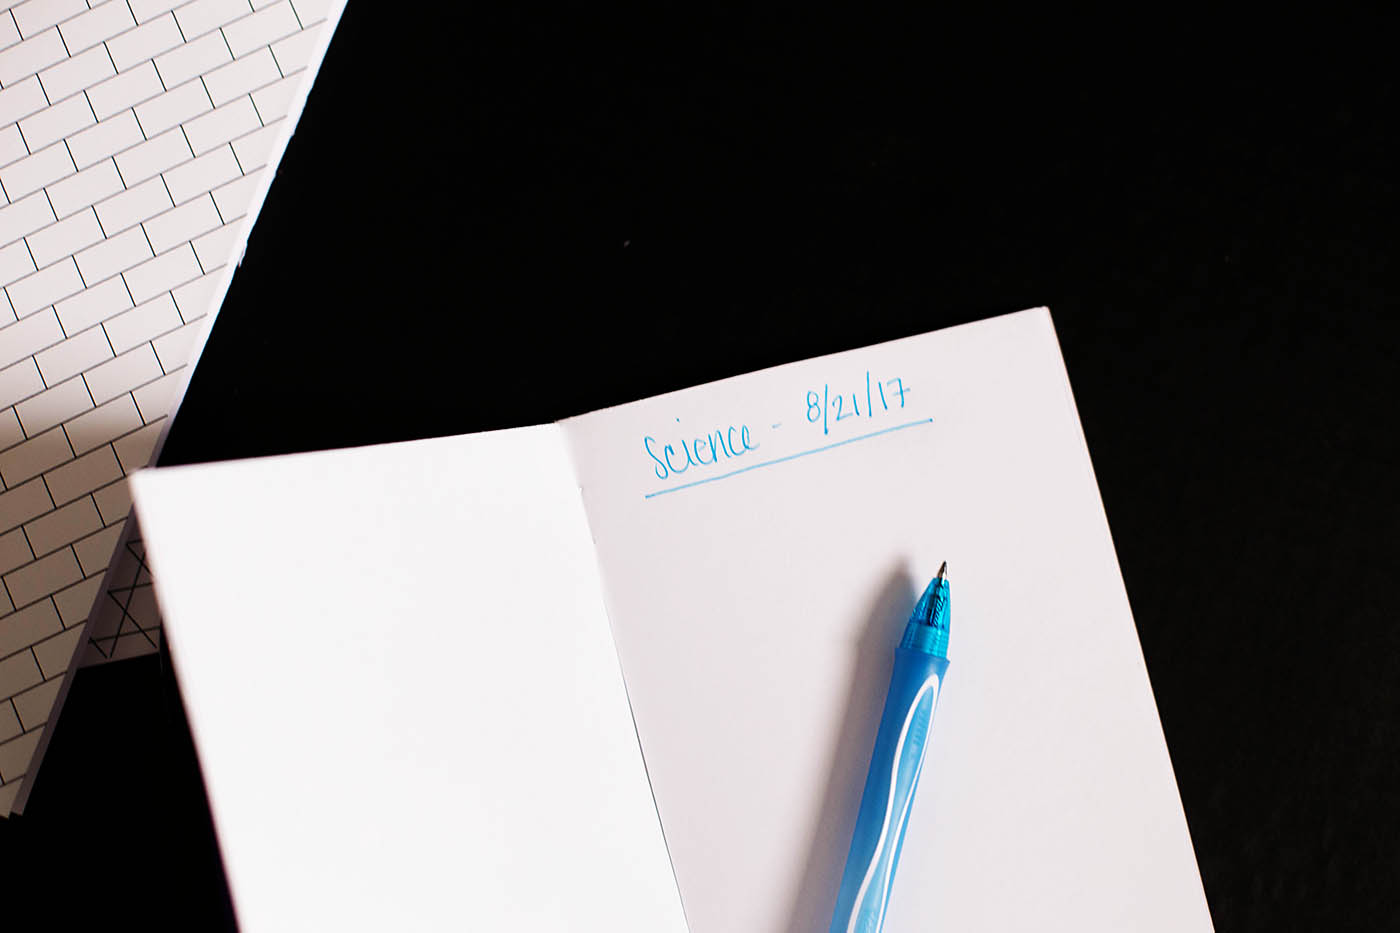
High school has been in session for a few weeks now and we’re getting the hang of what school supplies and note taking techniques work for us. One of the things we adjusted was going from big notebooks to smaller ones for quick note taking in class. Parker doesn’t like pulling out the large notebooks in class so we’ve been looking for some good smaller ones. I was doodling while chatting with him and had an idea – printable doodle notebooks in the travel notebook size! They will be small enough to store in the front part of a backpack and provide plenty of space to color/doodle with BIC® Gel-ocity® Quick Dry gel pens!
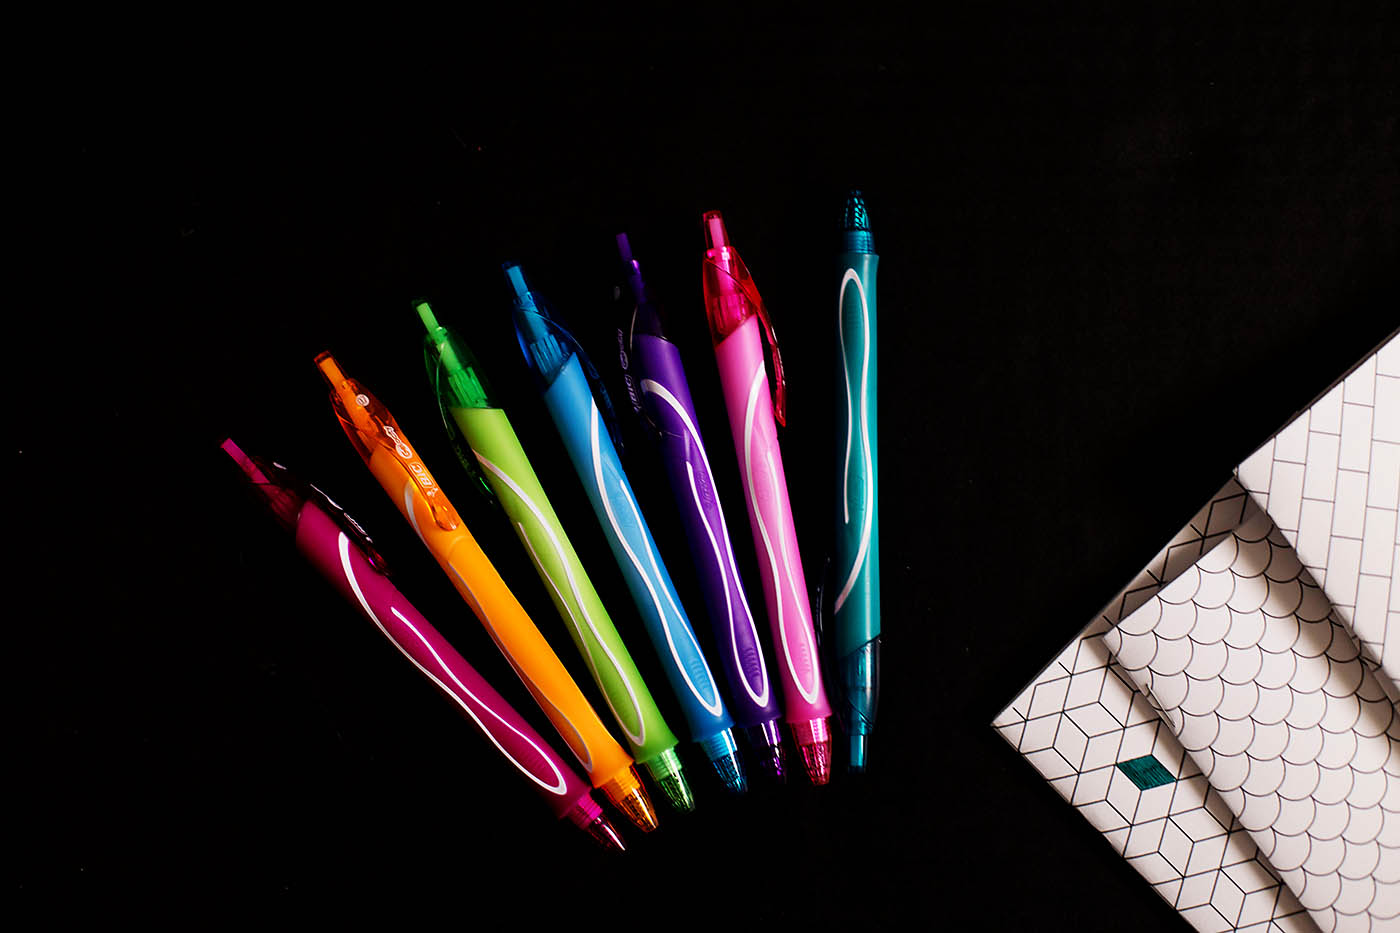
For me, one of the best parts about high school was getting more freedom with colors and supplies to organize and note take. I was excited to buy Parker some fun colored pens for this year. We went with the BIC® Gel-city® Quick Dry gel pens in some bright fun colors. They write super smooth (I got him hooked on gel pens) and these ones dry up to 3x faster* so you can take notes (or doodle) with less smearing. We love how smooth they are which makes them fun to write with.
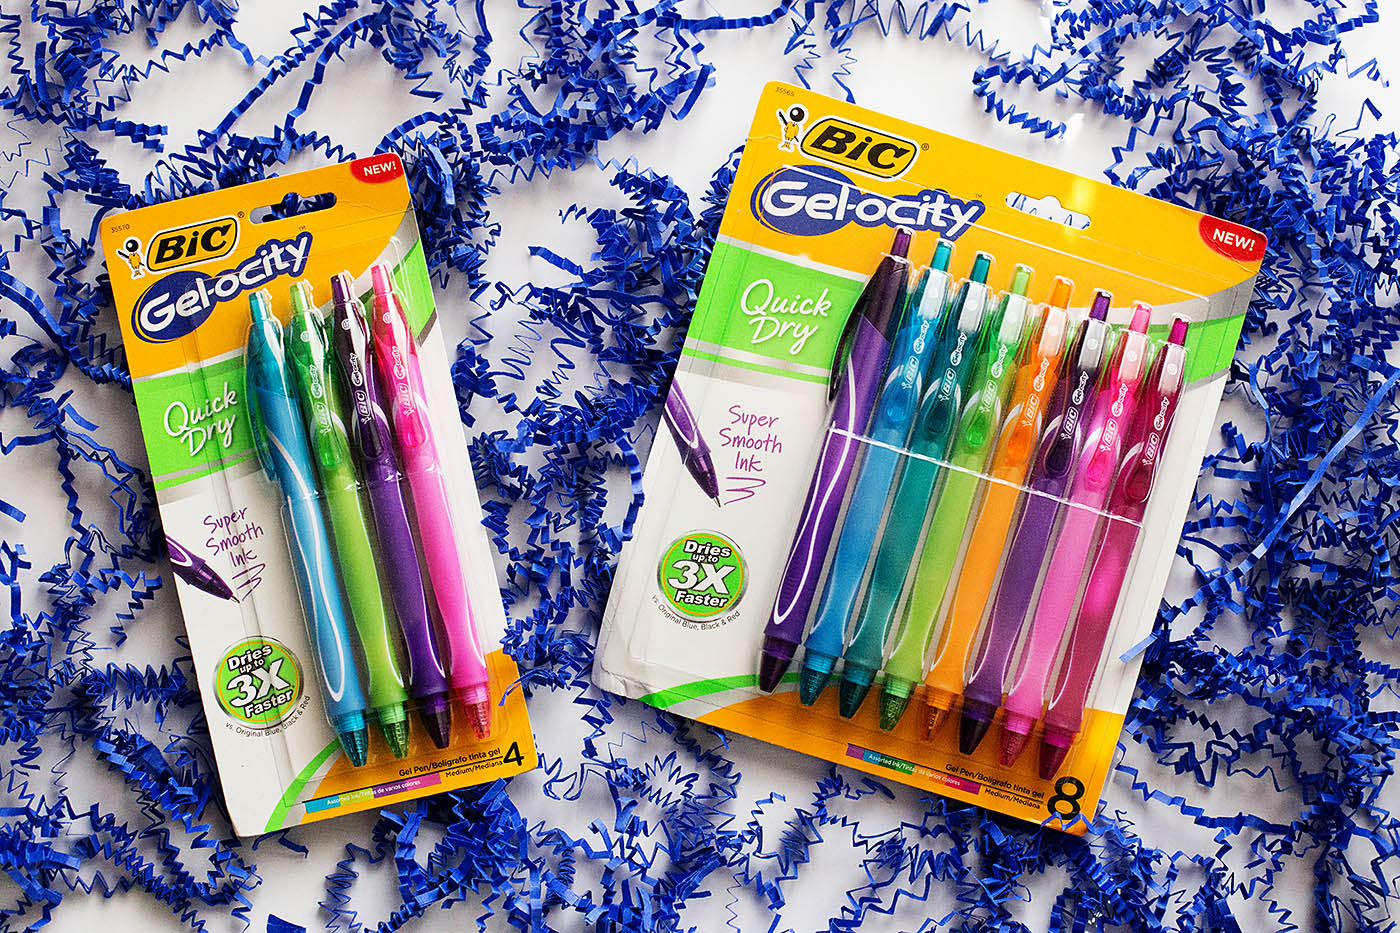
*vs. BIC® Gel-city® Original, based on average dry times of blue, black and red. Individual dry times may vary by color.
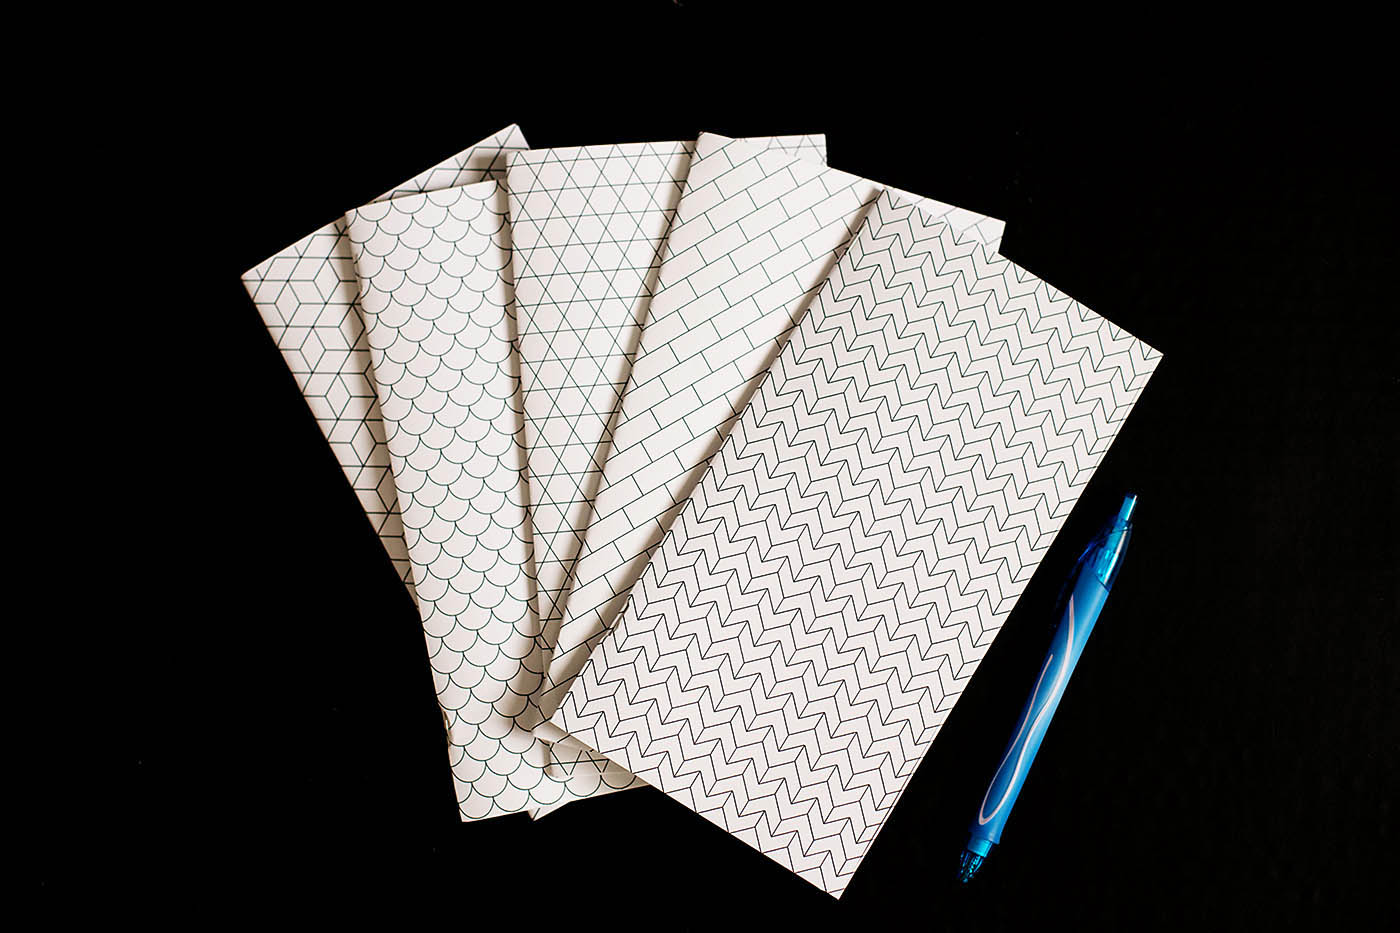
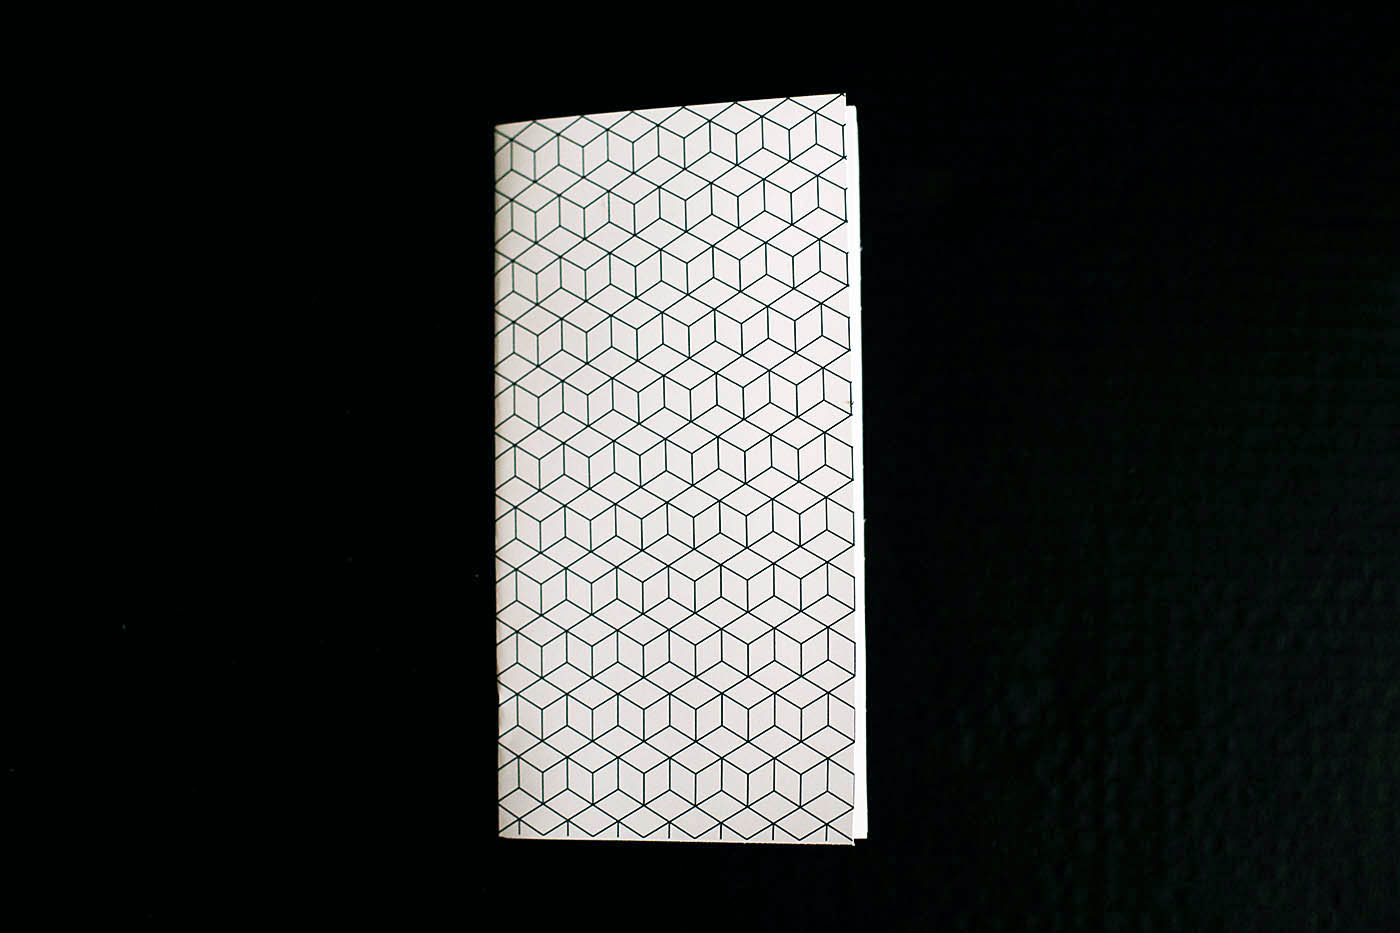
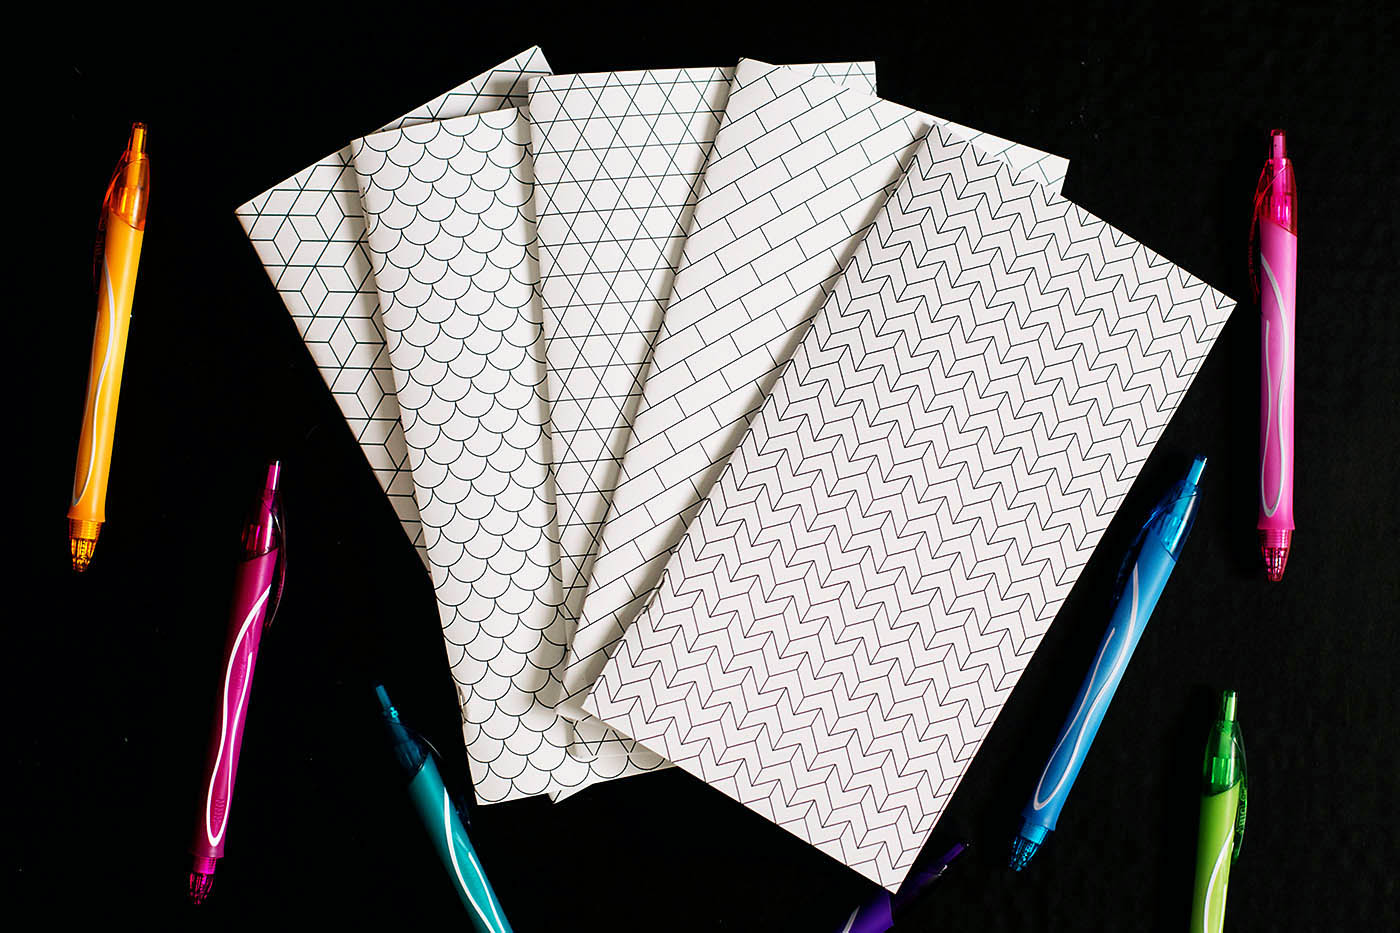
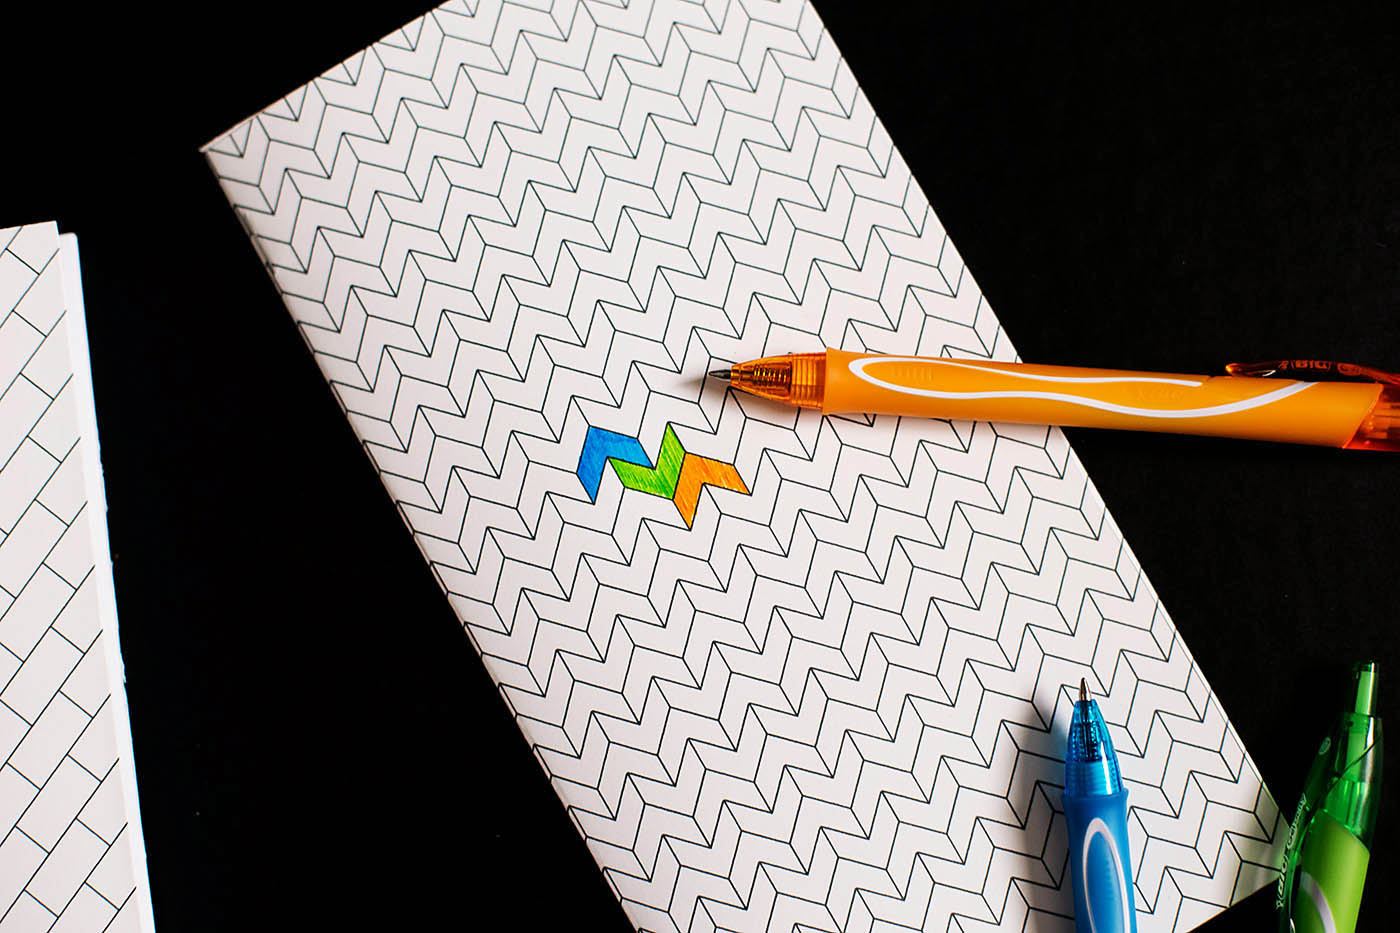
Since he’s not really a doodler I made up some notebooks with geometric designs that he could color in with all the colors of the BIC® Gel-city® Quick Dry gel pens and I have the printables for you so you can make some for yourself or your teens too!
HOW TO MAKE DIY PRINTABLE DOODLE NOTEBOOKS
To make your own notebooks you’ll need:
- Printable covers
- Plain paper
- Scissors or paper trimmer
- Craft knife
- Self healing mat
- Long reach stapler
- Ruler
- Bone Folder (optional)
- BIC® Gel-city® Quick Dry gel pens – because you’re going to want to color them right away!
Here’s how to make them:
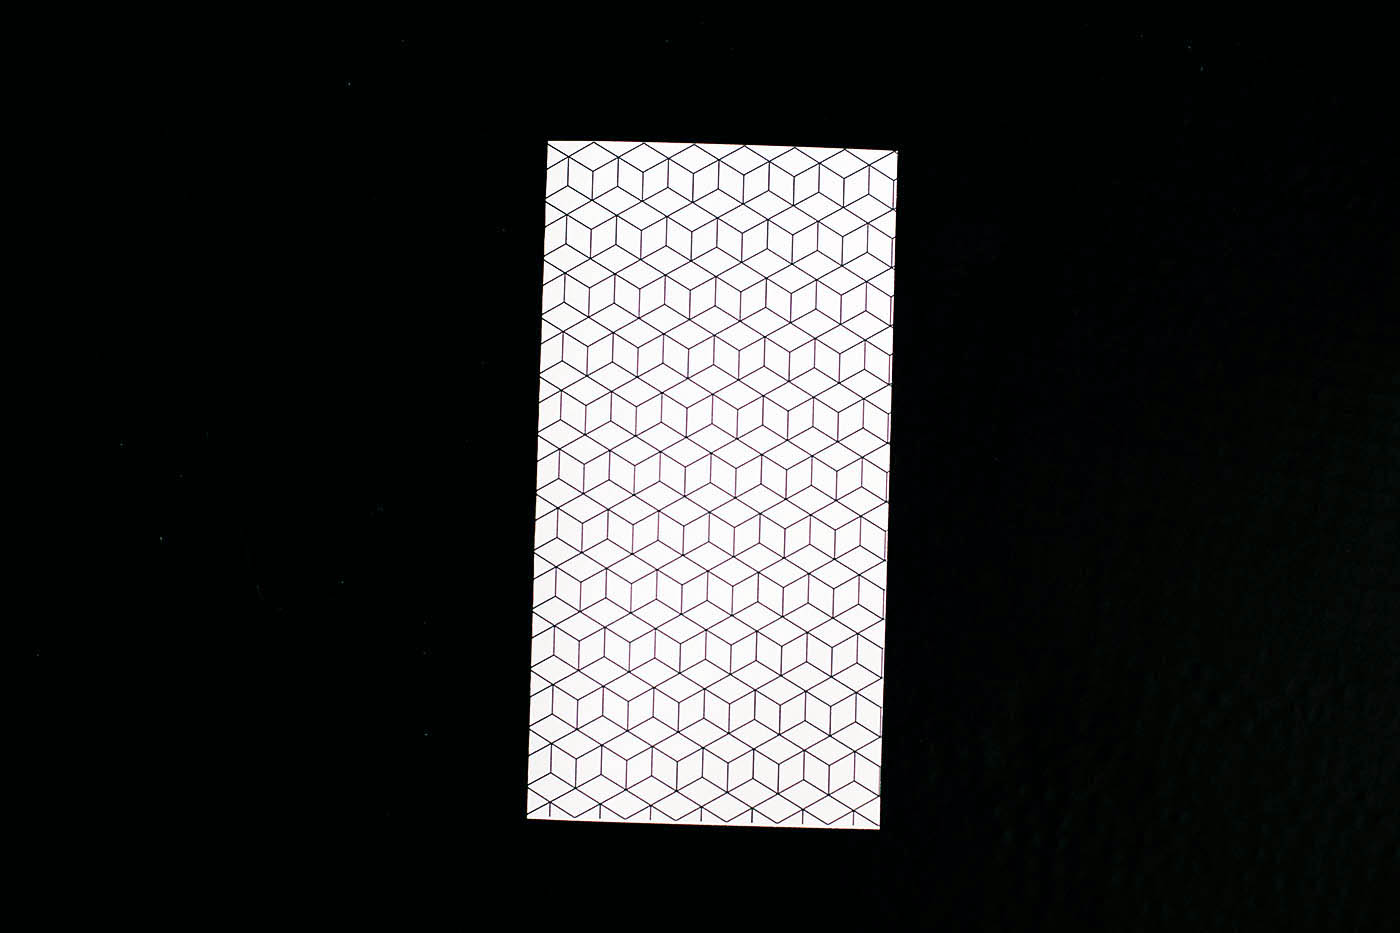
- Print out the notebook covers
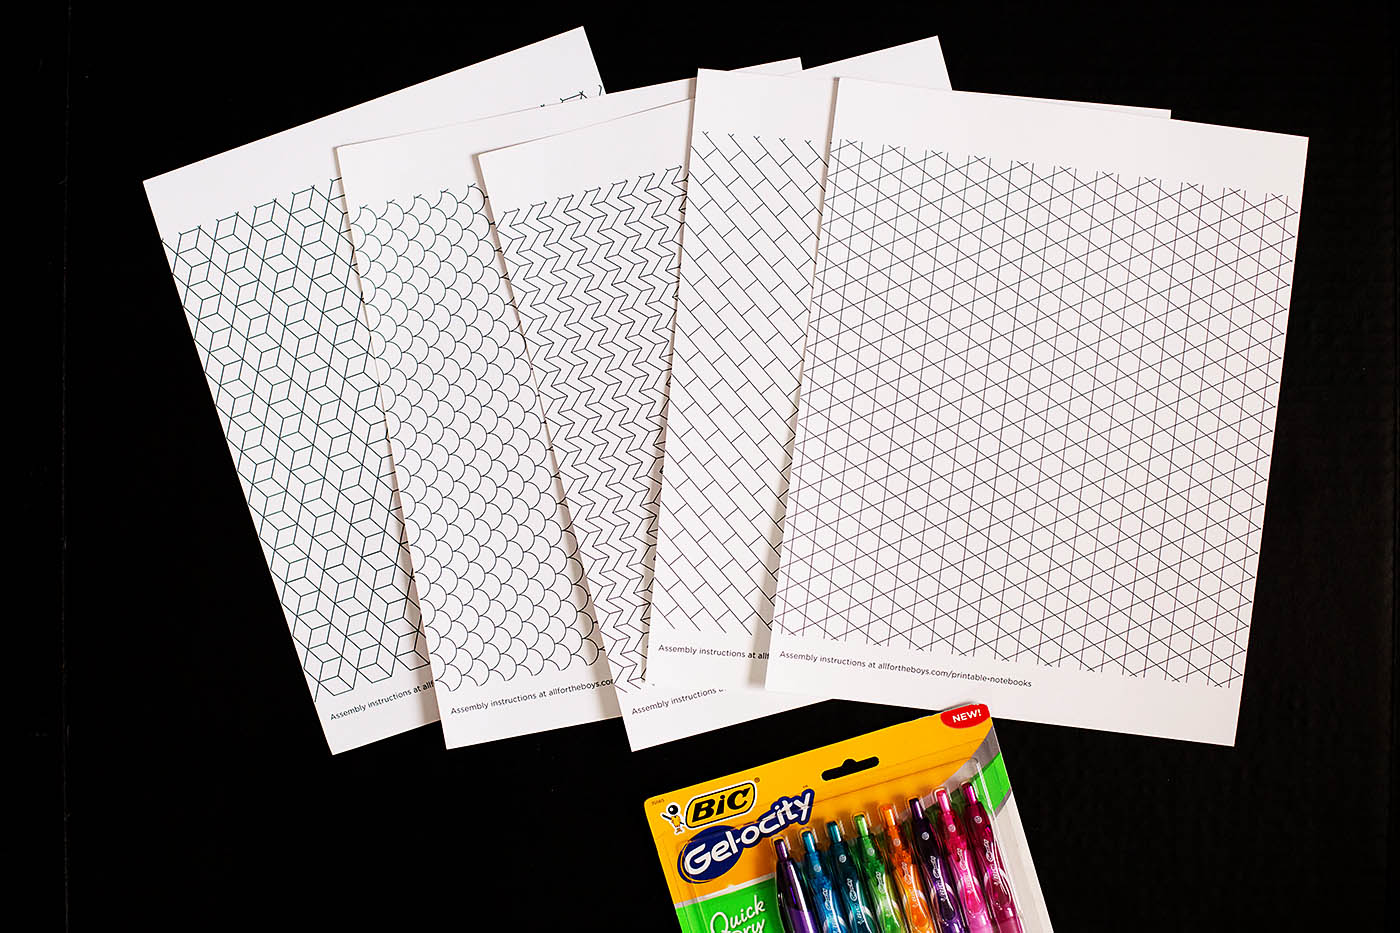
- Trim the edges

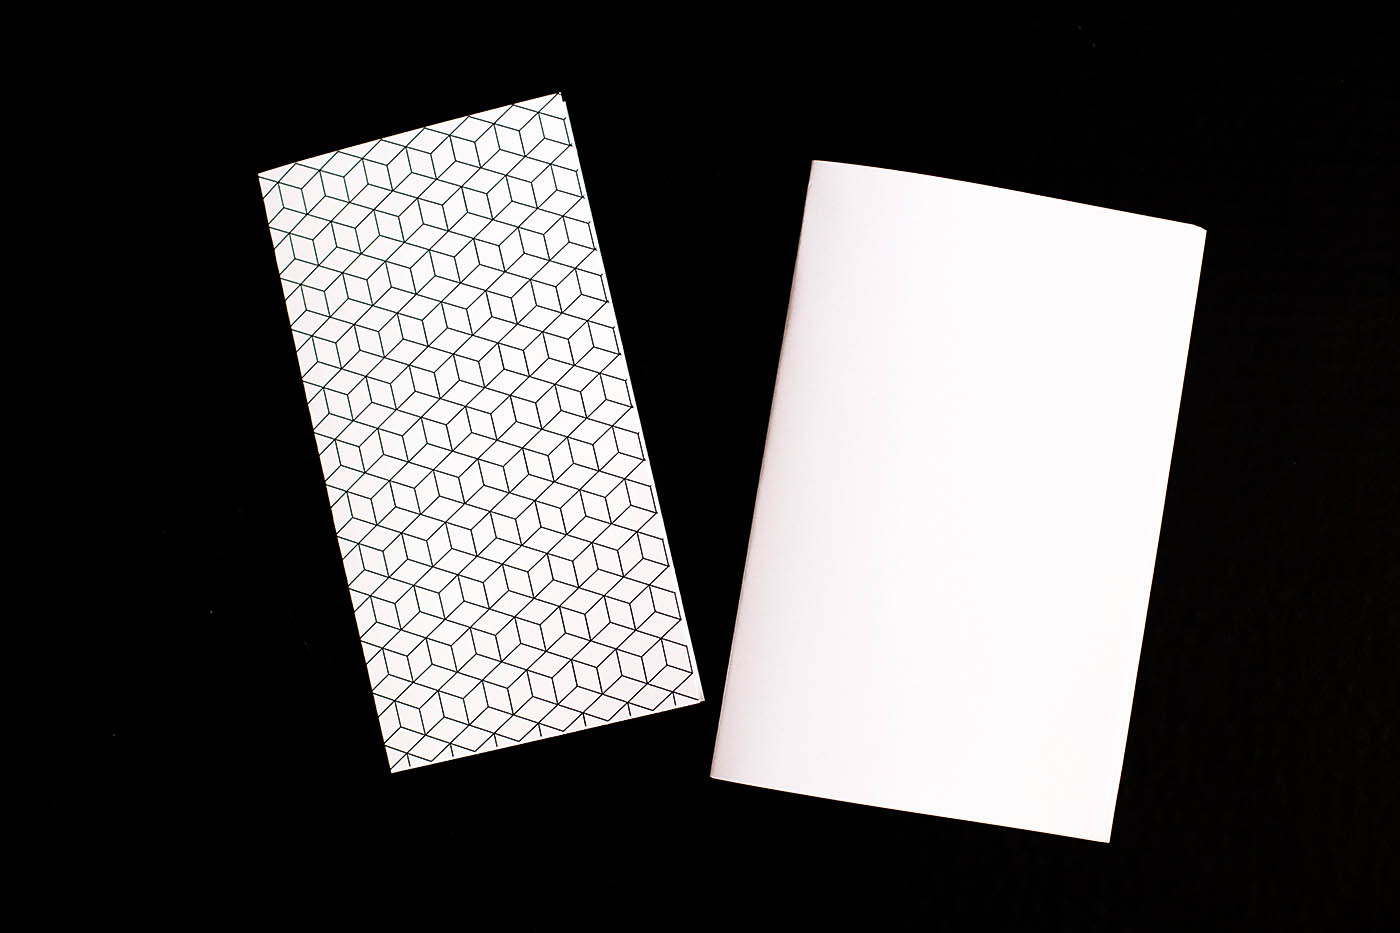
- Fold in half width wise
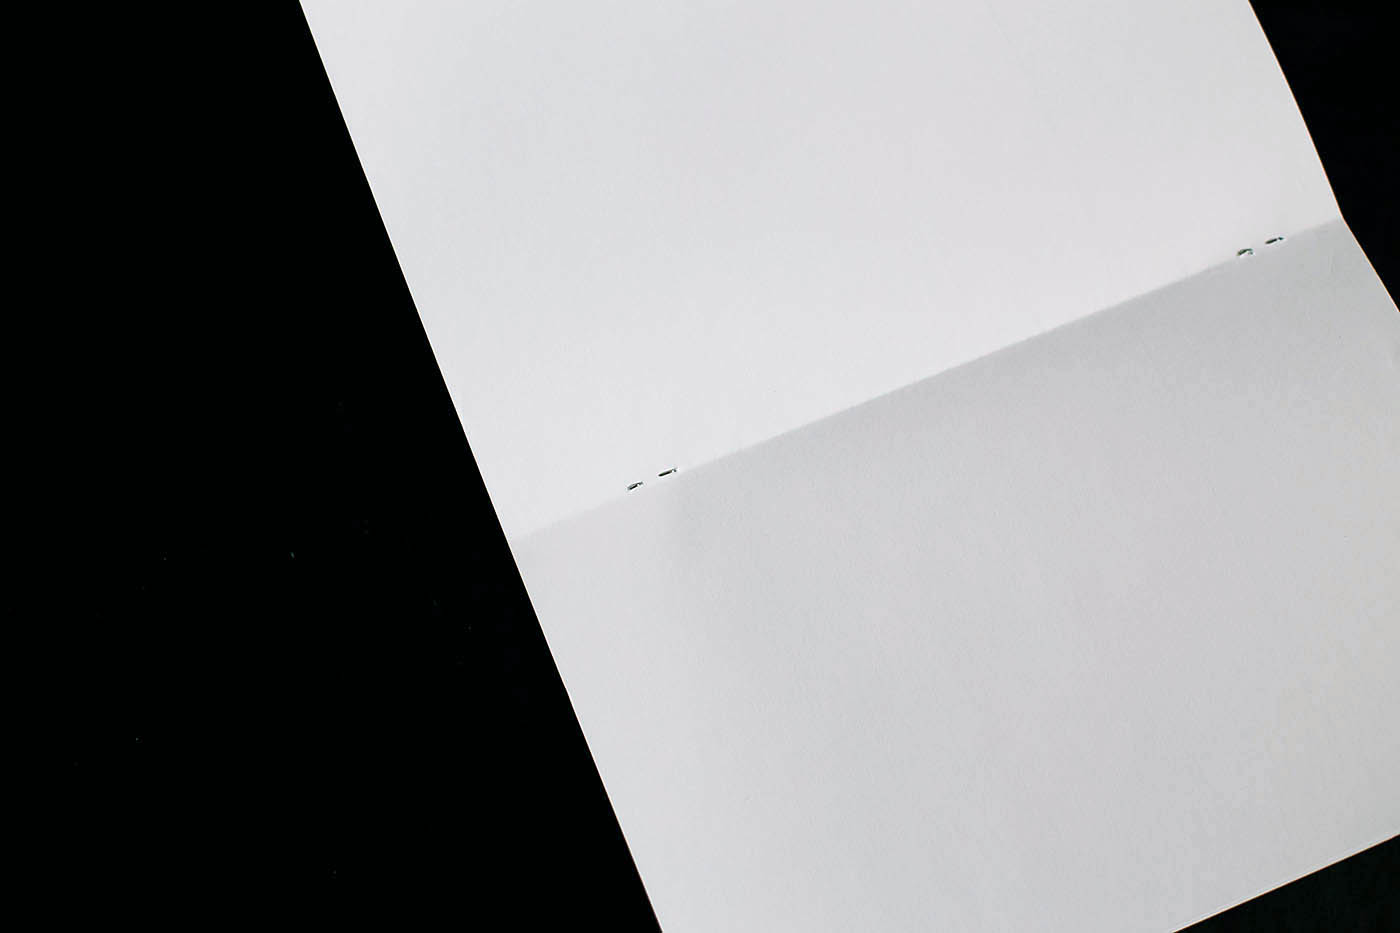
- Get a stack of around 8 sheets of paper and fold it in half (don’t worry about these lining up perfectly)
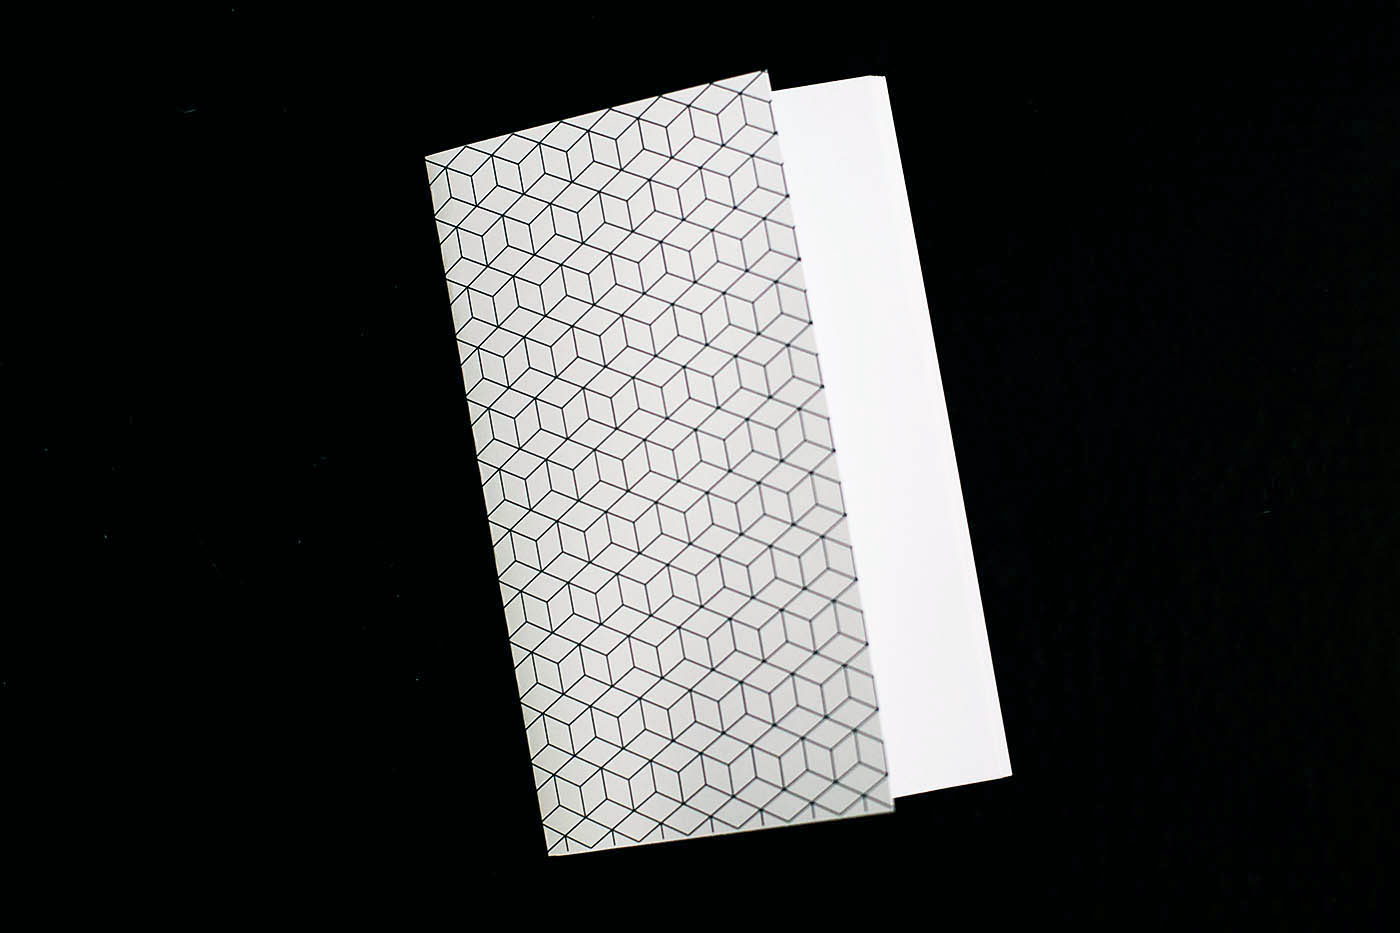
- Place inside the cover, lining up the top or bottom so you only have to trim 2 sides if needed.
- Using a long reach stapler, staple twice on the center seam about an inch from the edges
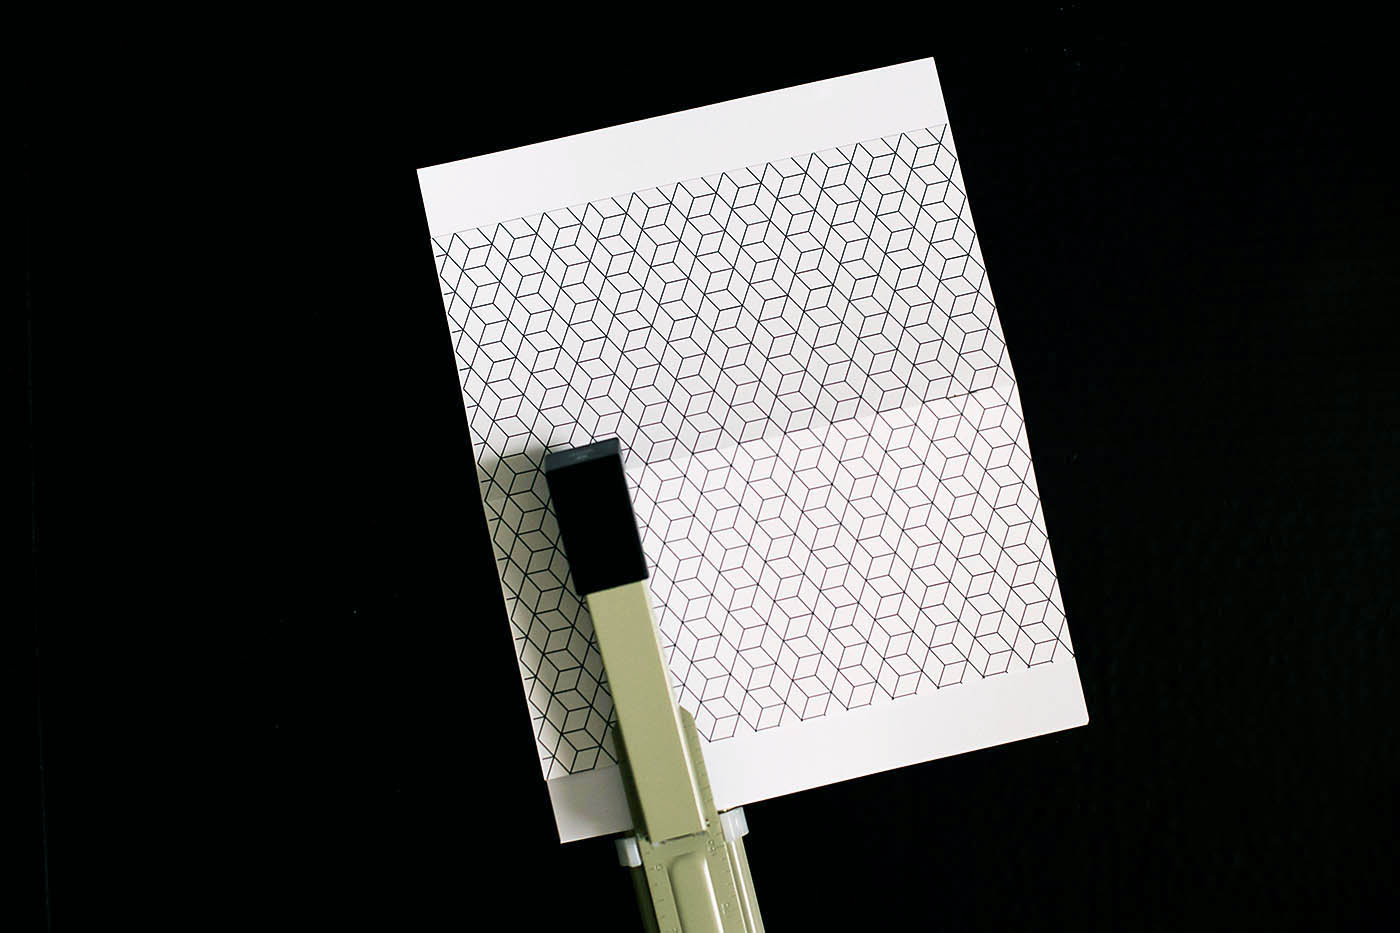
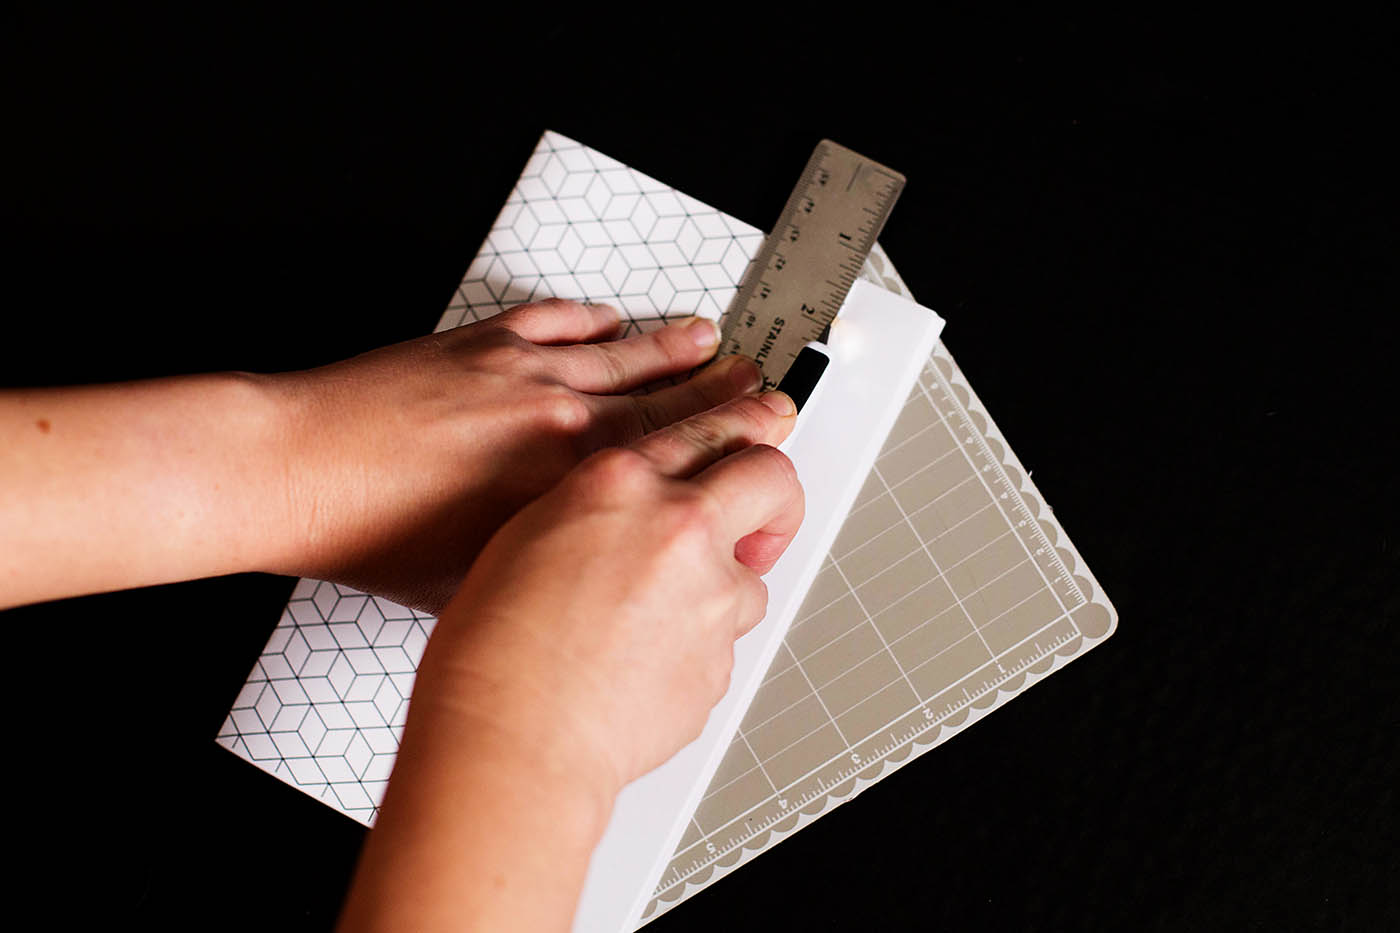
- Trim the edges of the notebook using a sharp craft knife and a ruler to keep a nice straight edge.
- Optional: using a bone folder, run over the edge of the notebook to tighten the fold.
- Color and take notes!
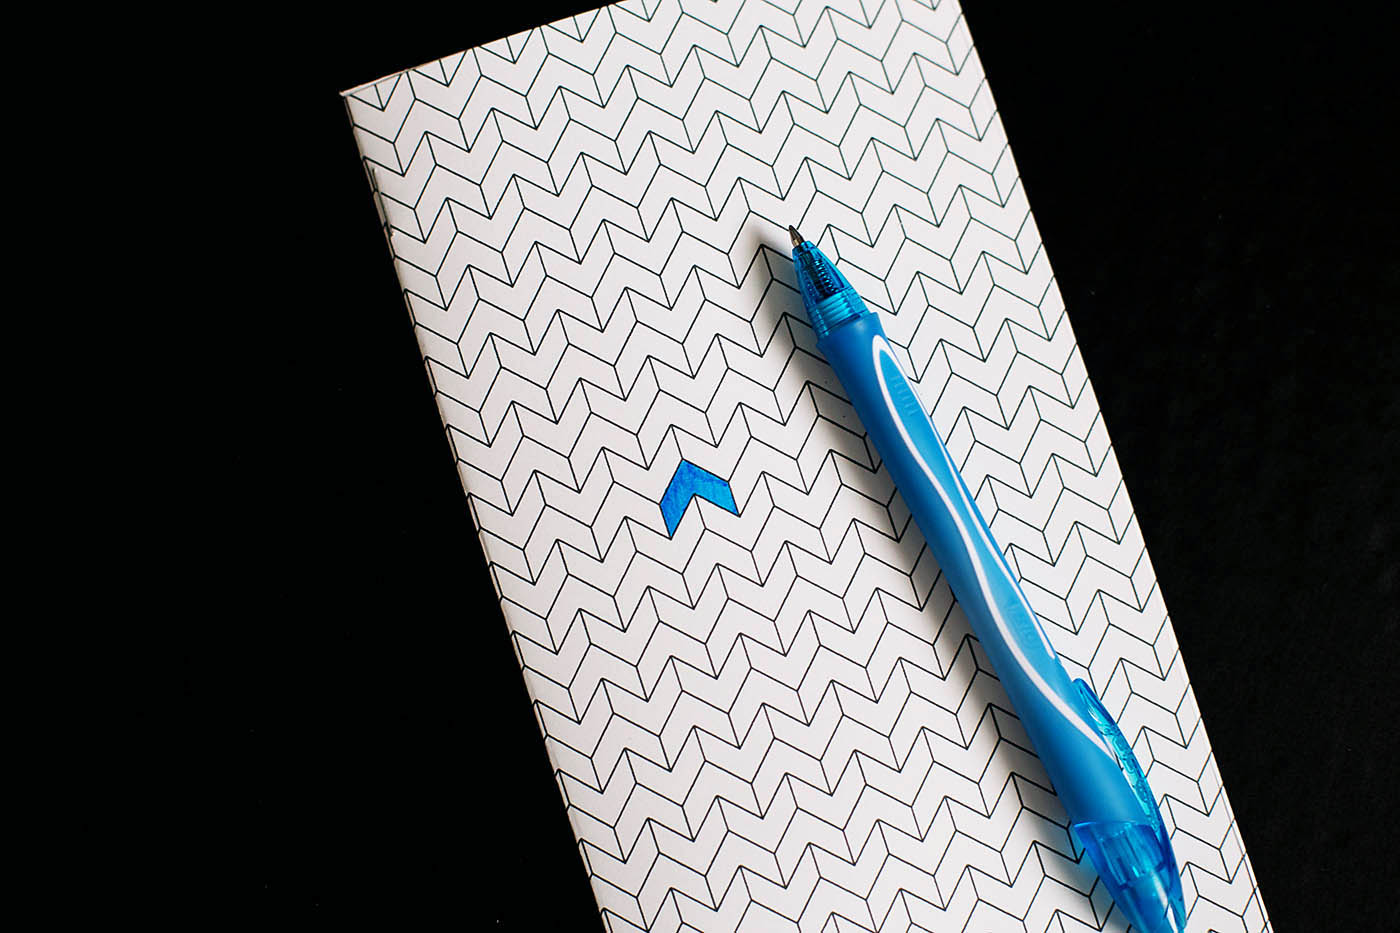
I love how bright and fun these pens make note taking and these notebooks make it that much better!