

We may earn money or products from the companies mentioned in this post. Please see policies for more information.

This post was contributed by Heather of Crayon Box Chronicles. Happy November! It’s gobble, gobble craft time! Last week we celebrated Fall by recycling nature finds into a whimsical glitter leaf mobile. Today’s coffee can turkey painting is simple, encourages movement, and lots of giggles! Plus, it makes a pretty holiday decoration for the family to enjoy! Marble painting is one of our favorite activities! You’ll need the following materials:
- Turkey Template
- Marbles
- Coffee Can, 3 lb. or Cardboard Box Top
- Non-Toxic Paint, various colors
- Tape

This simple craft sets-up in a snap! Once you gather all your supplies, cut out your turkey. I chose non-toxic acrylic paint because it’s thinner than tempura paint. Both work, I just prefer the thinner, more vibrant colors for marble painting. Less is more!  Next, using very small pieces of tape, adhere the turkey to one side of the can. I used three small pieces of tape – rolled.
  Three colors work best – too many create a big blob of paint. Also, be aware of color choices. Dark base colors will overpower all the other colors. Light, bright complimentary colors work well. C added each color, identifying them as they dripped in. He kept saying, “Drip-drop, drip-drop!” Too cute. All you need is a few drops of each color for the coffee can method! Less is definitely more! Then throw in some marbles and close the lid!
 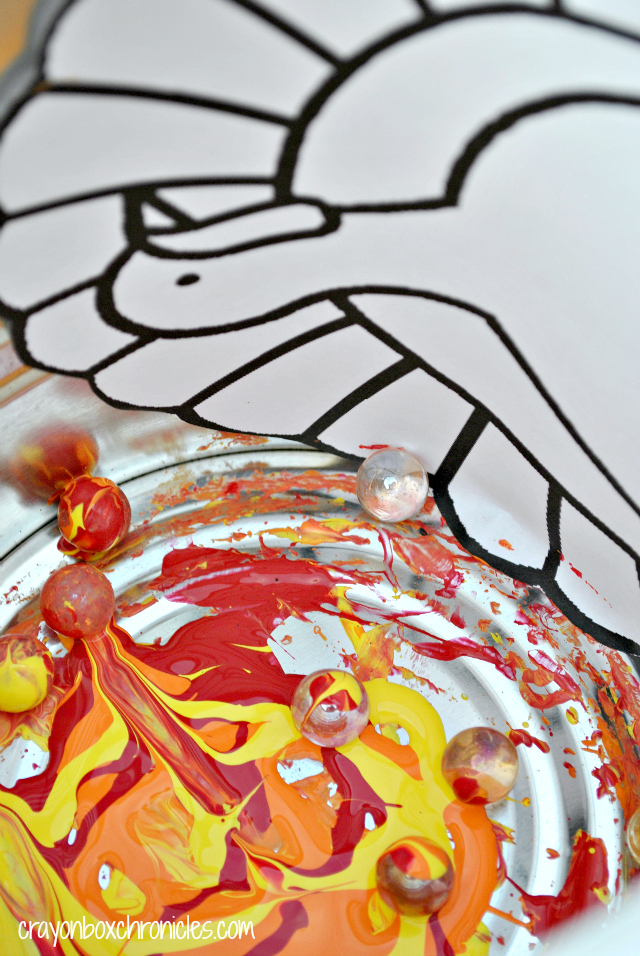 This is way too much paint! C got a little squeeze happy on the second one! I just liked the picture! Just 3-4 drops is plenty. Now the fun part!
 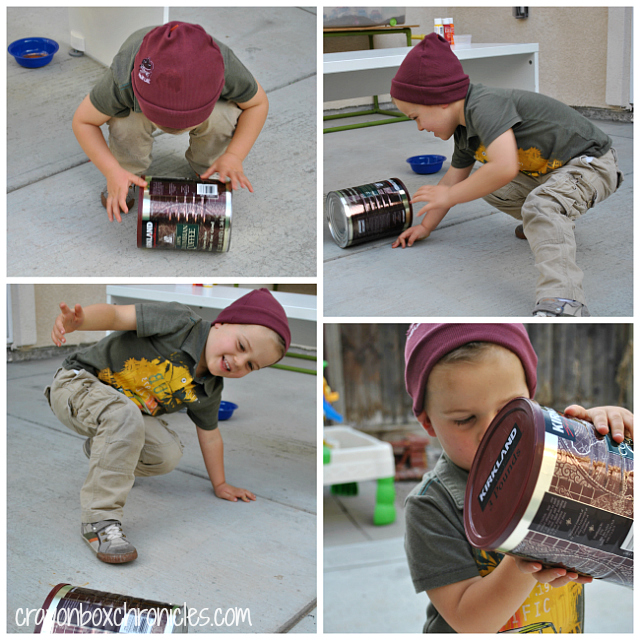 Shake it, roll it, kick it! This is great for gross motor play! C and I played kick-the-can for a while! The trick is while the can is flat, roll the marbles in the bottom of the can, then flip it on its side. Repeat. Repeat. Repeat!
 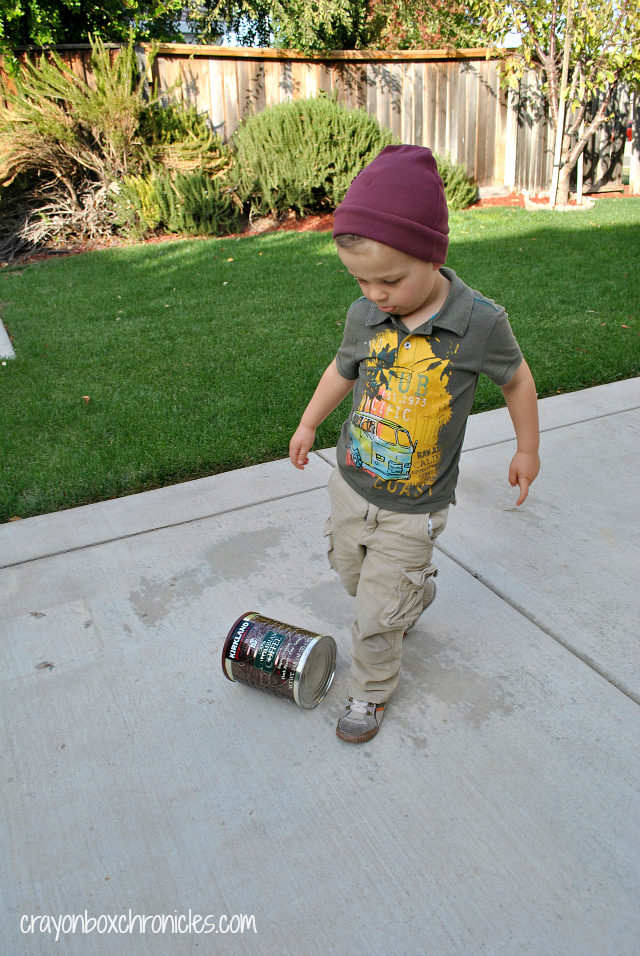 I think at this point C could have cared less about the turkey painting and enjoyed the movement more! If your child enjoys the movement as much as C did, you can re-do the picture if it’s too painted! We did our three times before we settled on our finished turkeys! It was just too much fun! The craft requires so few materials, so it’s easy and inexpensive to just do it again!
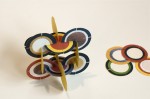
  After three attempts, here’s our marble painted turkeys! We were just having too much fun! We added sparkle too! Silver on the blue, yellow, purple and gold on the yellow, orange, and red. Who doesn’t love glitter?!
 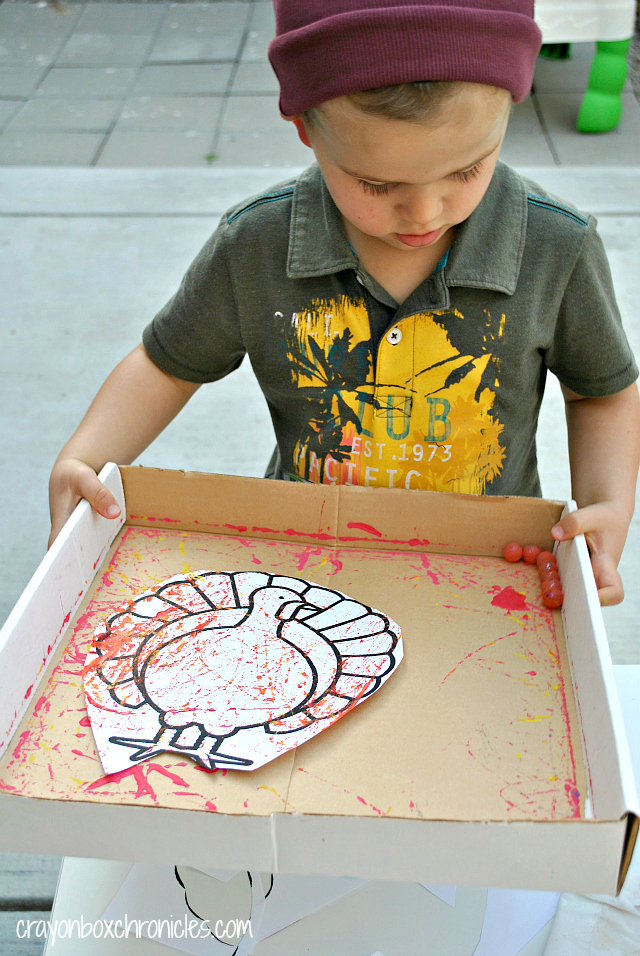 If your child wants to see the balls rolling, there’s another simple option – cardboard box top. You have a lot more control, but it uses more paint. It’s really fun too! Especially, the teeter-tottering of the box top with the marbles. Plus, it’s a great way to practice control and balance. Simply tape your turkey down, then squeeze paint, probably 10-20 drops, around the outside of the picture. Then roll the marbles through the paint and over the picture. Set aside and allow to dry. That’s it. Super fun, simple, and encourages movement! As always, please supervise your child during play. This activity involves small parts and is not age-appropriate for everyone. Please use your own discretion. Looking for more of Crayon Box Chronicles most popular posts? Here’s a few of our favorites:
Heather is a former creative director and stylist from the Big Apple. See more on her blog, Crayon Box Chronicles, where she explores creative messy play, recycled art activities, and small world play with her son.


1 Comment
a new spin on "kick the can" LOL