We may earn money or products from the companies mentioned in this post. Please see policies for more information.
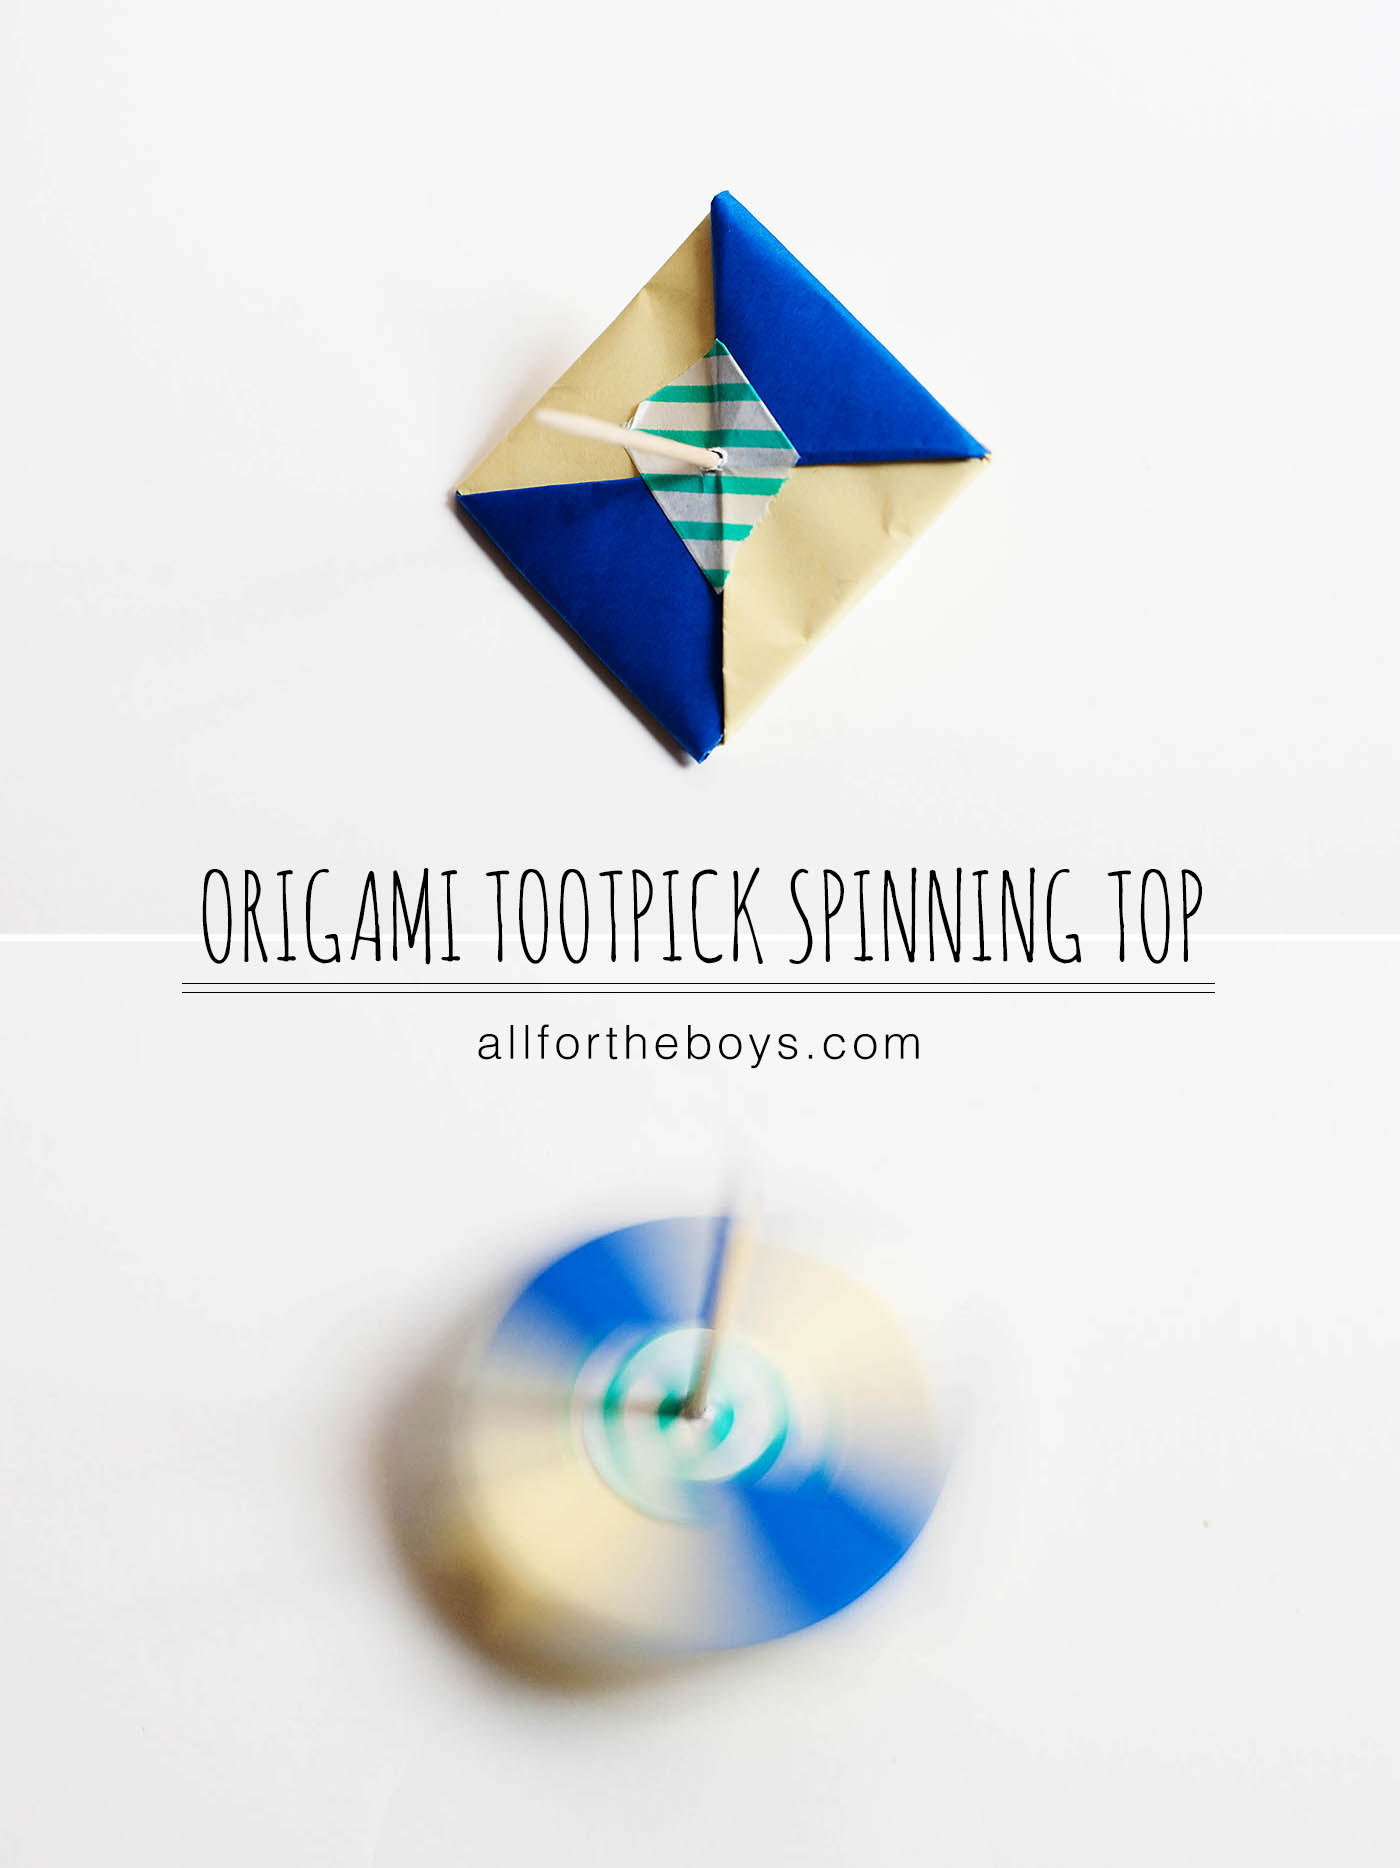 Paper, toothpicks and a bit of tape (or glue) is all you need to create these simple origami toothpick spinning top toys!
Start with 2 pieces of square paper. We’re using 6″x6″ origami paper.
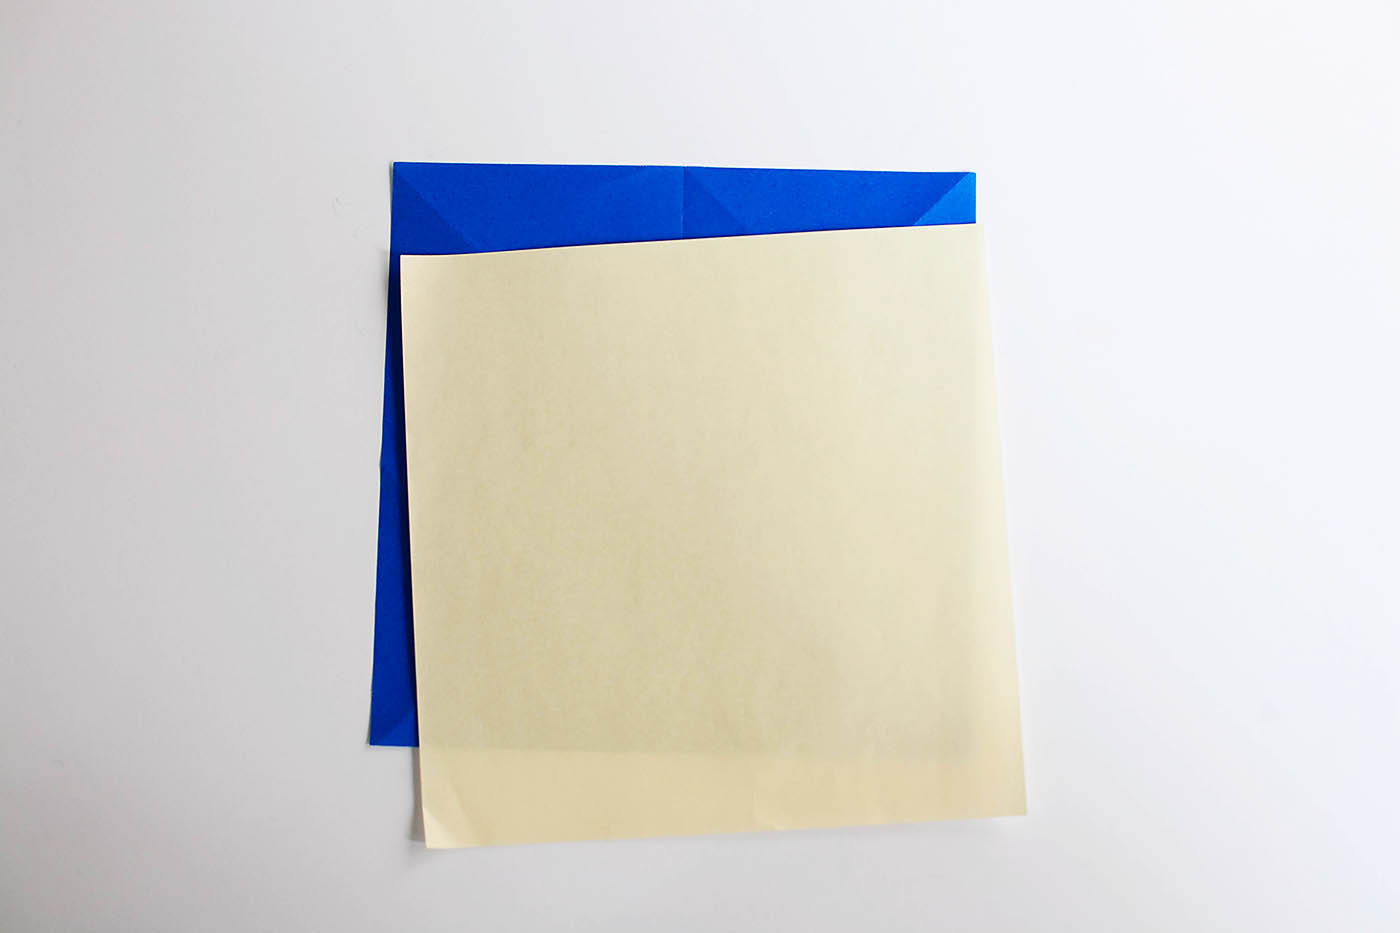 Start with the papers upside down and fold both down 1/3 of the way.
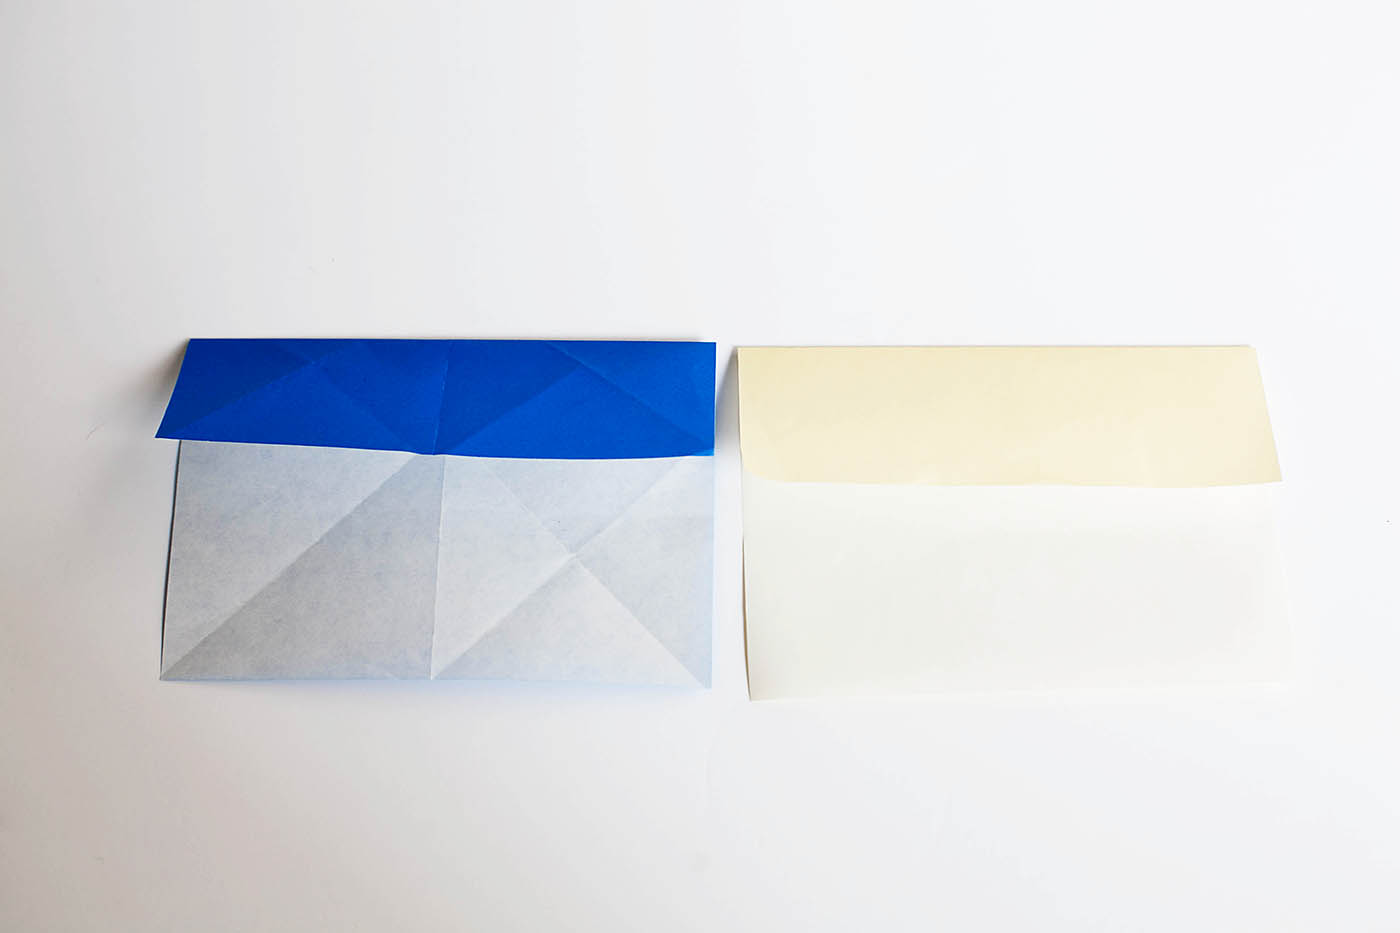 Now fold them up 1/3 of the way (you could do both in one step if you wanted.
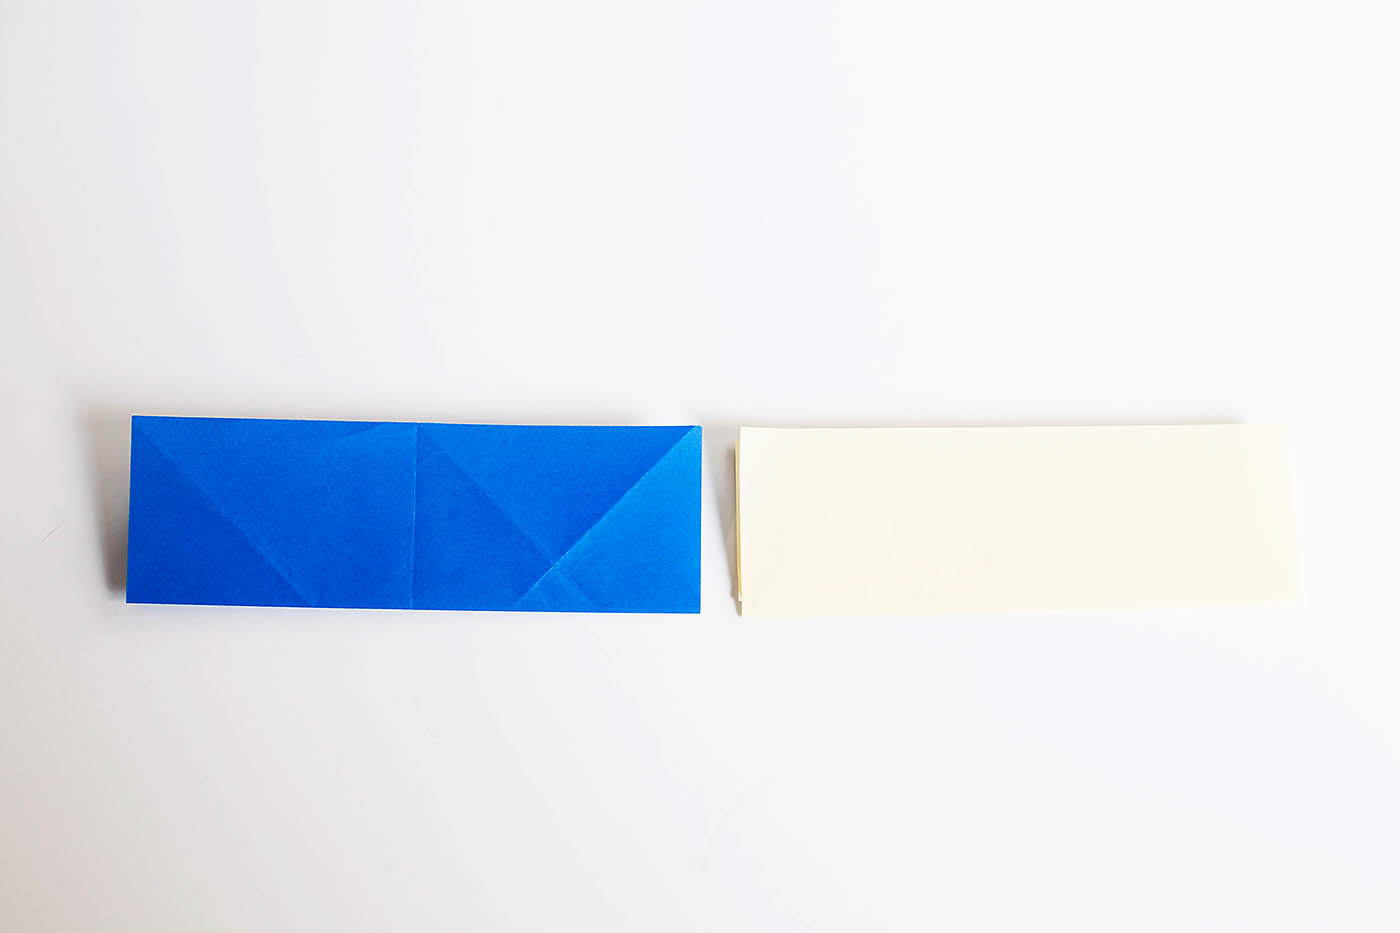 Fold the top left corner down to line up with the bottom.
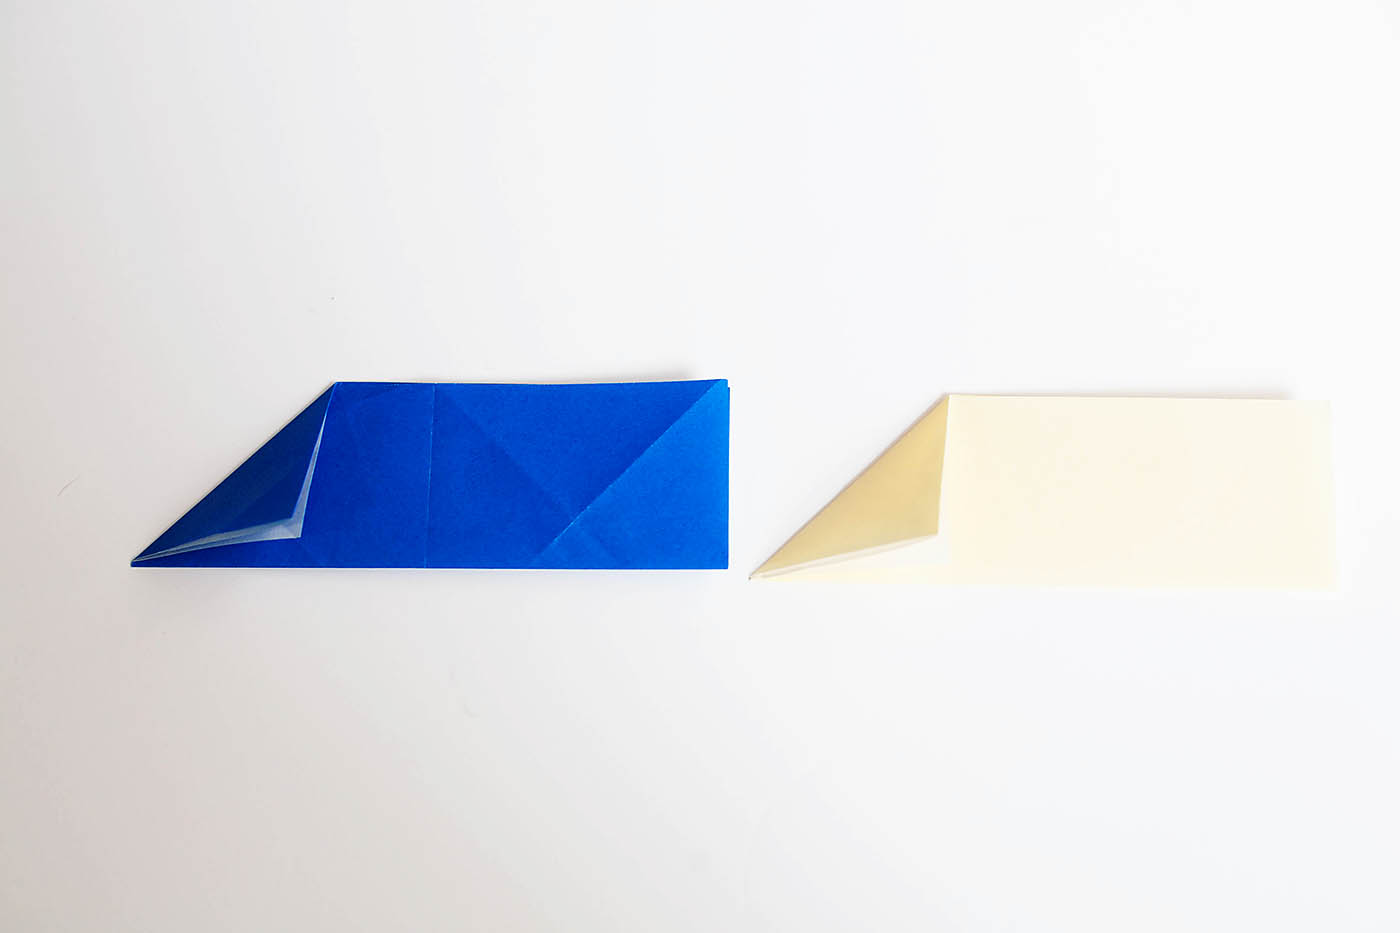 Now do the same with the bottom right corner.
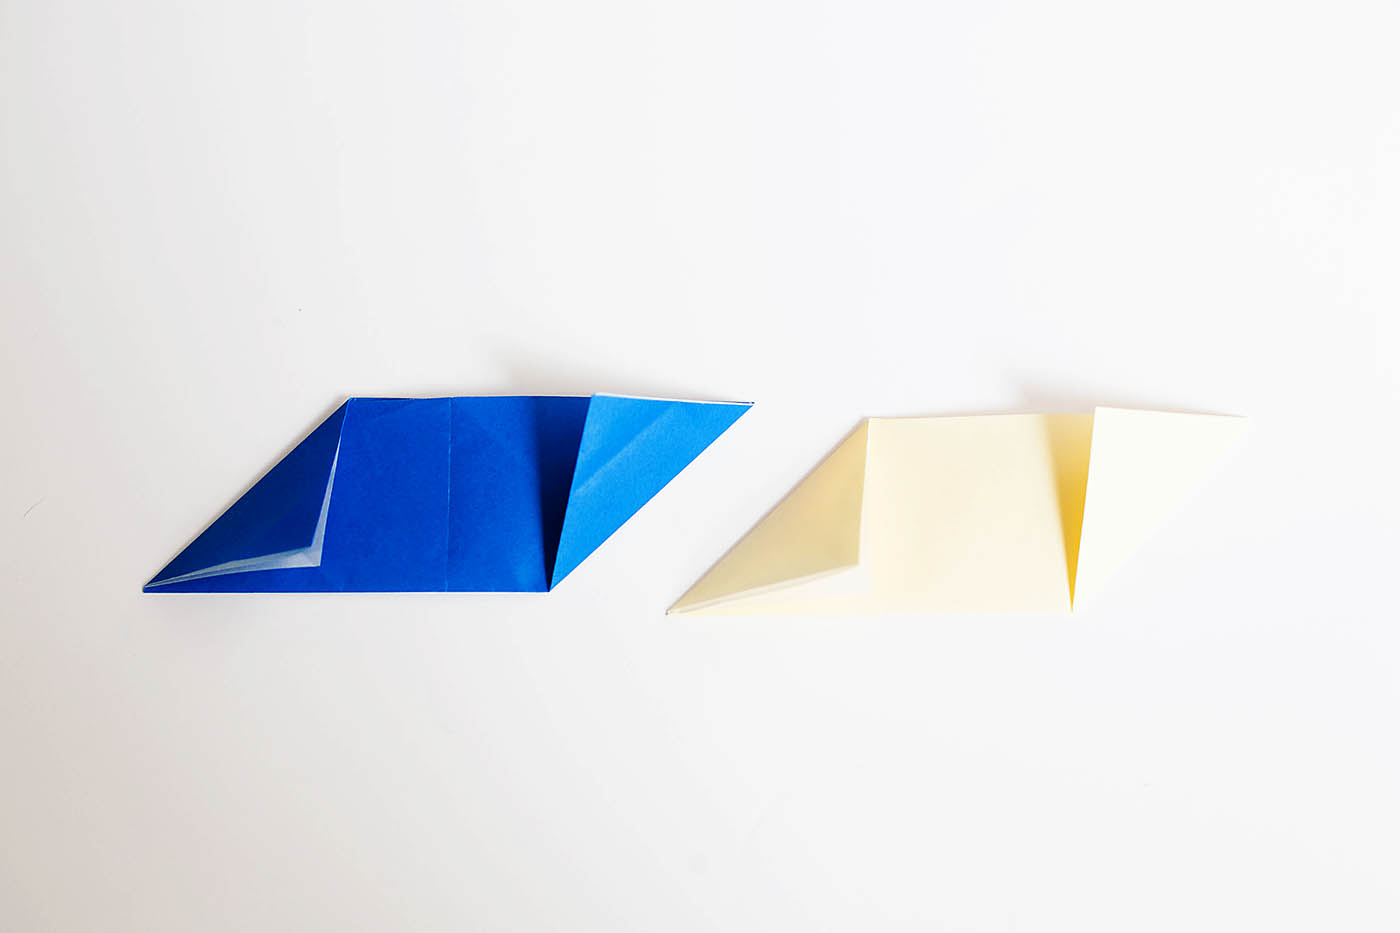 Turn one of the papers 90 degrees clockwise.
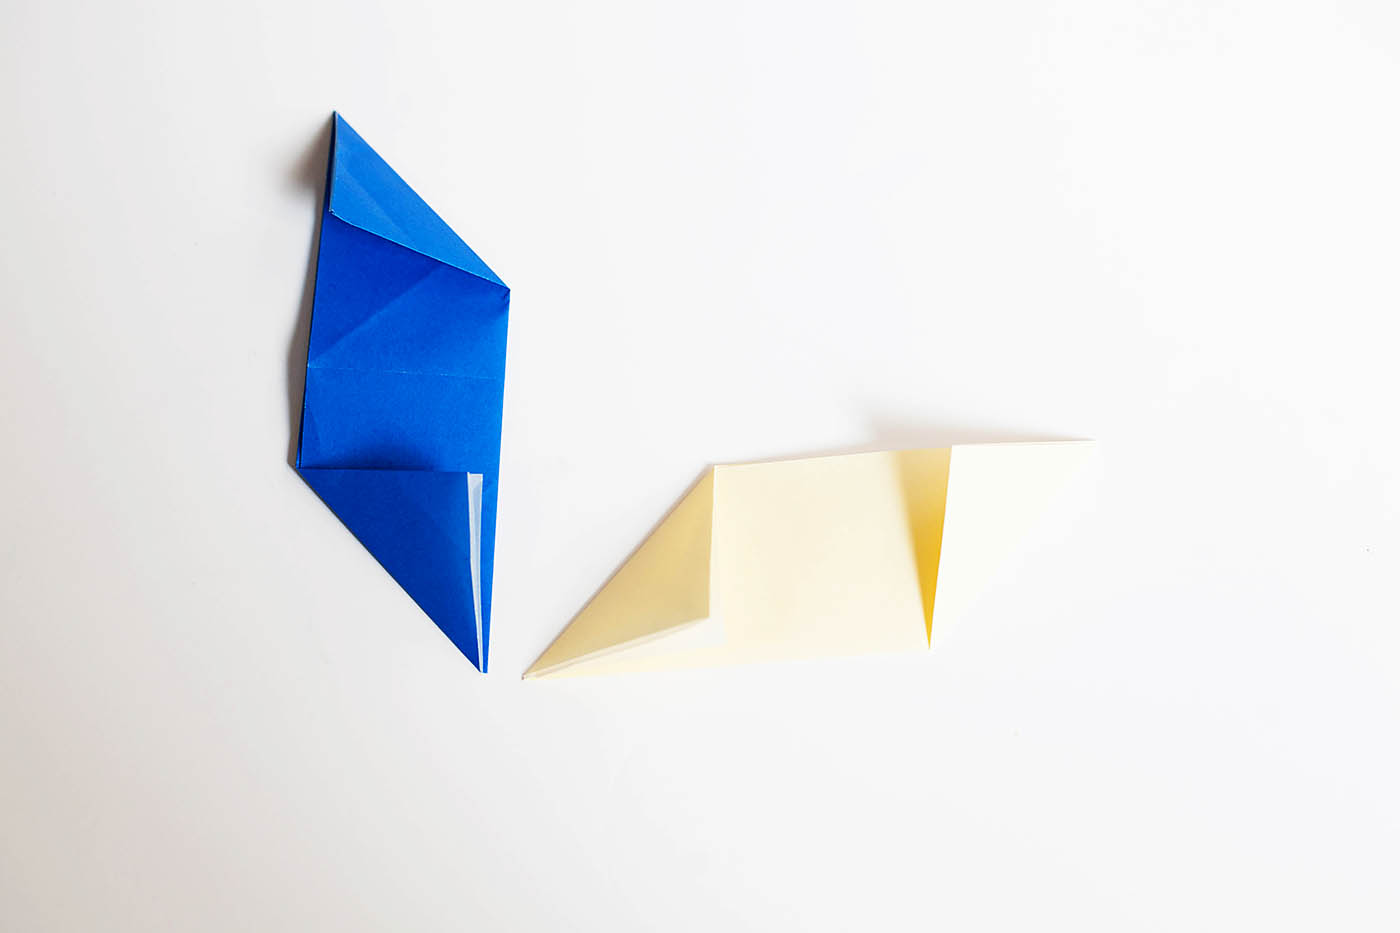 Now this paper (the blue one here) goes on top of the yellow.
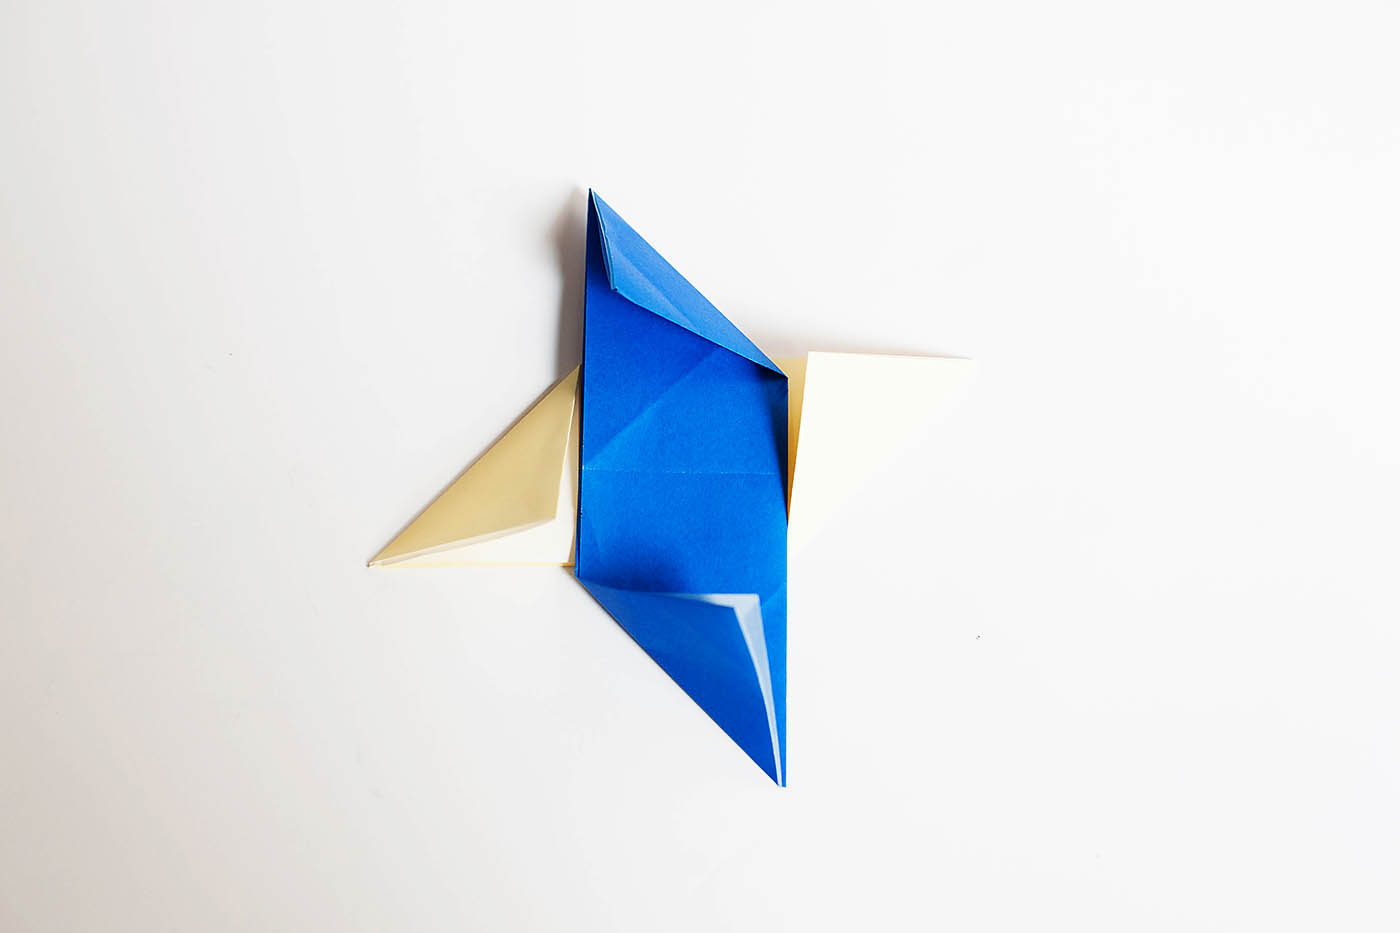 Take the right corner of the yellow paper and fold it over the blue.
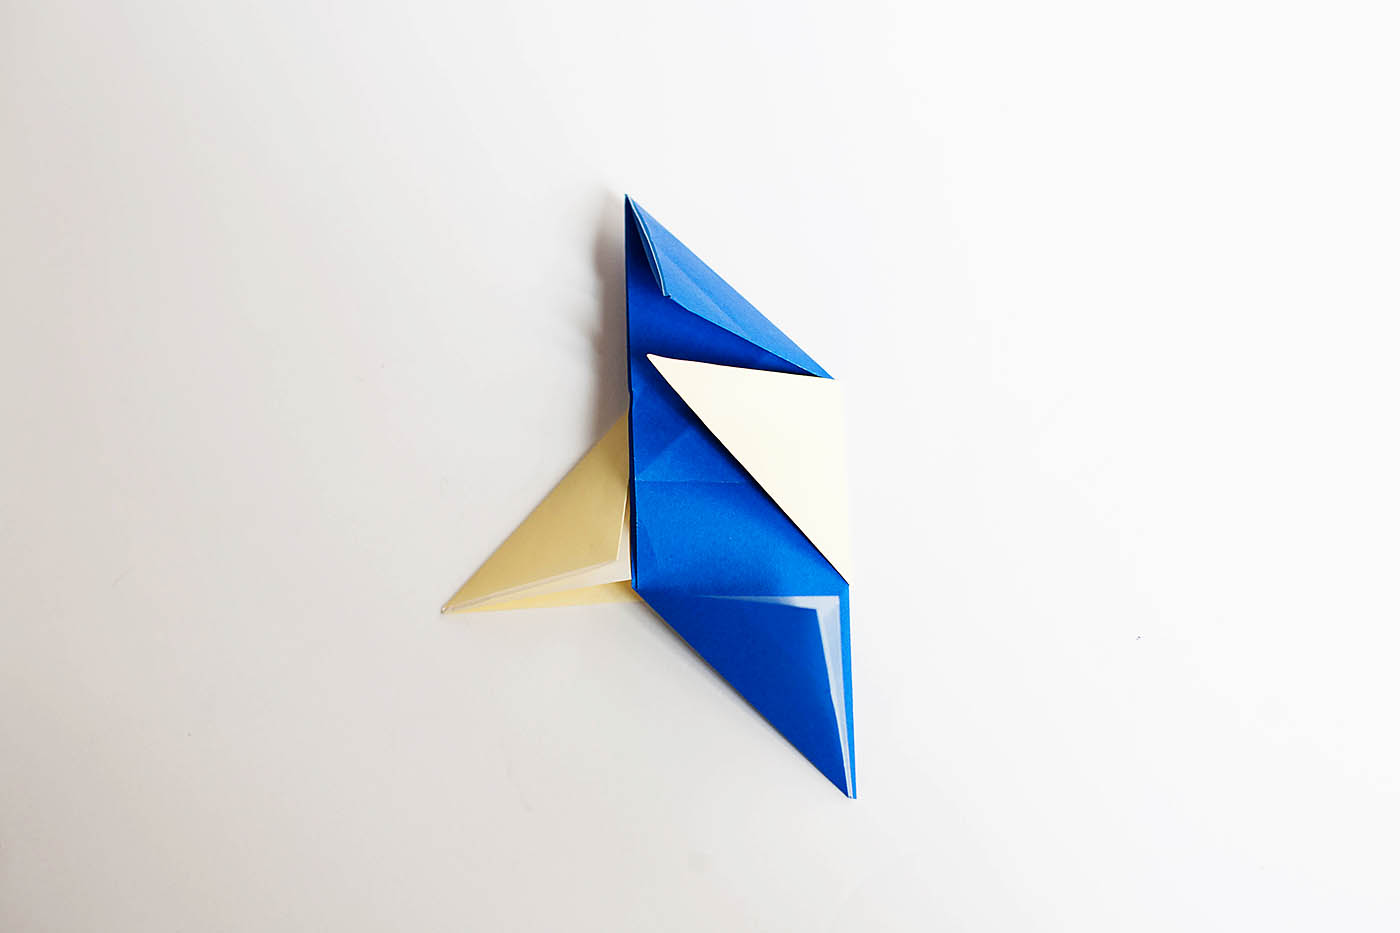 Now fold the top of the blue down
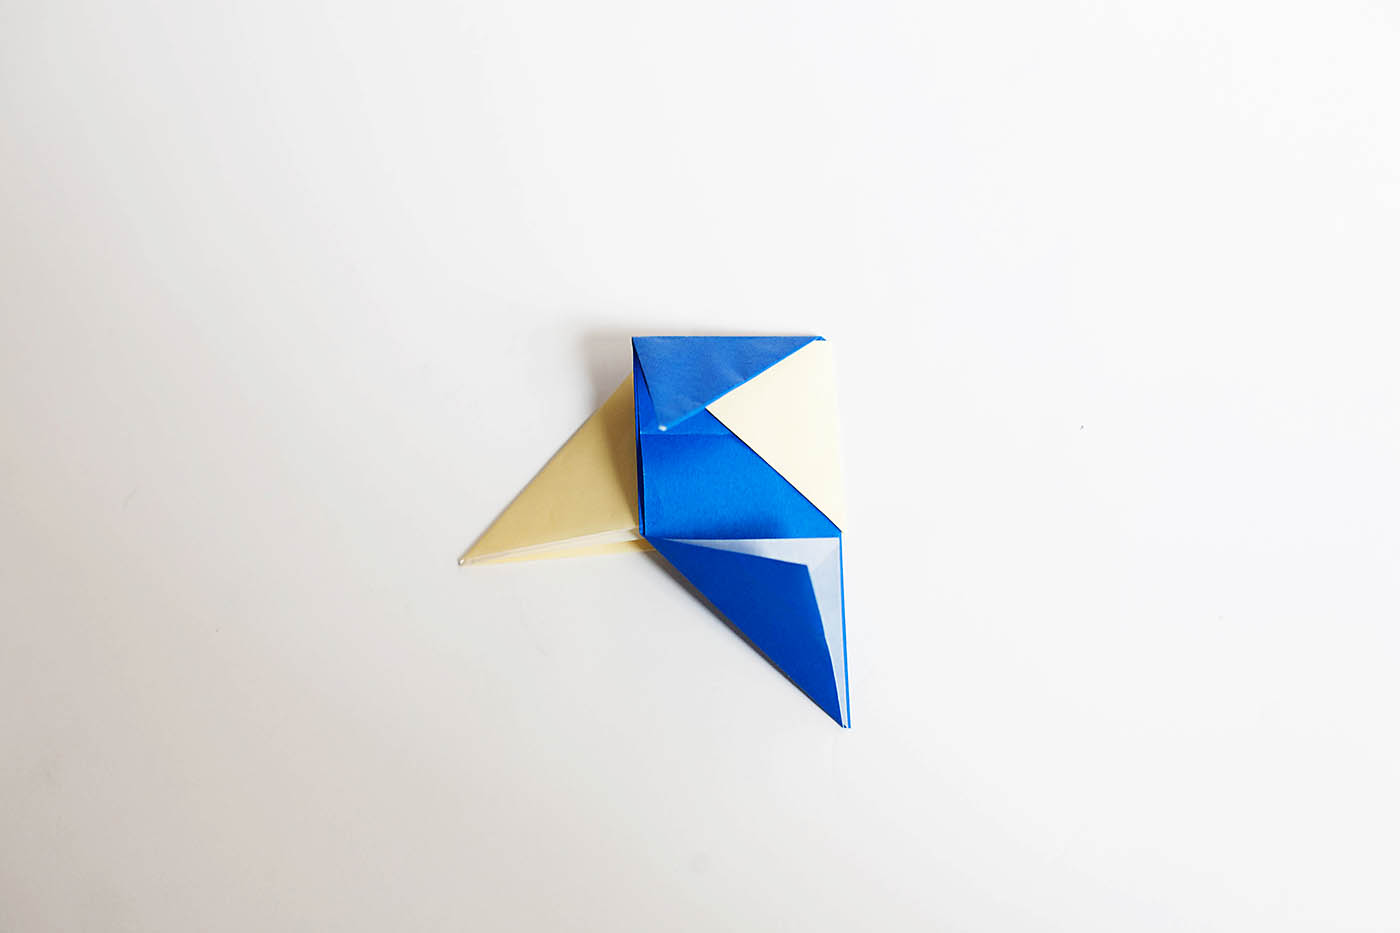 and the left side of the yellow over
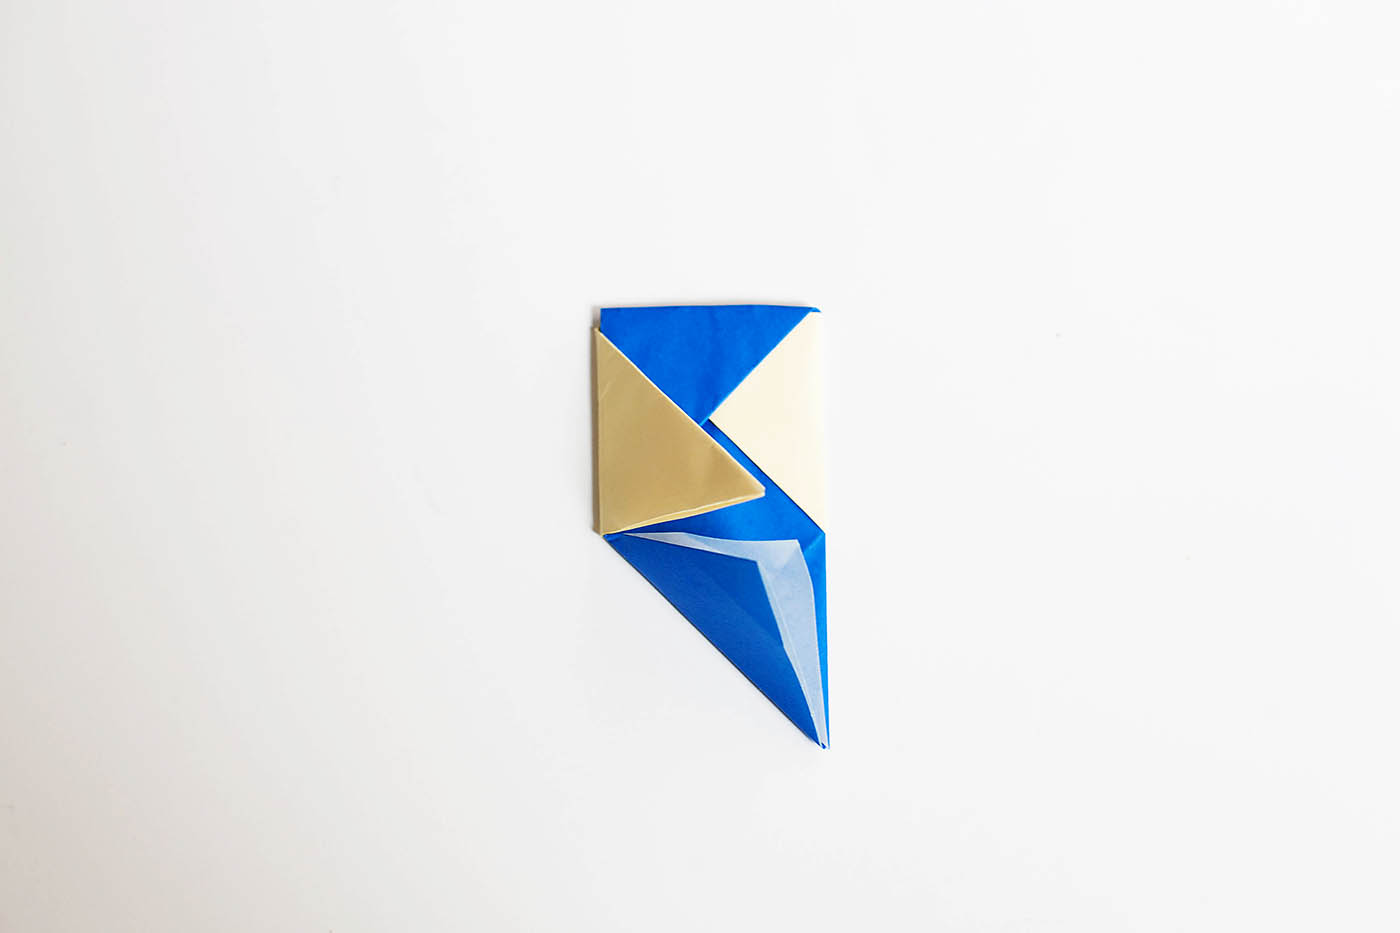 and the bottom of the blue up.
 Tuck that bottom corner into the yellow to hold it in place.
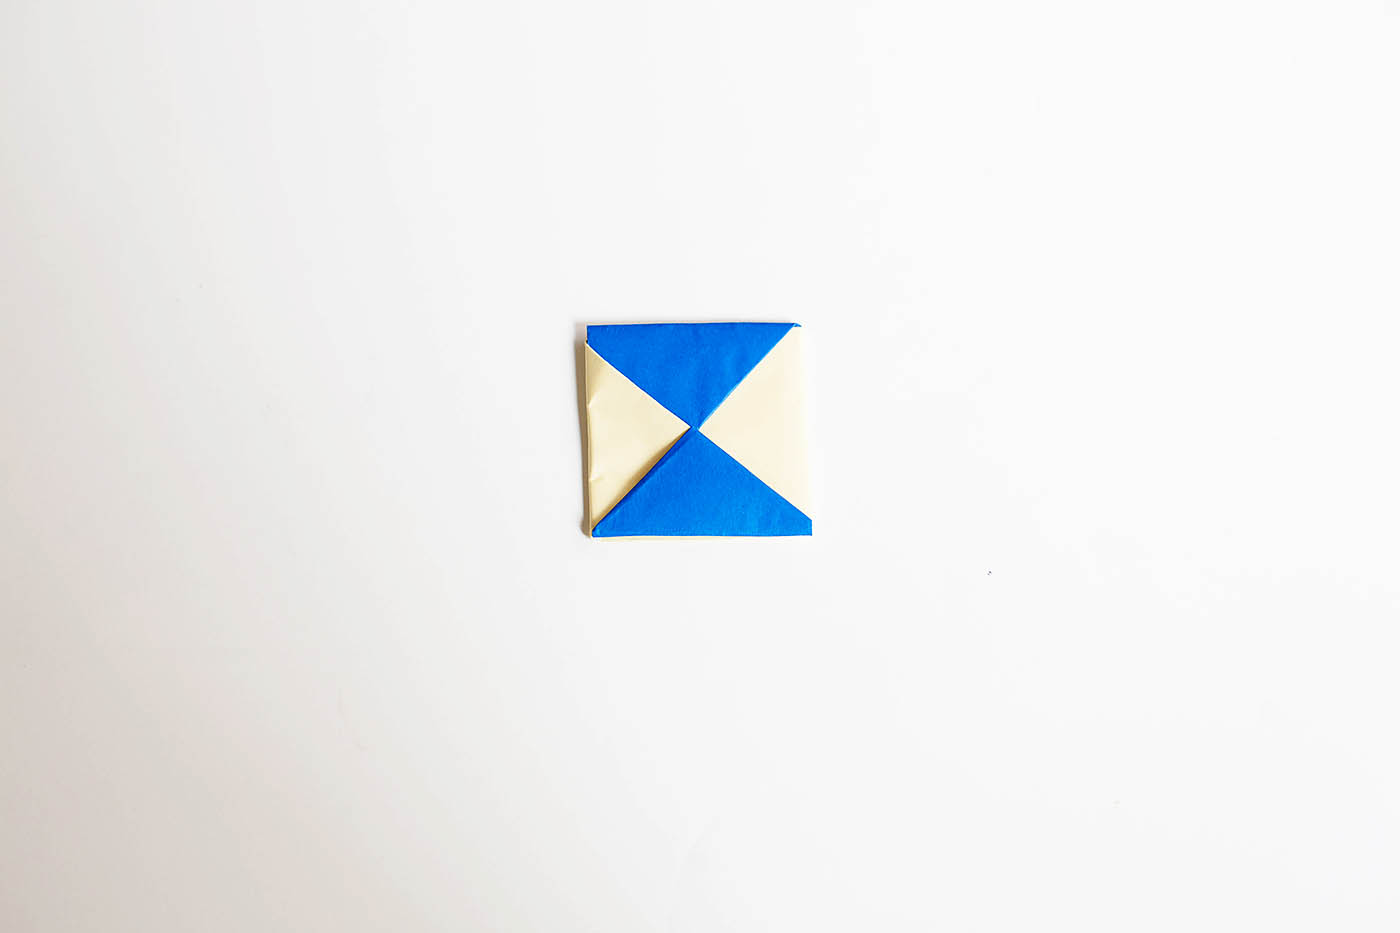 Poke a toothpick into the middle of the paper square.
 You can try out your top at this point. Some papers may hold well enough. We found that a piece of tape (we use washi or any paper backed type tape) on the top and bottom helped to keep the paper from sliding. You could also add a bit of glue.
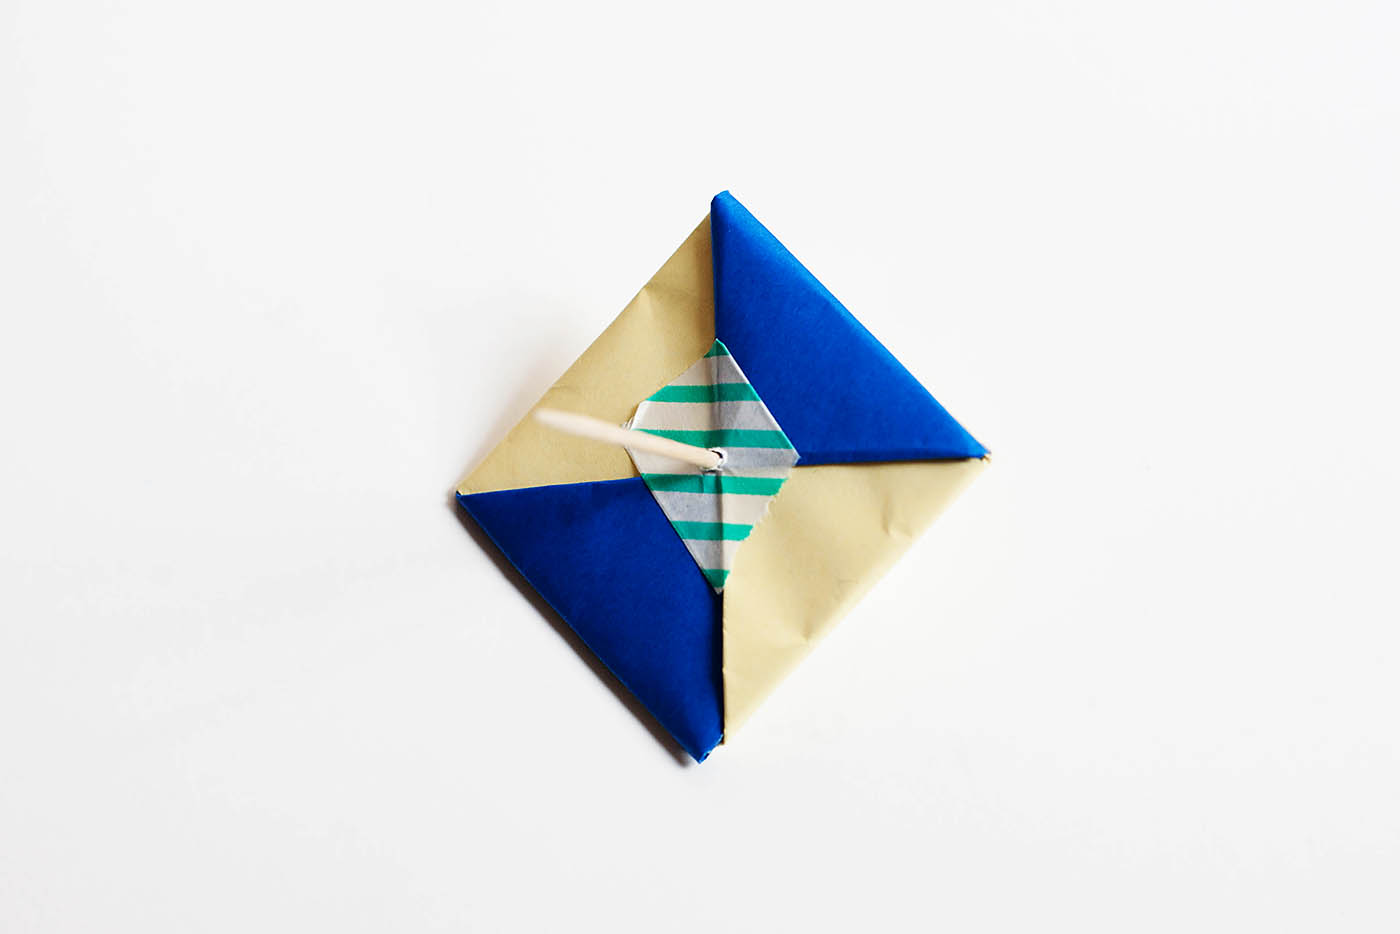 Grab the top of the toothpick and spin!
 Make multiple toys and spin them on a table. See if one top can knock another off without falling off itself!
Check out the rest of toothpick week for more ideas!